A dusty vacuum filter looks like an obvious candidate for the sink. Sometimes it is. Sometimes water is precisely the thing its maker says to avoid. The first cleaning step is therefore a paperwork step: identify the machine and the particular filter.
This guide helps you build a repeatable maintenance card for an ordinary household vacuum. It does not replace the model manual, diagnose a failing motor or promise to restore suction. The goal is less guessing and fewer wet filters waiting beside a vacuum you need right now.
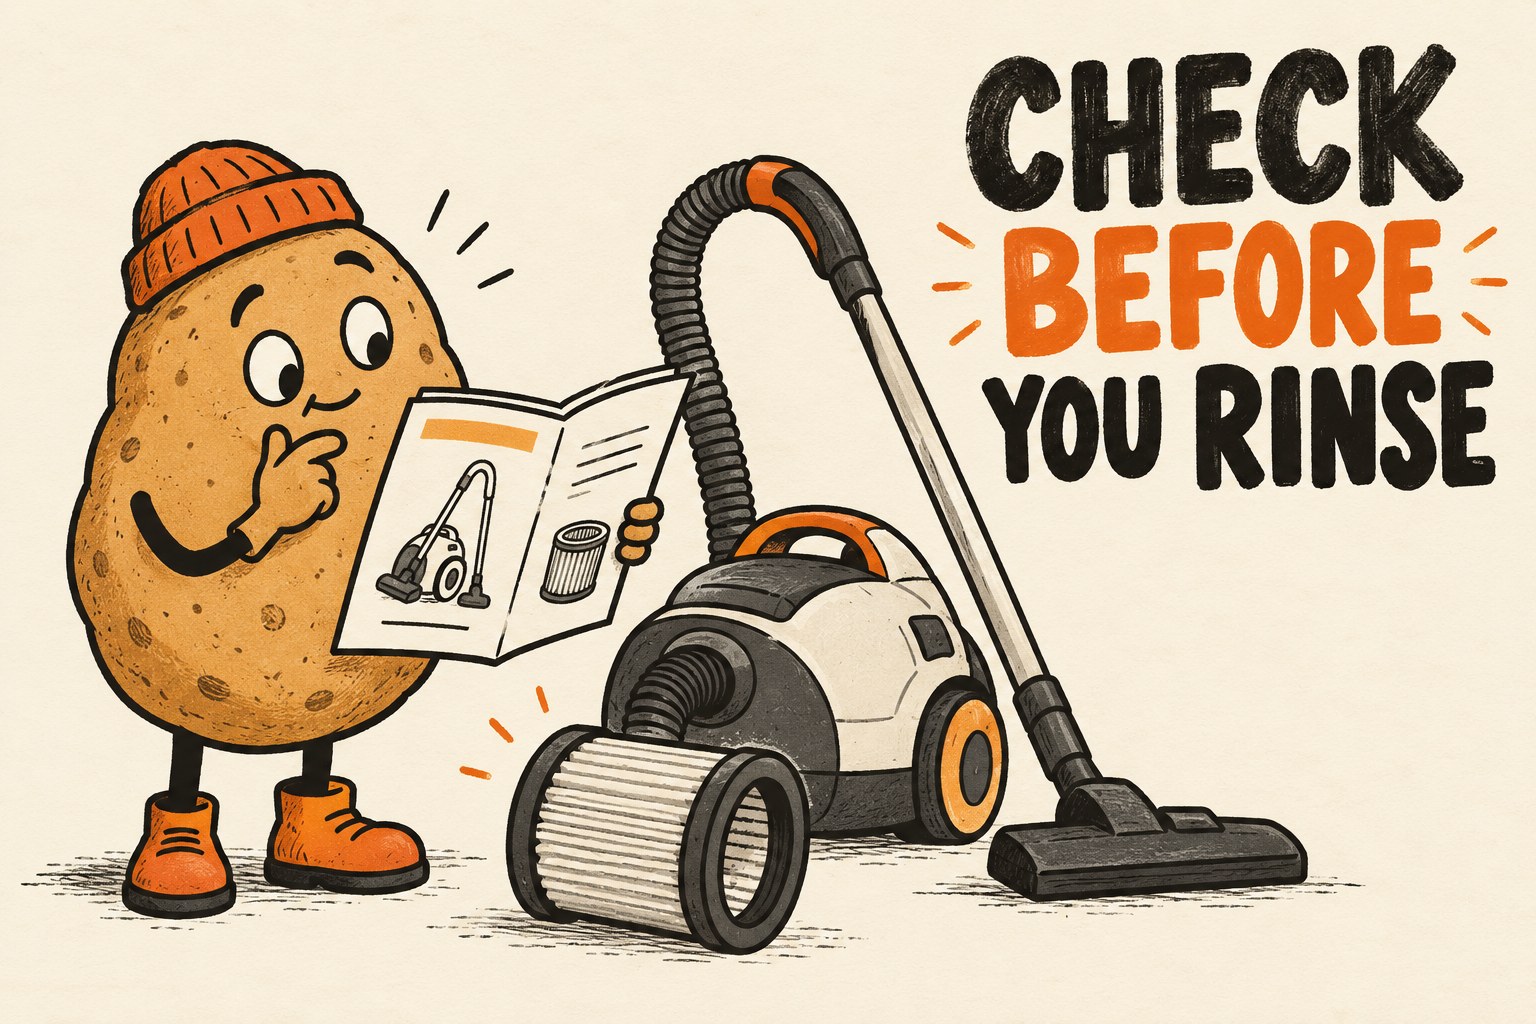
Find the filter’s identity before choosing a method
Use the model label, purchase record or manufacturer support selector to locate the right instructions. A machine may contain more than one filter, with different care requirements. Match the filter’s location and part identifier as well as the vacuum’s name. If the fitted replacement is different from the original, confirm its own compatible care instructions too.
Make one row per filter. A photo of the accessible part before removal can help you match the instructions later; do not dismantle beyond the user-maintenance steps. Switch off and disconnect power as the manual directs before removing anything. For a cordless machine, follow its specific battery and maintenance precautions.
| Field | Your entry | What to verify |
|---|---|---|
| Machine | Brand and exact model | The support page covers this variant. |
| Filter | Location and part identifier | It is the same component shown in the instructions. |
| Method | Wash / specified dry care / replace | The maker explicitly permits the selected route. |
| Restrictions | Water, cleaners, tools and drying limits | Nothing is borrowed from a different model’s tutorial. |
| Timing | Maker’s interval or indicator; last service date | Record the applicable trigger instead of inventing a monthly rule. |
This is an original household worksheet. Blank means “not checked,” rather than “probably fine.” Save the official support link alongside it so the next cleaning does not become another search expedition.
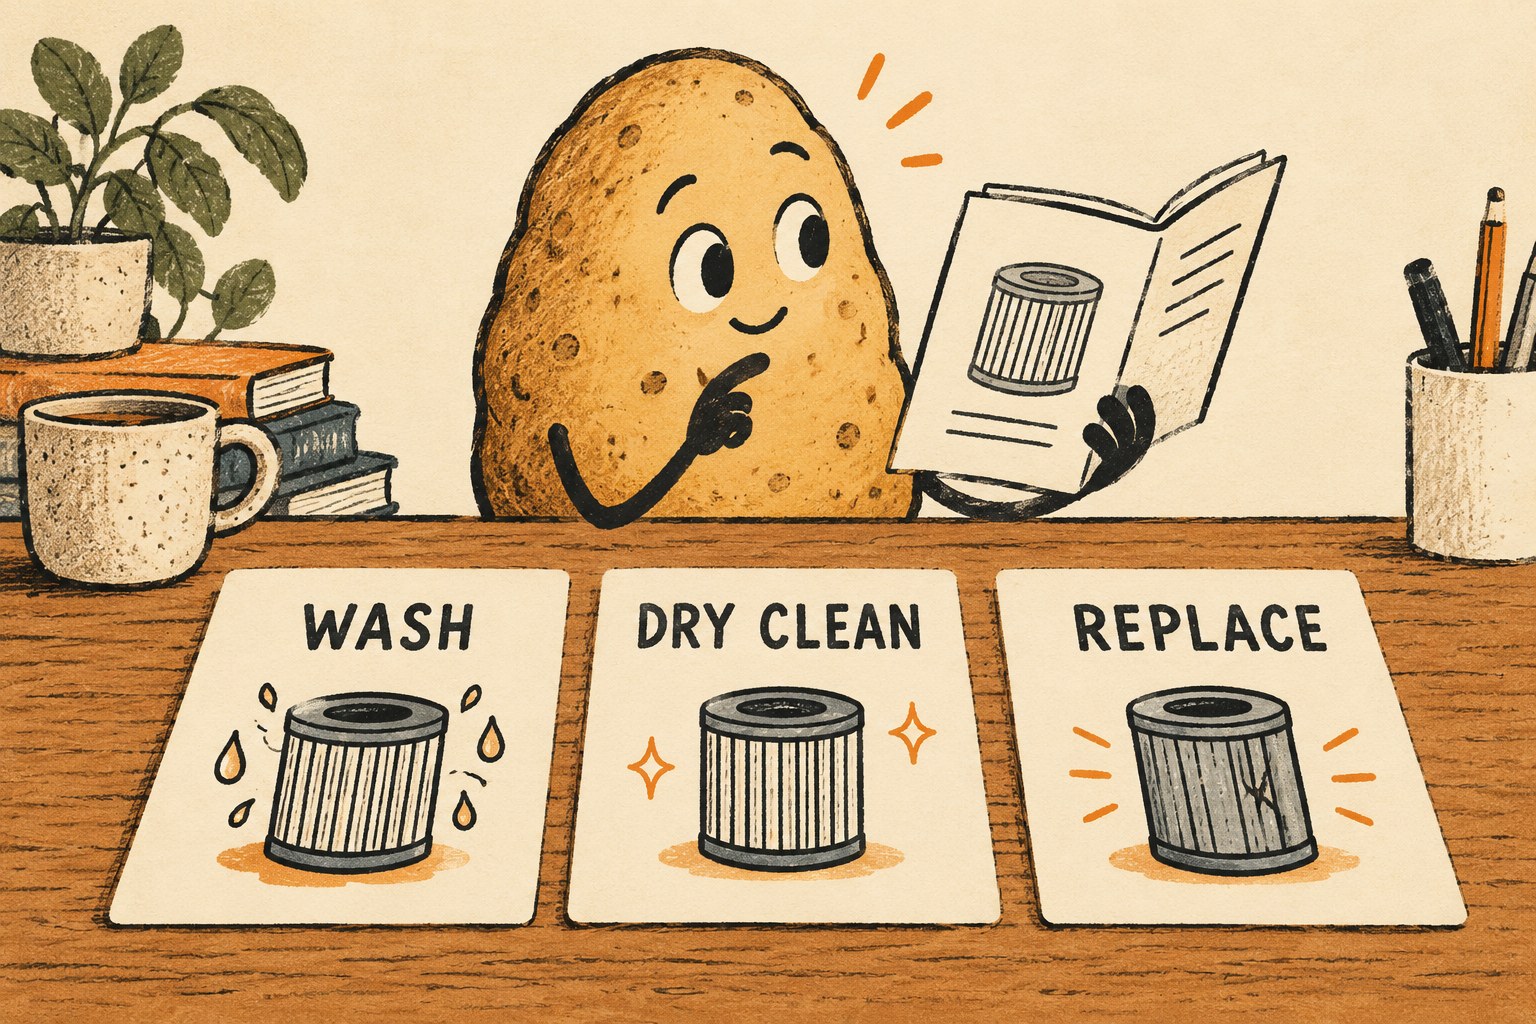
Choose one of three routes
The word “filter” is not a washing instruction. Nor does a familiar shape tell you whether brushing, tapping or rinsing is allowed. Use the exact component’s directions to choose a route.
- Wash: only when the instructions explicitly permit it. Follow their water temperature, handling and drying directions.
- Dry care: use only the cleaning action specified for that filter. “No water” does not automatically mean “scrub it with a brush.”
- Replace: follow the prescribed replacement trigger and compatible part specification. Washing a replacement-only part is not a substitute.
Two official examples show why this matters. Dyson’s cordless filter-care page describes washing, excludes detergents and requires at least 24 hours of drying plus a completely dry filter before refitting. It also links to individual machines. By contrast, Miele’s Triflex HX1 Facelift and HX2 instructions prohibit water on the fine-dust filter and prefilter; they also prohibit brushing the fine-dust filter. Those are examples for the named products, not rules for every Dyson or Miele component.
If you cannot establish the permitted method, stop with identification. Send the model and part information to the manufacturer through its official support route rather than testing a cleaning hack on the filter.

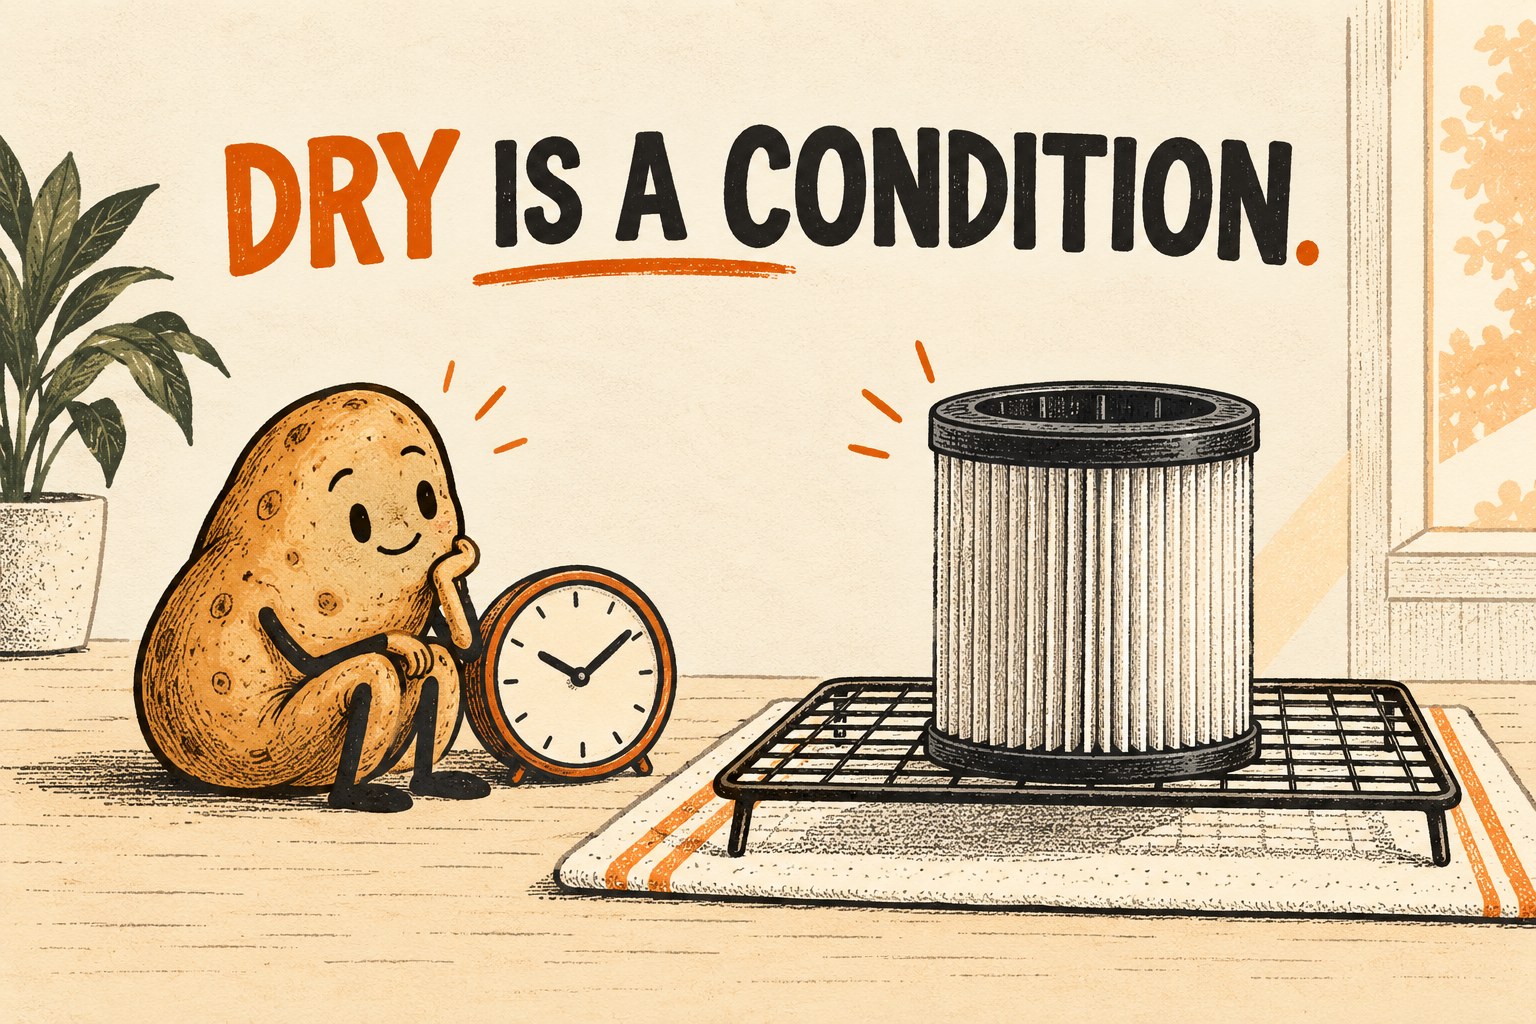
Plan the downtime before starting a washable filter
Check when you next need the vacuum. Then reserve a clean, suitable drying place that follows the manual and keeps the part away from accidental reassembly. A household note reading “filter drying, do not use” is more useful than hoping everyone remembers.
Write the wash completion time and the manufacturer’s earliest drying checkpoint on your card. Treat that checkpoint as a time to inspect, not automatic clearance to reinstall. If the filter is still damp, it stays out. Do not invent a heat shortcut to rescue the cleaning schedule.
For the Dyson instructions cited above, the stated minimum is 24 hours, the filter must be completely dry, and a tumble dryer, microwave or naked flame must not be used. Your exact model’s instructions take priority. If you cannot confirm complete drying, wait and consult its support guidance.
You can avoid an unnecessary purchase by first scheduling maintenance when the machine is not needed. If you choose a spare, verify compatibility rather than buying something that only looks similar. Keep a clean spare distinct from the part awaiting care.
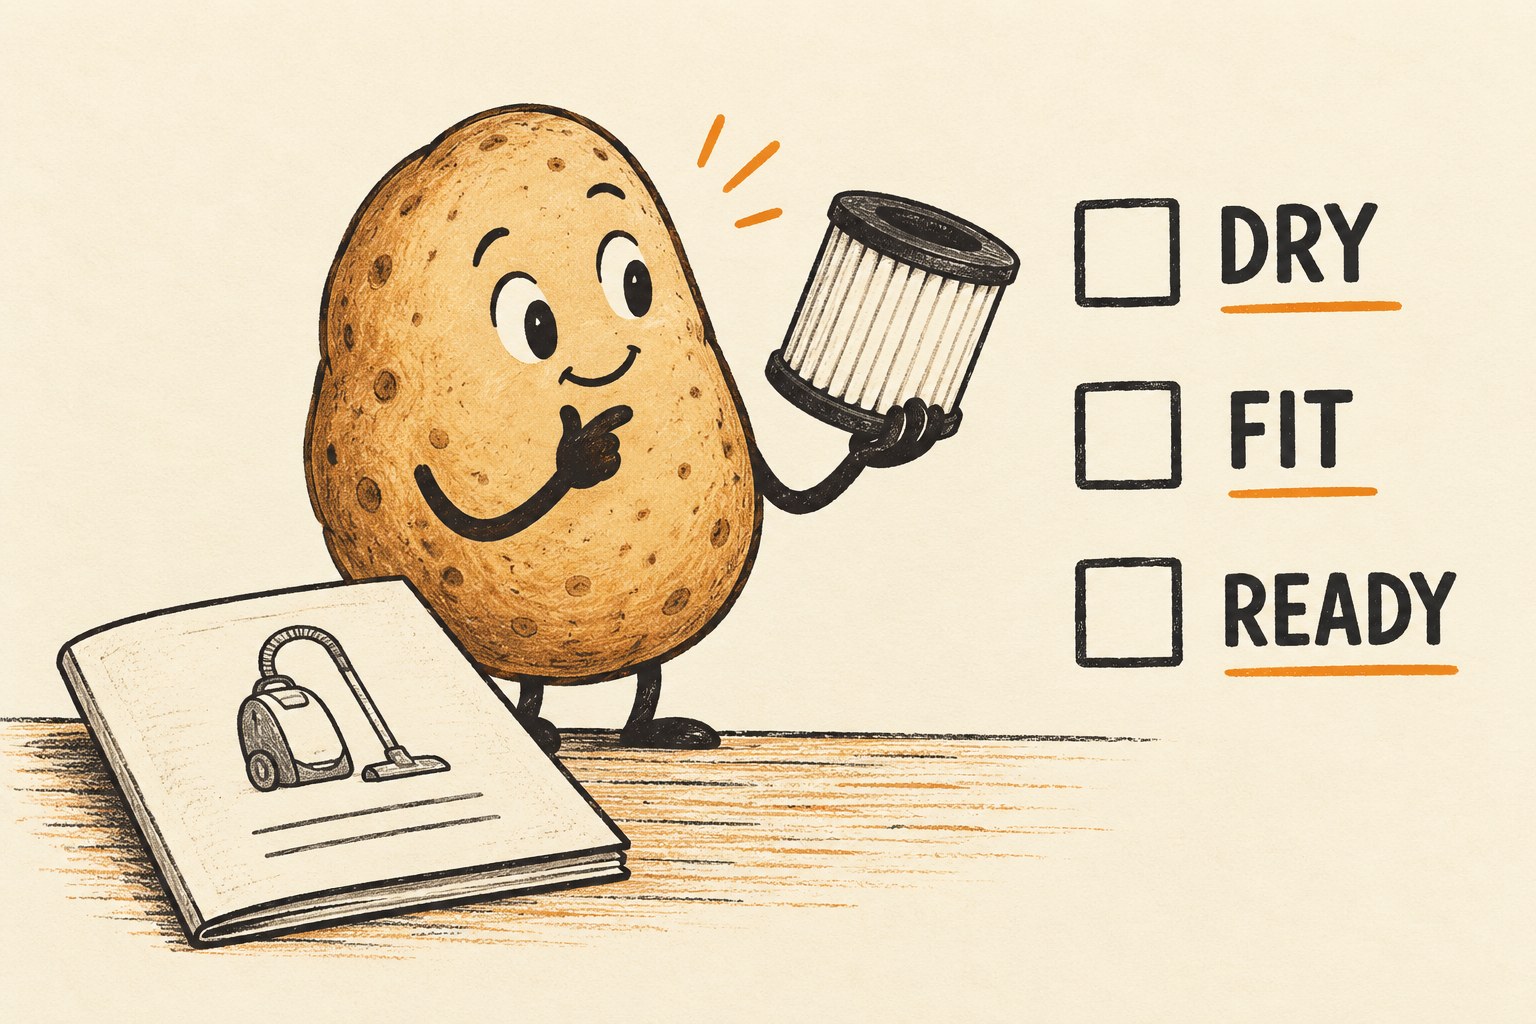
Use a return-to-service check
Before reassembly, compare the part with the manual’s illustration and its recorded position. Follow the specified seating and closure steps without forcing the housing. Do not run the vacuum with a required filter missing. Miele’s Complete C2 operating instructions, for example, require its bag, dust-compartment filter and exhaust filter to be in place.
- The permitted care method was followed for this particular part.
- A washed part has met its drying requirements and is completely dry.
- The required filters and covers are correctly fitted.
- The date and any unresolved issue are recorded.
Only then resume ordinary use as the manual allows. If an alert or poor performance persists, use the model’s troubleshooting instructions. Repeating a wash is not a diagnosis. Visible damage or a part that will not seat correctly is a reason to stop and obtain model-specific help.
Keep the next check small
Copy this short record into your household notes:
- Machine and filter identifier: ______
- Official instructions: ______
- Allowed method and restrictions: ______
- Last care completed: ______
- Drying checkpoint, if applicable: ______
- Reassembly checked: ______
- Next maker-specified trigger or unresolved question: ______
Attach this task to your household cleaning schedule, but keep the manufacturer’s interval. A filter check does not mean washing it every time. The win is knowing exactly which part needs which action, then being able to put the vacuum back into service without improvising.