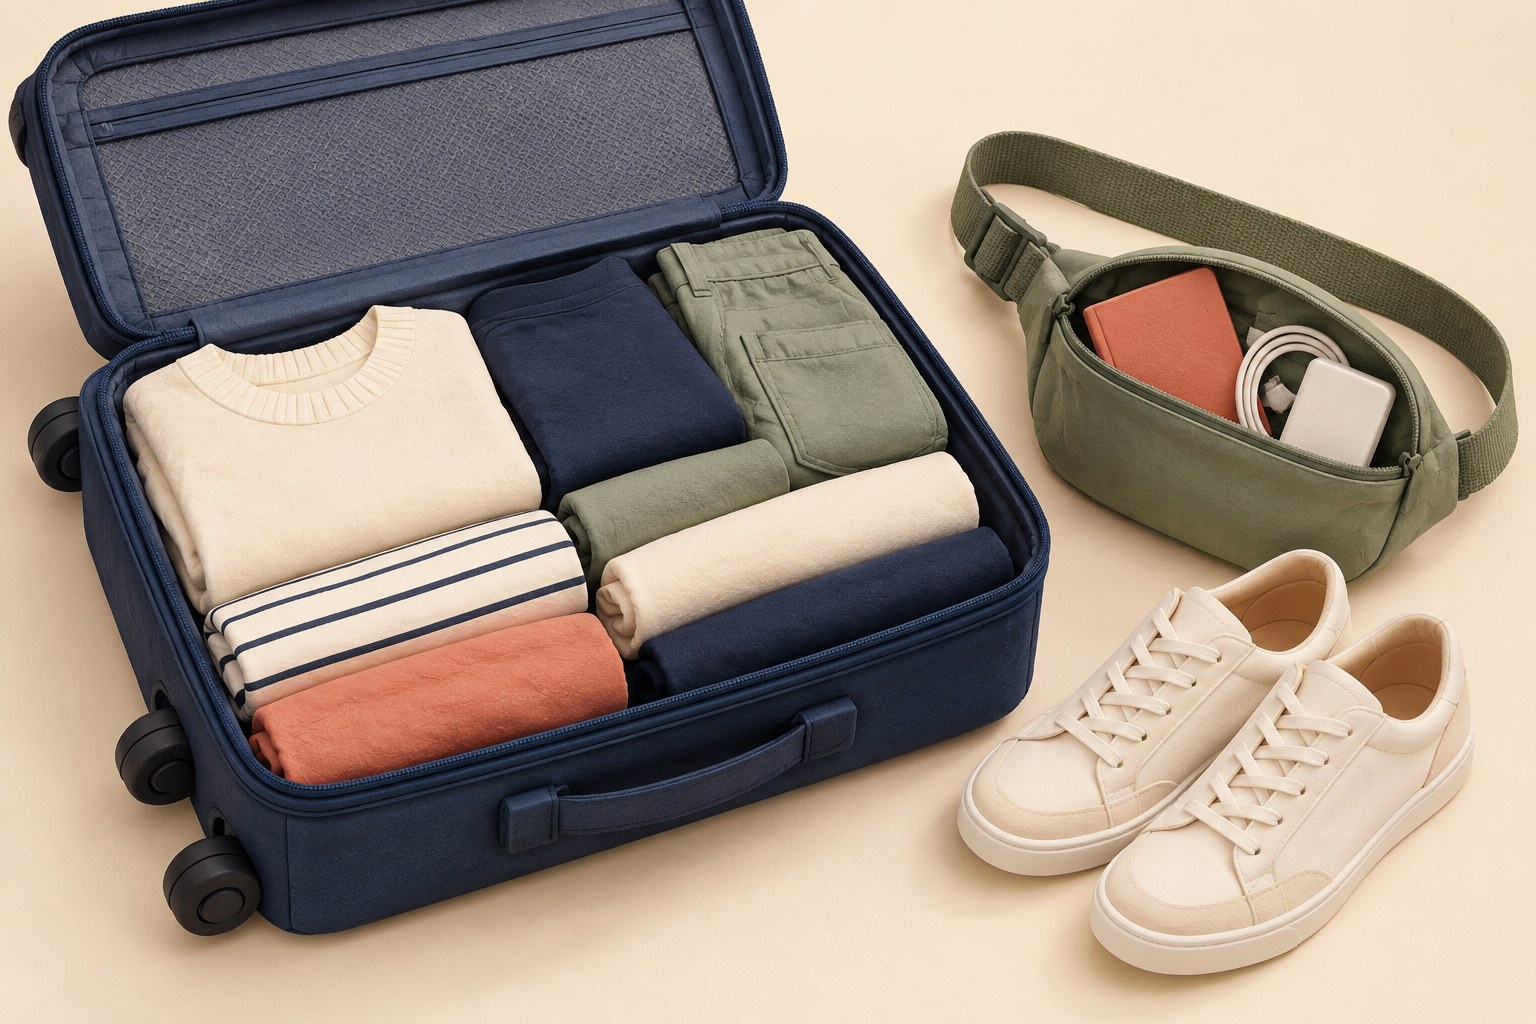
A useful packing list answers two questions: How many do I need? and Where will it live? Three tops can mean three in the suitcase, or two in the suitcase and one on you. Your zipper would appreciate the distinction.
This checklist is a starting point for one adult, three calendar days and two nights, mild-weather city travel, no laundry and no formal event. It is an original planning example, not a tested claim that every trip fits one particular bag. Change it for the forecast, your activities, accessibility needs and personal routine.
The short version: wear one complete outfit, pack two more tops and one spare bottom, and keep documents and essential items together where you can remove them quickly. Choose the bag only after checking your booked fare's actual allowance.
First, check the bag you are allowed to bring
Open your airline's baggage page and your booking. Write down the permitted number of bags, dimensions, weight and any charge for the option you intend to use. Check each operating airline if your itinerary has more than one. A suitcase marketed as “carry-on” is not a universal boarding pass.
In this guide, keep accessible describes a location, not a free extra bag. Use a personal item if your fare allows one; otherwise keep a removable essentials pouch at the top of your permitted bag. Check how that kit can stay with you if staff need to check the main bag.
The actual 3-day packing checklist
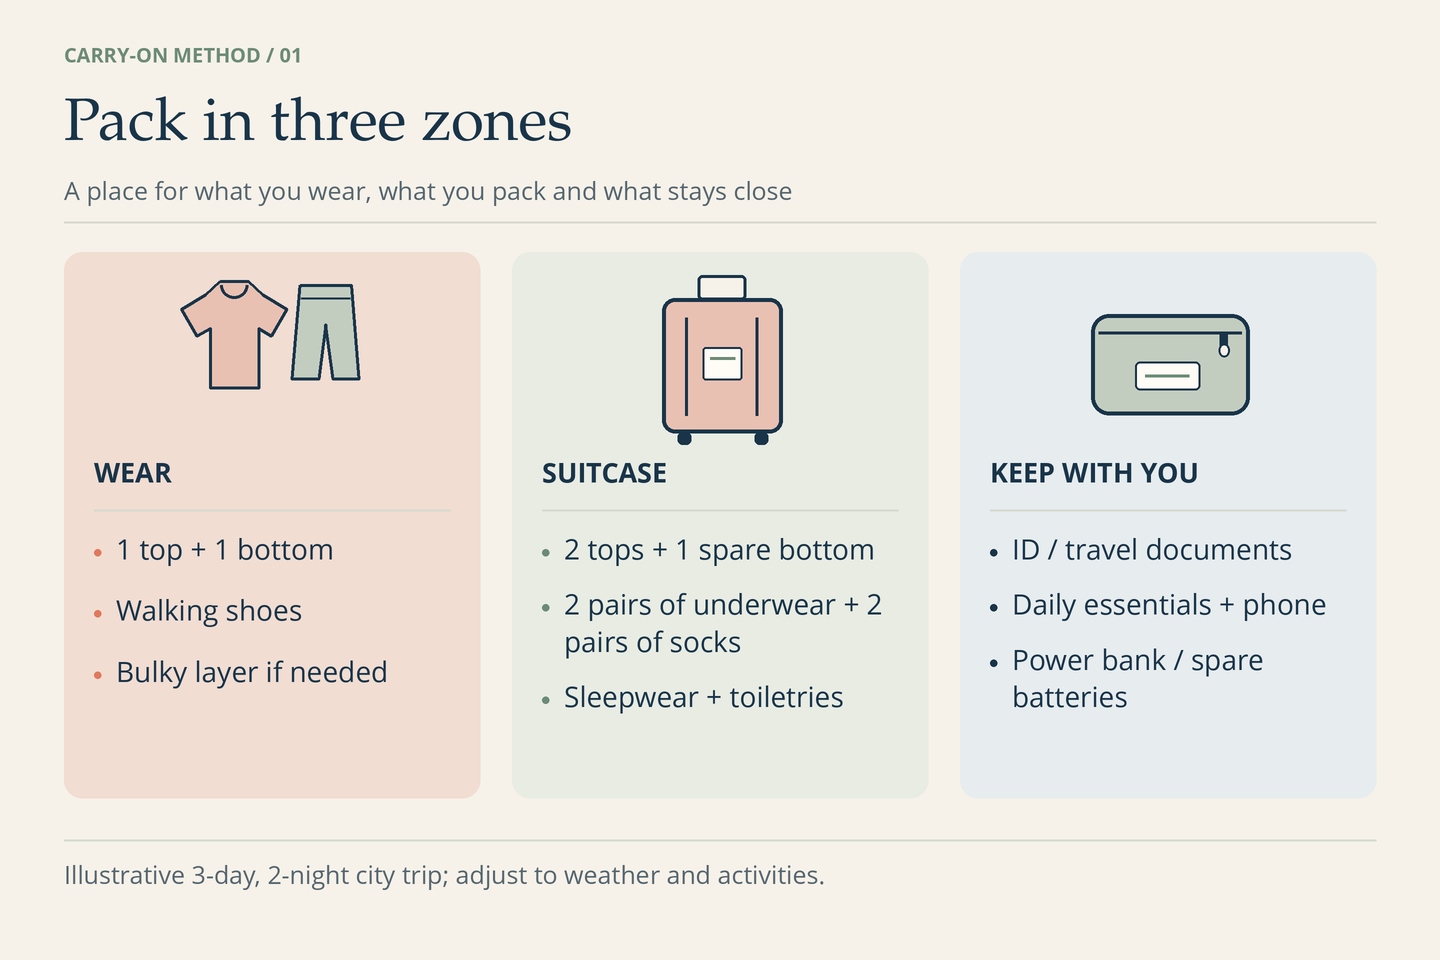
Wear on departure
- 1 top and 1 versatile bottom
- 1 pair of underwear and 1 pair of socks
- Comfortable walking shoes
- A light layer or jacket suited to the forecast
Pack in the main compartment
- 2 tops that work with either bottom; one can cover a casual dinner
- 1 additional bottom
- 2 pairs of underwear and 2 pairs of socks for the remaining days
- 1 sleepwear set, plus bras or support garments as personally needed
- An optional spare underwear or sock set, clearly counted as a spare
- Toothbrush, comb and the small set of toiletries you actually use
- A small laundry bag to separate used clothing
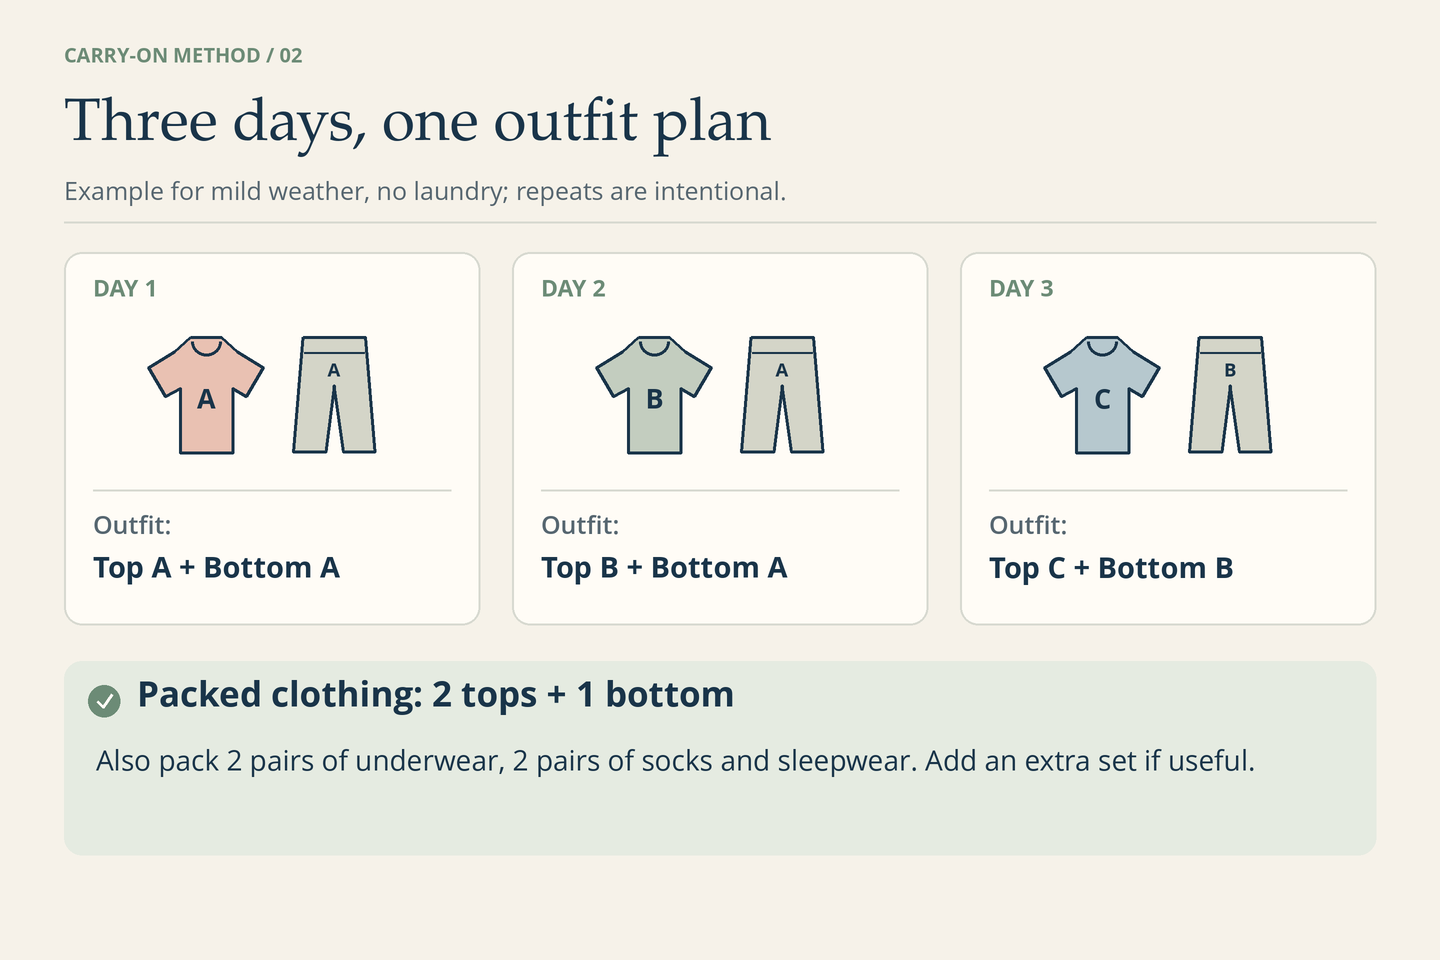
That gives you three tops, two bottoms and three daily underwear-and-sock sets in total, including what you wear. Optional spares are extra. Packing cubes can group items, but a pouch you already own or simple stacks can do the job; no shopping mission is required.
Keep accessible and removable
- Required travel ID or passport, boarding information and booking details
- Wallet, keys and phone
- Essential medication and glasses or contact-lens supplies
- Charger and cable; a power bank if you need one
- Any spare lithium batteries, protected individually against short circuits
- Valuables and any laptop or tablet you genuinely need
Place the liquids bag near the opening for any screening instructions, rather than beneath all the clothing. An empty refillable bottle is an optional addition. Keep batteries protected from contact with keys, coins and other metal; the FAA describes suitable cases, packaging and terminal protection.
Make three outfits before adding “just in case” items
Lay out the departure outfit and the packed clothes together. The example below reuses the first bottom on day two and switches to the spare on day three. Swap earlier if it gets dirty, wet or uncomfortable. The point is to make an intentional plan, not to earn a medal for wearing the same trousers.
Now make the exceptions visible:
- Rain or cold: add the appropriate outer layer, then test the bag again
- Exercise, swimming or a formal event: add the specific outfit and shoes that activity requires
- Mess-prone plans or personal preference: add a spare top or extra underwear instead of silently inflating every category
- Longer trip: plan more clothing or actual laundry access; do not assume a sink wash will dry overnight
Every bulky extra should answer “When will I use this?” A second pair of shoes gets a much stronger case from a booked hike than from a vague feeling that something might happen.
Two US airport checks: liquids and batteries
These are US TSA and FAA rules, checked October 2, 2026. Also check your airline and every departure country's current rules, including the return journey. The checklist does not replace those requirements.
Liquids: count the containers, not the remaining shampoo
For ordinary carry-on liquids, aerosols, gels, creams and pastes, the TSA's 3-1-1 rule uses containers of 3.4 ounces/100 mL or less that fit in one quart-sized clear zip-top bag per passenger. A large bottle with only a little left is not the same as a compliant small container.
Put only the daily-use products you need into the toiletry plan and check whether your accommodation supplies anything you would otherwise duplicate. Follow the instructions in your checkpoint lane rather than assuming everyone removes the same items.
Medically necessary liquids have a separate exception. TSA allows reasonable quantities for the trip beyond the ordinary limit and requires that you declare them for inspection. Read its liquid-medication guidance; do not reduce necessary supplies simply to make a cosmetic bag fit.
Power banks: keep them in the cabin
The FAA requires power banks and spare lithium batteries to travel in carry-on baggage. Remove them if the bag is checked at the gate or planeside. Check the battery's label and your airline's current capacity and quantity restrictions before packing; airlines can be stricter than the FAA baseline.
This is not a blanket statement about every battery installed in every device. The FAA has separate guidance for battery-powered electronic devices. For this packing plan, keeping essential electronics with you also avoids needing them while the suitcase is elsewhere.
Build the removable kit before the gate-check announcement
At home, gather documents, daily essentials, valuables and cabin-only batteries in an accessible kit within your allowed baggage. Large electronics may need their own accessible spot. Try removing the kit without spilling the rest of the bag onto the floor. This is the useful rehearsal; perfectly cylindrical T-shirt rolls can wait.
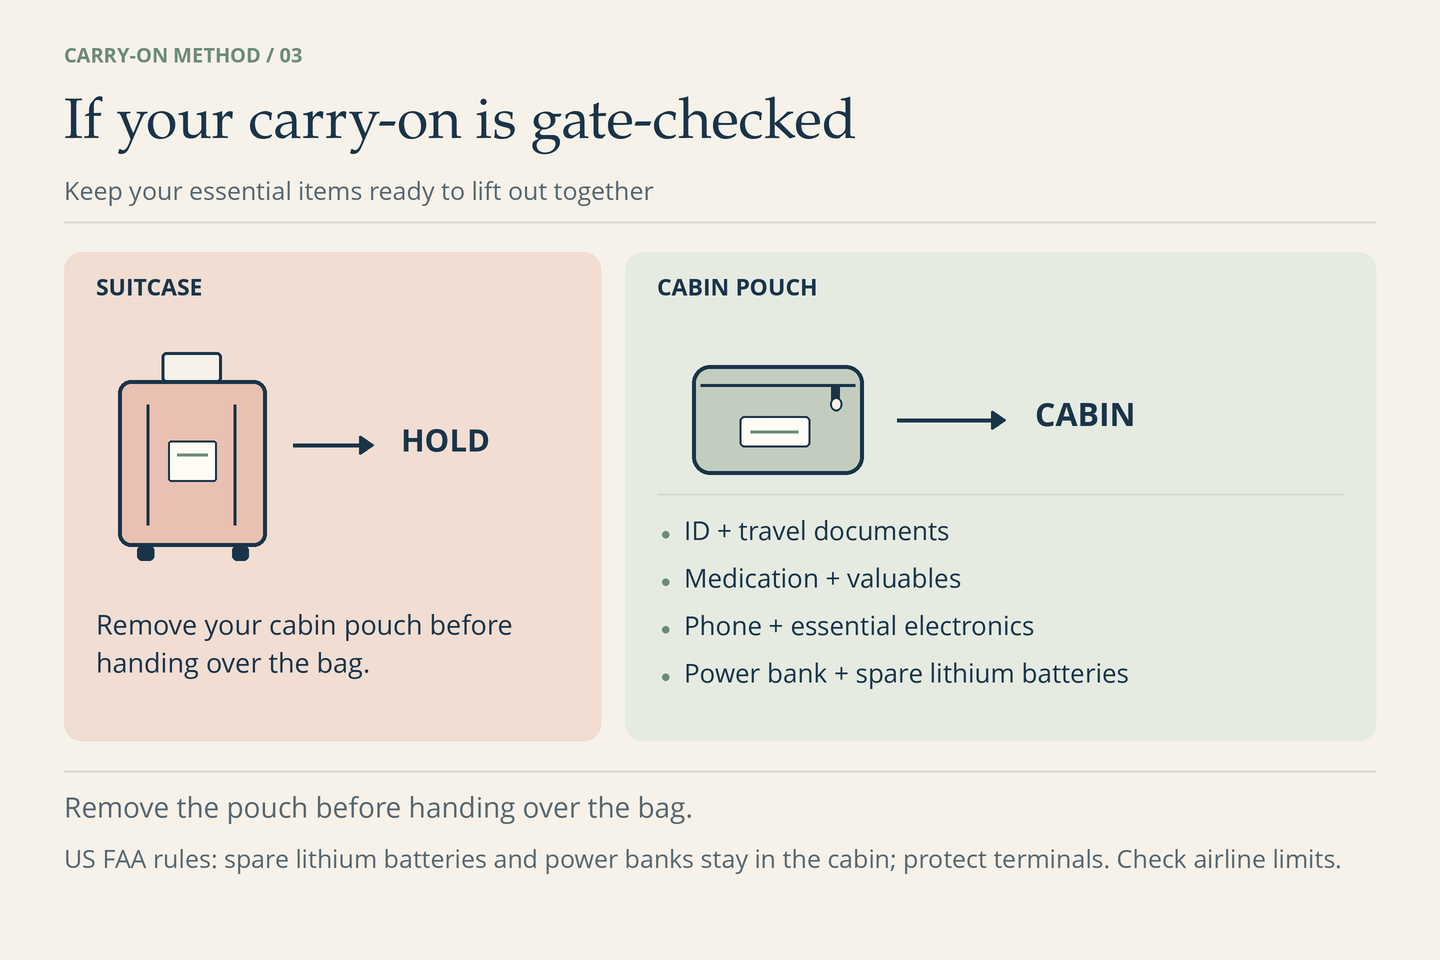
If your carry-on must be checked, tell staff about items that need to remain in the cabin and remove them before handing over the bag. Confirm how to carry your essentials under the airline's instructions. Ask where the checked bag will be returned; do not assume it will be waiting beside the aircraft.
A spare top or underwear set in your permitted personal item can be useful if the main bag is delayed. Treat that as an optional resilience choice, not permission for another uncounted bag.
Finish with a short departure check
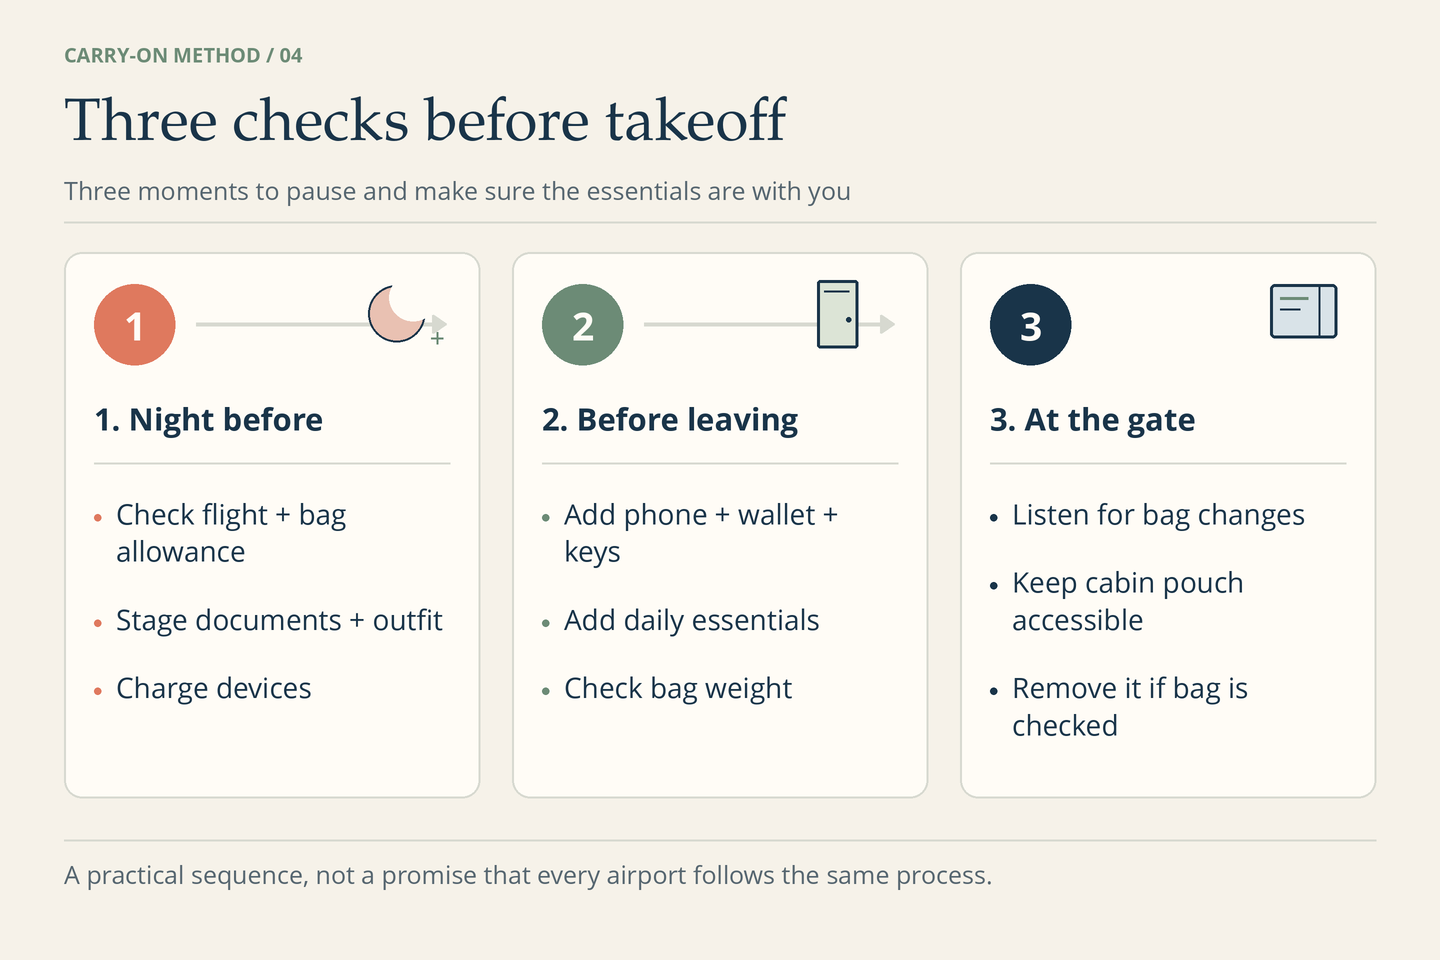
- The night before: recheck the flight and baggage allowance, charge devices, put out the travel outfit and stage the packed bag
- Before leaving: add the phone, wallet, keys and daily essentials you were still using. Check weight and confirm that the bag closes normally
- At the gate: listen for baggage instructions and keep the removable kit reachable. If the bag is checked, remove cabin-only items and confirm its return point
Before your next trip, cross out anything you carried but never needed and add anything genuinely missed. A good packing list gets more personal and less dramatic over time. The suitcase should carry your trip, not every possible version of it.