A donation bag is not a decision-making machine. Before you fill it, choose a recipient, check what it accepts, and give each garment a destination. This clothing-donation checklist turns a wardrobe clear-out into a handover you can actually finish.

This guide covers ordinary adult clothing and accessories, using US donation organizations as examples. Acceptance rules are local. It does not cover donation valuations or tax deductions, and it does not assume that every textile belongs in a charity shop.
The short version: recipient first, bag second
- Choose the exact donation location and read its current rules.
- Separate ready items from items needing preparation or a different destination.
- Check condition, pockets, closures and matching pieces.
- Pack only the items the recipient accepts, using its packing instructions.
- Confirm drop-off hours and hand over the bags as directed.
Goodwill's national donation page explicitly says rules vary by location. A national brand name is a starting point, not confirmation that your nearest branch takes everything.
1. Make a destination card before sorting
Open the recipient's own website, not just a map listing or an old donation checklist. Look for the specific branch, donation entrance and collection hours. If an item is unclear, ask the organization before taking it there.
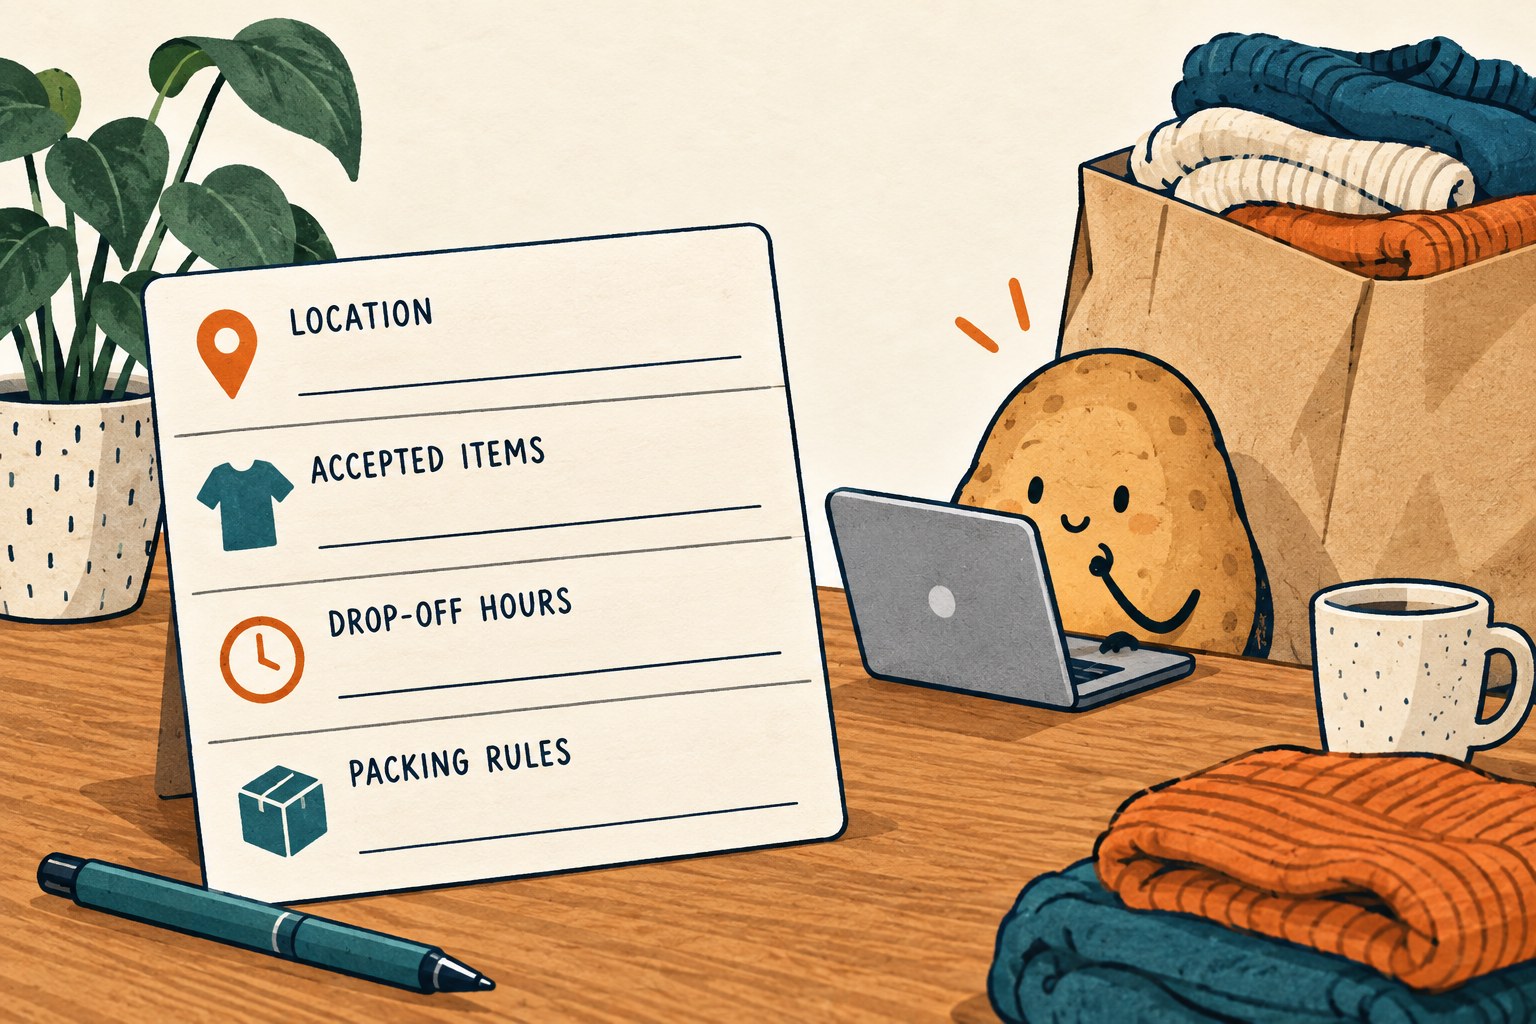
| Write down | What to confirm |
|---|---|
| Recipient and location | The branch or collection point that will receive this bag |
| Accepted items | Clothing types, accessories and any exclusions that affect your pile |
| Condition standard | Whether damaged textiles have a separately accepted route |
| Packing rules | Bags or boxes, hangers, and whether shoes or accessories stay separate |
| Drop-off plan | Date, donation hours and the correct entrance or collection instructions |
Save the page link with your note so you can check it again before leaving. Do not treat a closed shop, a full collection bin or an unattended doorway as an invitation to leave a bag.
2. Use three temporary piles
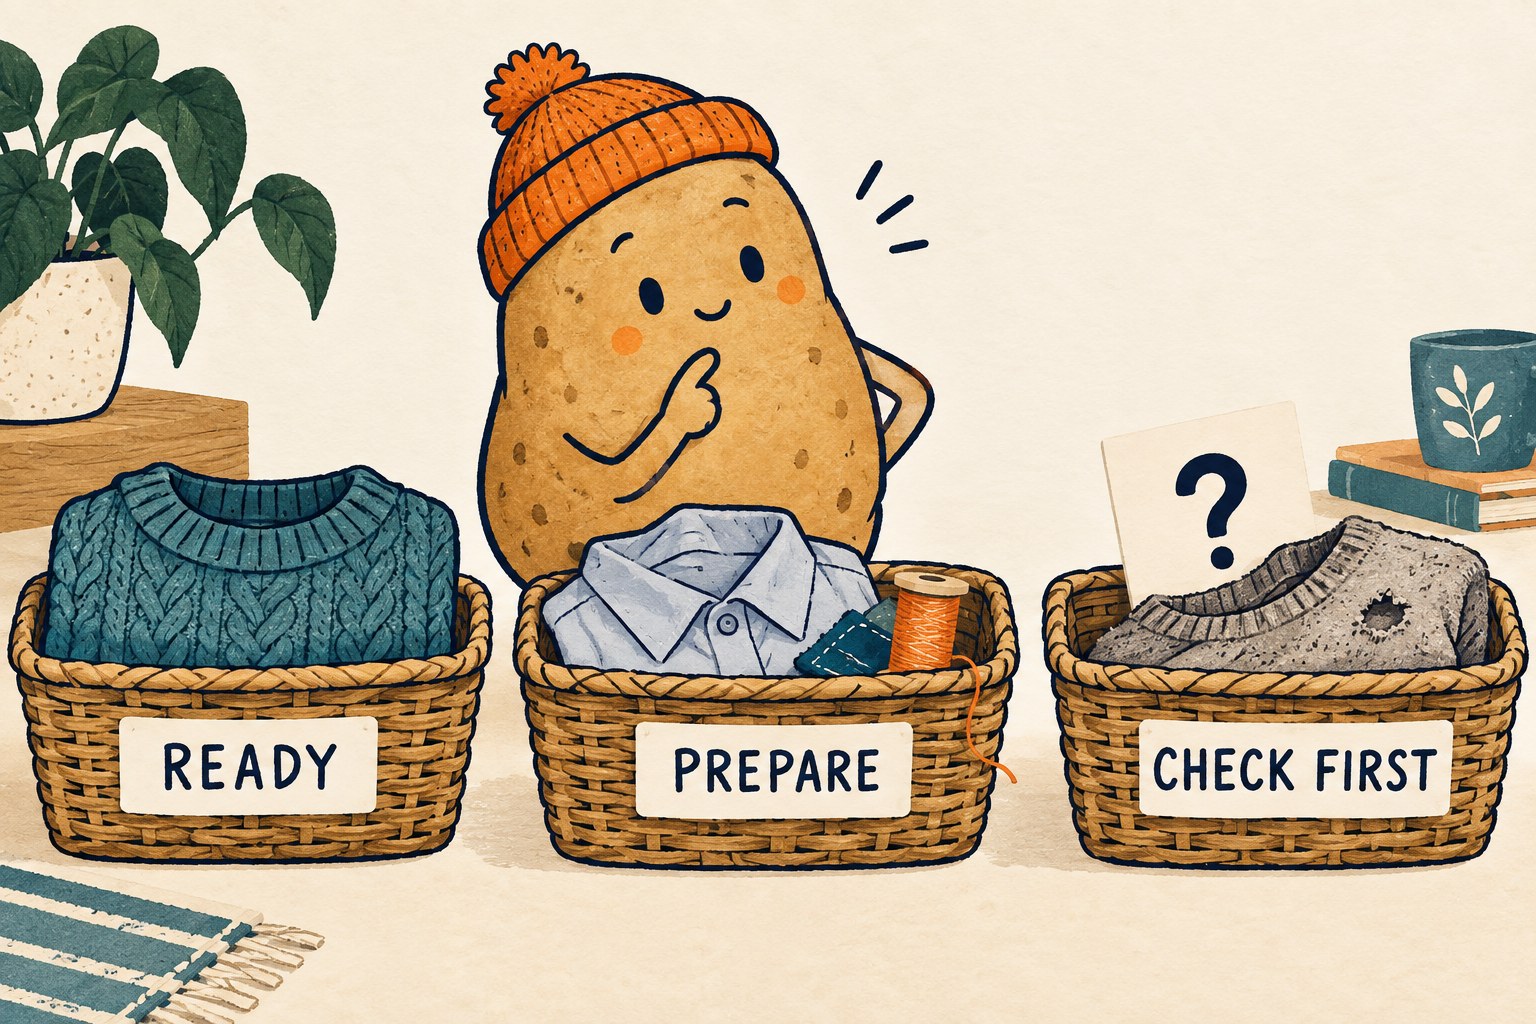
These labels describe your next action, not a universal charity policy. Keep clothes you still want outside this sorting area.
| Pile | Put it here when | Next action |
|---|---|---|
| Ready | You intend to give it away, it meets the recipient's rules, and you have checked it | Fold and pack according to those rules |
| Prepare | A realistic cleaning or small repair task stands between it and the required condition | Name the task, do it, then inspect again before moving it to Ready |
| Check first | You are unsure about acceptance, condition or the correct textile destination | Keep it out of the donation bag until you have an answer |
For example, a clean sweater that meets the chosen branch's standard can go in Ready. A shirt you have decided to mend belongs in Prepare until the repair is finished. A worn-out top belongs in Check first while you investigate a specifically accepting textile collection route. The last pile is not a promise that recycling is available.
Goodwill of Greater Washington's clothing rules, for example, ask for clean clothing without stains, tears, pet hair or odor. That is evidence for this organization's standard, not a nationwide list. If the chosen recipient rejects an item, do not hide it between better pieces.
3. Inspect each garment before it disappears into a bag
- Confirm intent. Only donate items you own and intend to give away.
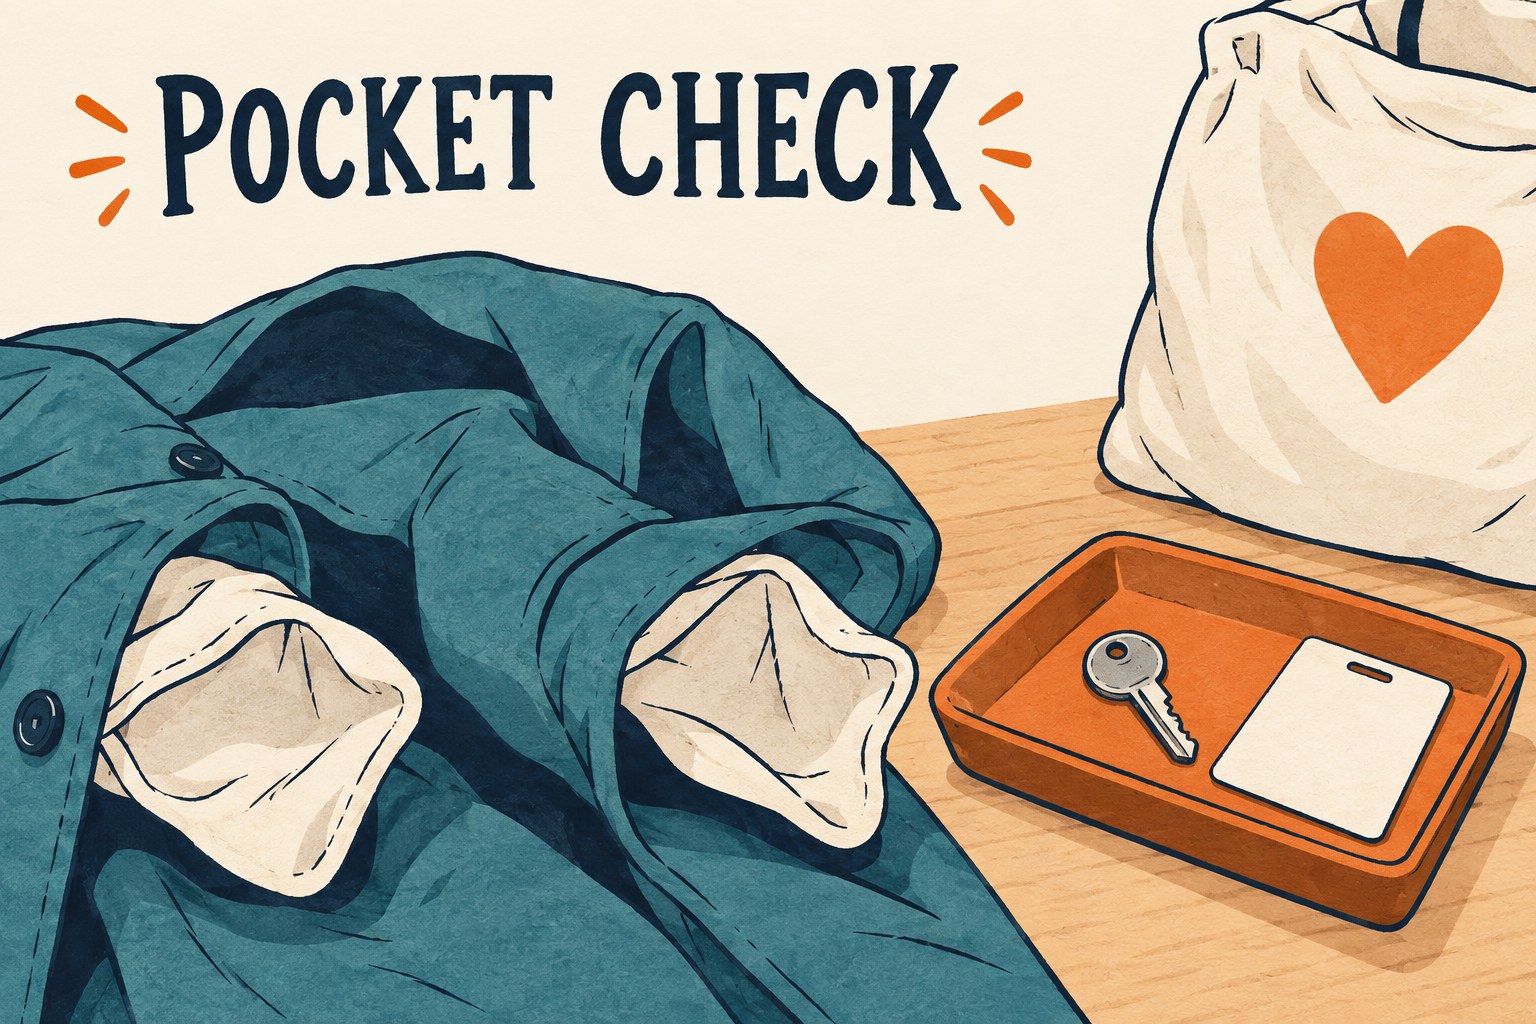
- Empty every pocket. Include inner pockets and zipped compartments. Move keys, money, cards and papers to a separate safe place.
- Check the whole item. Look at cuffs, collars, underarms and hems as well as the front. Check for damage and the condition your recipient specifies.
- Try closures. Inspect buttons and operate zippers. A repair you plan to do is not a completed repair.
- Keep sets understandable. Match gloves or other paired pieces, following the recipient's packing instructions.
- Finish any required cleaning and drying. Follow the garment's care label; pack it only once fully dry and acceptable for the destination.
Goodwill of St. Clair County's donor guide supports pocket checks and preparation before drop-off. Follow your recipient's packing instructions. For help interpreting garment instructions before cleaning, see our care-label sorting checklist.
4. Give unfinished items a named next step
A bag marked “sort later” can become furniture. Use a small action list instead. The examples below are a planning method, not a deadline imposed by any donation service.
| Item | Unfinished decision | Next step |
|---|---|---|
| Blue shirt | Loose button | Repair, then recheck against the recipient's standard |
| Worn top | Not suitable for the intended clothing donation | Check a named local textile program's accepted materials and condition rules |
| Winter scarf | Still deciding whether to keep it | Keep it outside the outgoing bag until the decision is made |
If no reuse or textile collection route accepts an item, check your local waste authority's disposal guidance. Do not assume fabric belongs in curbside recycling. Avoid adding another bag to the car until this batch has a clear destination.
5. Close the loop at drop-off

Before leaving, check the location's current donation hours and any temporary restrictions. Keep the outgoing bags separate from possessions you are retaining. At a staffed center, follow the attendant's directions; if the location cannot accept your items, take them back and choose another confirmed route.
For a collection bin, use it only if its operator and instructions are clear and it accepts your items. Never leave a bag beside a full bin.
Copy this final handover checklist
- Recipient and current acceptance rules checked
- Donation entrance, hours and packing instructions checked
- Only intended, accepted items in the outgoing bags
- Pockets and compartments emptied
- Cleaning, drying and agreed repairs finished
- Uncertain or rejected items kept separate
- Handover completed; unresolved items given another next step
You do not need a perfect wardrobe overhaul to finish a useful donation. One correctly prepared bag delivered to a willing recipient beats five mysterious bags living by the door.