A muddy sole and a stained suede panel are not the same cleaning job. Before turning one dirty sneaker into an afternoon of experiments, identify its materials, check the maker’s instructions and decide which parts actually need attention.
This is a hand-cleaning planning guide for ordinary fabric sneakers whose care instructions permit it. It is not a universal recipe for suede, leather, waterproof membranes, decorated shoes or collector pairs. The useful starting point is a small care card, not a stronger cleaner.
Start with a one-pair care card
Put only one pair on your work surface. Find the model name on the label, box or order record, then open the manufacturer’s care information for that model or material. A general brand article is a fallback, not permission to ignore a specific warning.
| Write down | Example entry | Why it changes the plan |
|---|---|---|
| Upper materials | Mesh with suede trim | The trim needs its own method; do not treat the entire shoe as mesh. |
| Problem location | Dust on upper; mud in tread | Only the dirty areas need work. |
| Allowed cleaner | Maker’s recommended product or dilution | Do not invent a stronger mixture. |
| Removable parts | Laces; insole only if designed to lift out | Do not pull out something glued in place. |
| Next time needed | Not until fully dry | Have another pair available rather than rushing with heat. |
These entries are an original planning template. They are not a manufacturer’s certification or a guarantee that a stain will disappear.
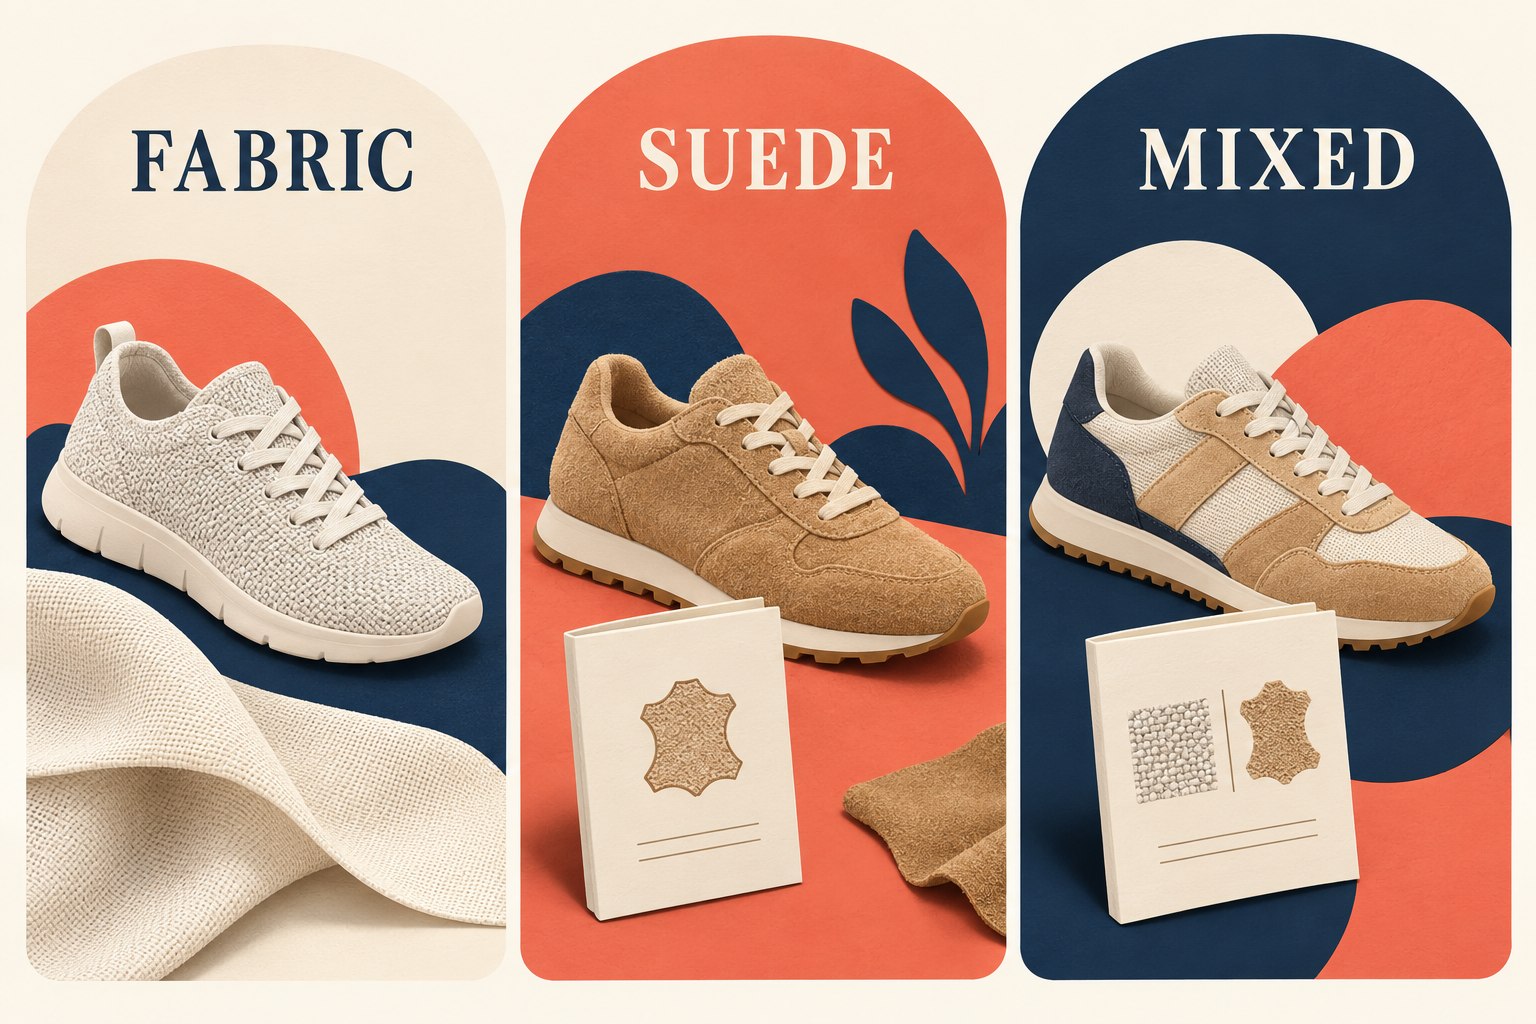
Choose a route before adding water
- Known fabric, compatible care instructions: proceed with a small, gentle hand-cleaning job.
- Suede, leather or several materials: follow the material-specific directions first. If those directions conflict, pause rather than averaging them into a homemade method.
- Unknown material, loose coating, failing glue or sentimental pair: stop and ask the maker or a suitable shoe-care professional before wet cleaning.
Care advice can differ between products. For example, adidas’ shoe-cleaning tutorial demonstrates a leather-upper, rubber-outsole Superstar. Its directions are not a universal treatment for suede or mesh. Match the example to your materials before borrowing its method.
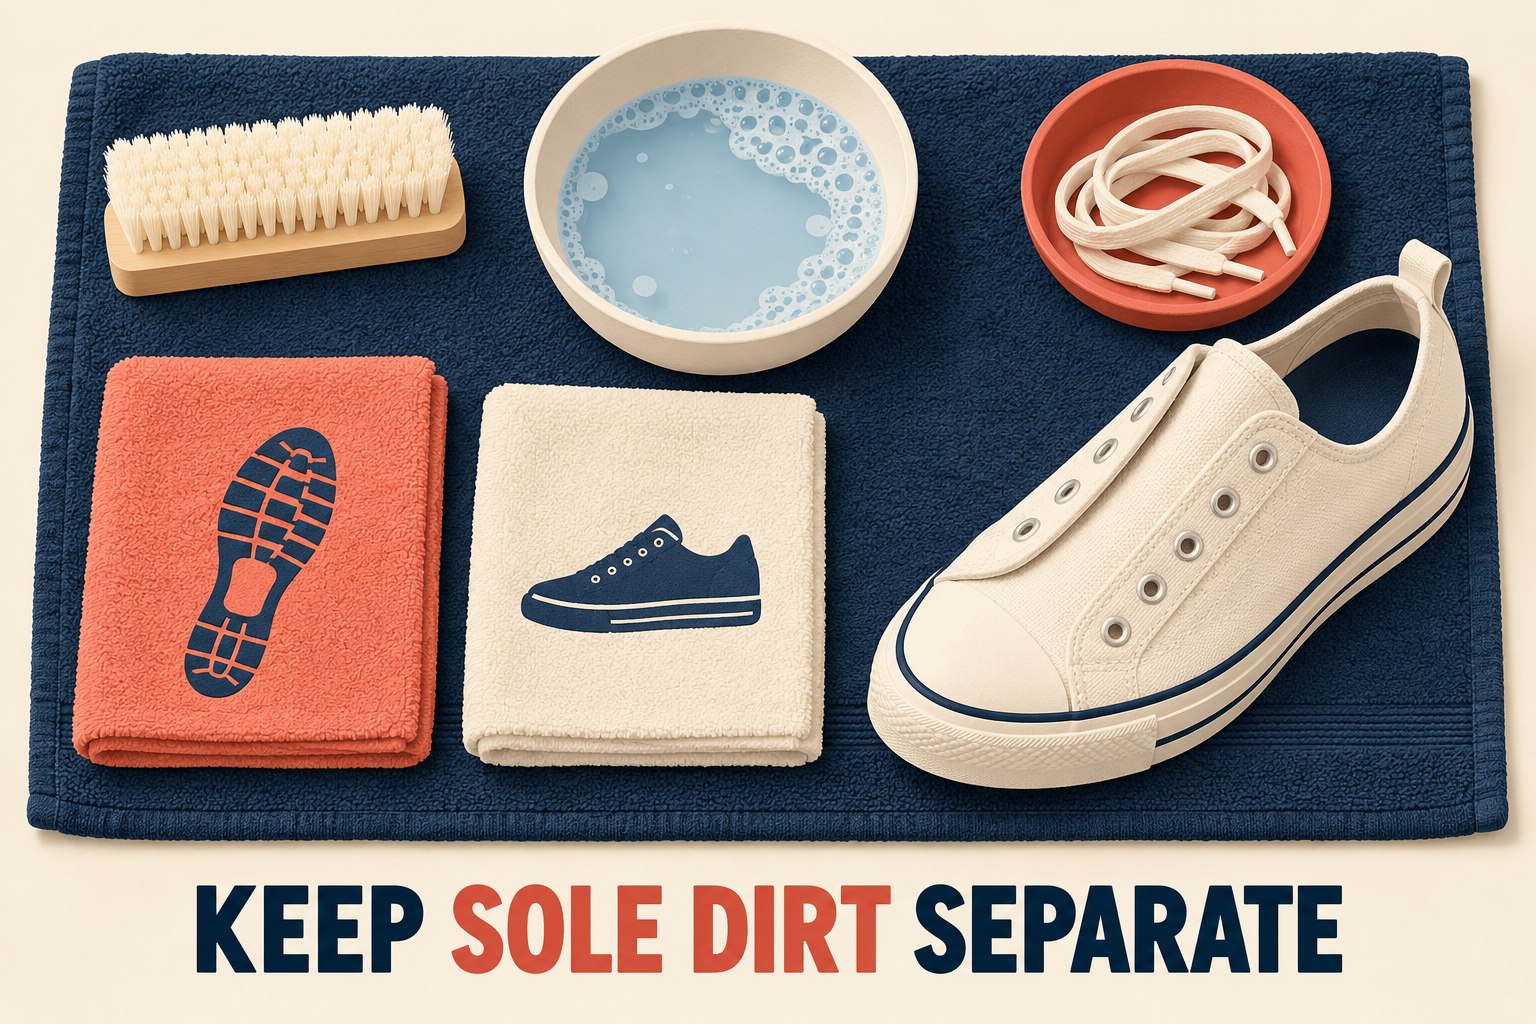
Set up a small, divided cleaning station
Gather the approved cleaner, water if instructed, a soft brush and clean cloths. Give the sole and upper separate working areas so you do not carry tread dirt back onto the fabric. Remove the laces; remove insoles only when they are intended to be removable. Keep the pair’s parts together.
Before a broad application, use the intended method on a small inconspicuous area and let that test area dry. Check for color transfer or a changed finish. A successful spot test reduces uncertainty; it cannot promise that all panels will respond the same way.
Work in small sections, then stop and inspect
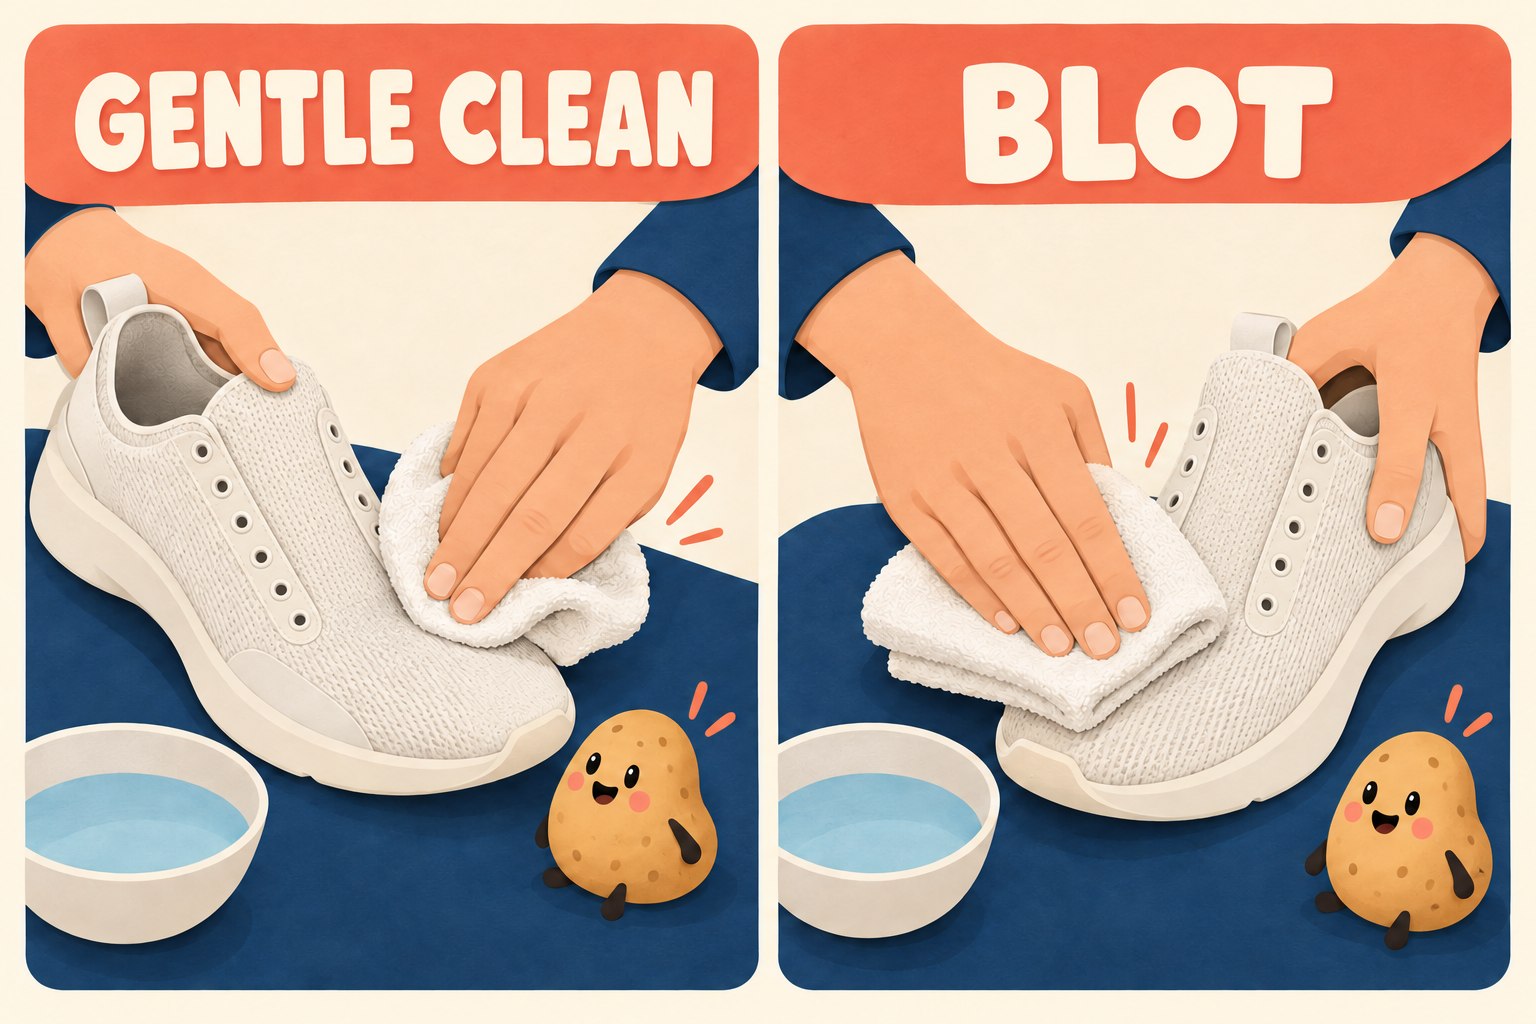
Nike’s general shoe-care guide describes removing loose dirt with a soft dry brush, using a mild diluted solution, cleaning laces separately, then cleaning soles and uppers gently. It recommends blotting rather than rubbing the upper dry and allowing shoes to air-dry at room temperature. Concentrated dish soap can discolor or strip oils from some materials.
For a compatible fabric pair, translate that into a controlled sequence:
- Dry pass: brush away loose surface dirt gently before wet work. Do not grind grit into the upper.
- Separate pass: clean the laces and sole using their permitted method. Switch to a clean cloth or brush before touching the upper.
- Small-area pass: apply the approved method to one section. Use only the pressure and moisture the care instructions permit; this guide does not call for soaking the whole shoe.
- Remove residue: follow the cleaner and shoe-care directions. Where permitted, use a clean damp cloth before blotting.
- Blot and inspect: lift moisture with a clean soft cloth. Check progress before repeating the same permitted method.
A lingering mark is not an instruction to switch to bleach, solvents or a cupboard full of mixed products. If the appearance stops improving, end the experiment and reassess after drying. Cleaning and restoring a damaged finish are different jobs.
Make drying part of the job
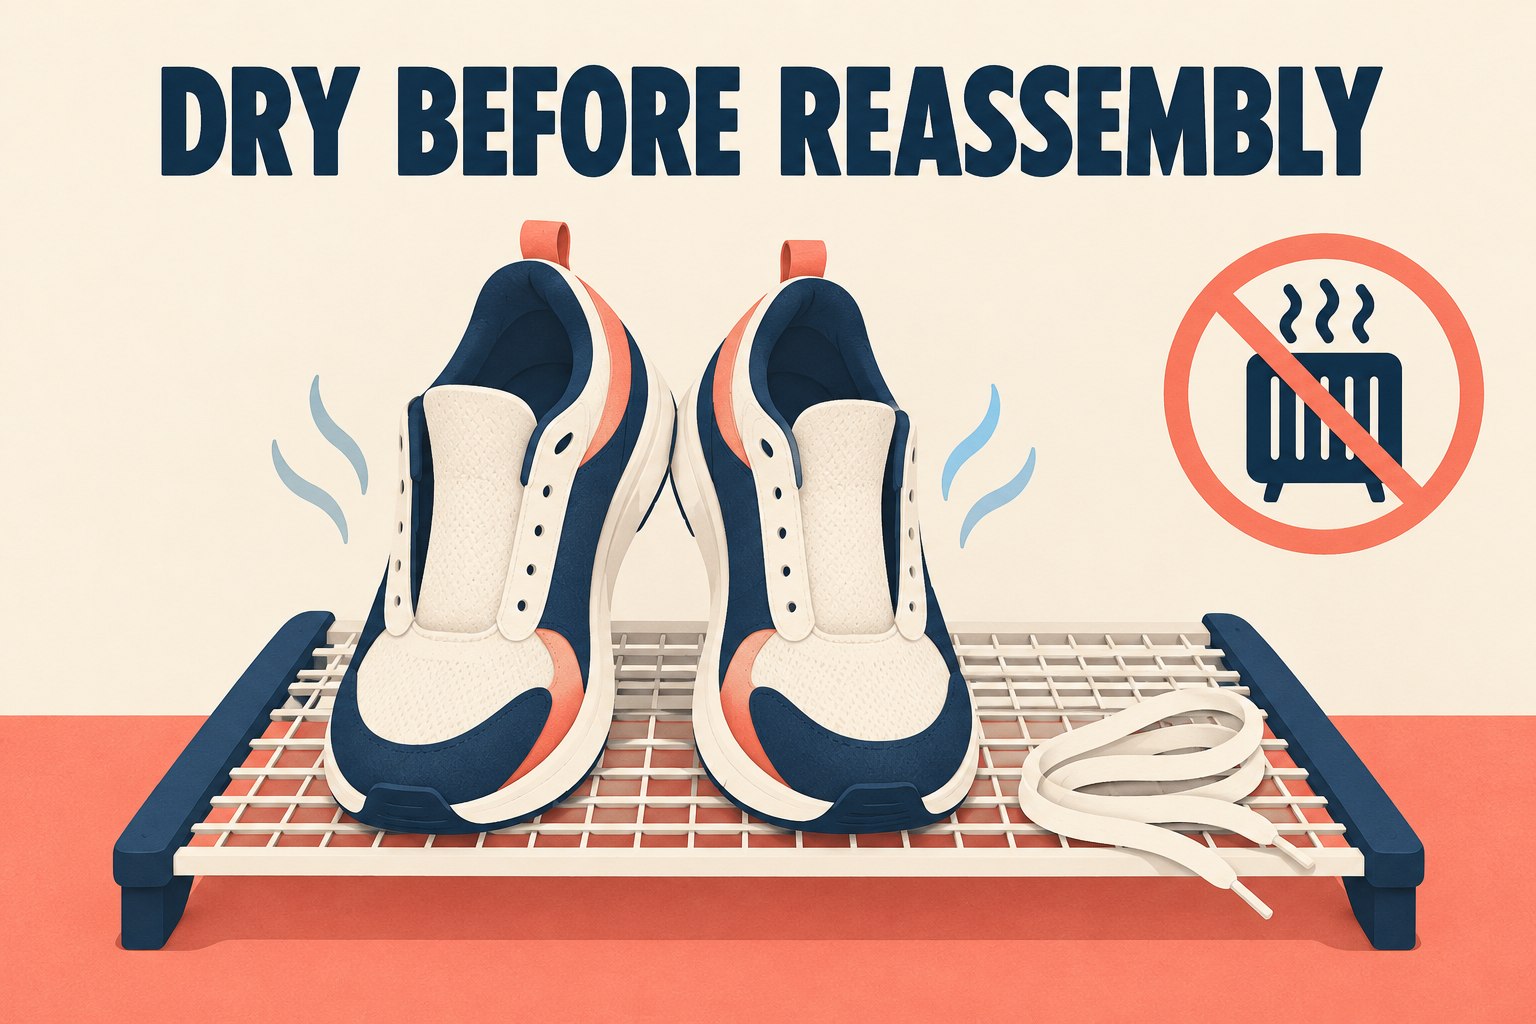
Set the shoes and removed parts somewhere indoors with airflow, following their care guidance. Avoid direct heat and sunlight. Do not put damp shoes straight into a closed storage box. Leave room around the pair rather than stacking wet parts inside them.
Drying is a condition check, not a countdown. Before reassembly, check the tongue, toe area and insoles, including their underside. If anything still feels damp, wait. Do not borrow an exact drying time from a different material or room.
Mesh also deserves its own instructions: Nike’s mesh-shoe guide describes gentle handling and air drying. Read it alongside the guidance for any non-mesh trim on your pair.
Copy this finish-the-job checklist
- Model and materials identified; specific care instructions checked.
- Cleaner and method allowed for every area being treated.
- Small test area inspected after drying.
- Loose dirt removed; sole dirt kept away from upper tools.
- Laces and permitted removable parts kept with their pair.
- No new product added just because a mark persisted.
- All parts fully dry before reassembly or storage.
- Care card saved with the method used and any area deliberately left alone.
The last line is the time-saver: next time, you do not have to rediscover which panel needed caution. A useful note can be as short as “fabric upper cleaned gently; suede trim left for separate care.”
For the rest of your cleaning supplies, build a task-first cleaning caddy. For clothes, use the separate laundry care-label checklist; shoe care should not be assumed from a clothing wash cycle.