A laundry basket is a holding area, not proof that its contents belong in the same wash. Before pressing Start, answer two questions: can these items share the wash settings, and where will each one go afterward?
This guide turns care-label reading into a small sorting routine, with a worked example and a reusable load card. The particularly useful line is remove before dryer. A garment can survive the wash and still have a very bad afternoon.

Read the label in two passes
First read the washing instructions, including any words beside the symbols. Then read the drying instructions. Keep bleaching, ironing and professional-care warnings visible too; do not stop reading after finding a familiar wash-tub shape.
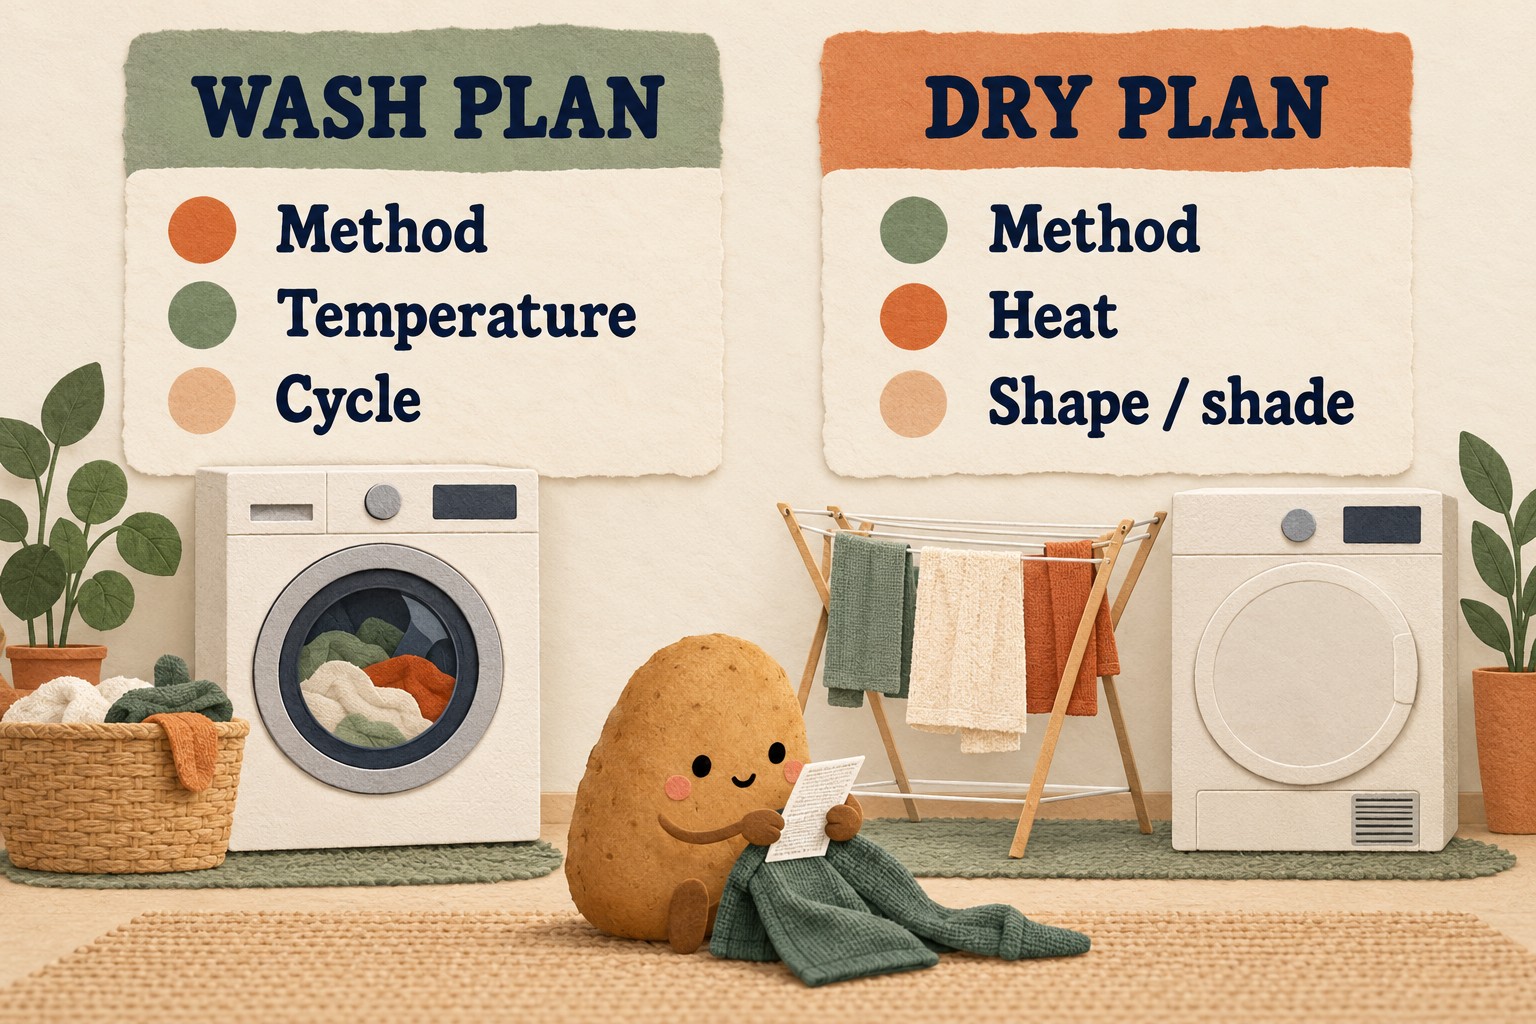
| What you are deciding | What to write down |
|---|---|
| Wash route | Machine wash, hand wash or no home washing; permitted temperature and cycle |
| Product restrictions | Any bleach prohibition or other written warning |
| Drying route | Tumble, line or flat; permitted heat and any shade or shaping instruction |
| Later care | Ironing limits and professional-care instructions, if relevant |
For unfamiliar symbols, use GINETEX’s current care-symbol reference. In that system, a number inside the wash tub is a maximum temperature in Celsius; bars underneath concern gentler mechanical treatment. A temperature limit alone does not describe the whole wash process.
Set hand-wash-only and dry-clean-only pieces aside from the machine-wash pile, as Whirlpool’s sorting guide advises. Do not silently reinterpret “hand wash” as your machine’s Delicates setting. GINETEX also distinguishes professional wet cleaning from domestic washing; the word “wet” is not permission to put the item in a washer.
If a tag is missing, illegible or contradictory, make it a question to resolve before this load. Look for the exact item’s instructions from the maker, or ask the maker or a professional cleaner. A similar-looking shirt is not a substitute label. Save a clear photo of difficult labels with a short description of the garment so you can identify it next time.
Make compatible groups, not just matching colors
The American Cleaning Institute’s Laundry Basics guide recommends sorting by color, fabric and care instructions, separating heavy soil from light soil, and keeping lint-shedding items away from fabrics that attract lint. It also advises washing new dark or bright items separately initially.
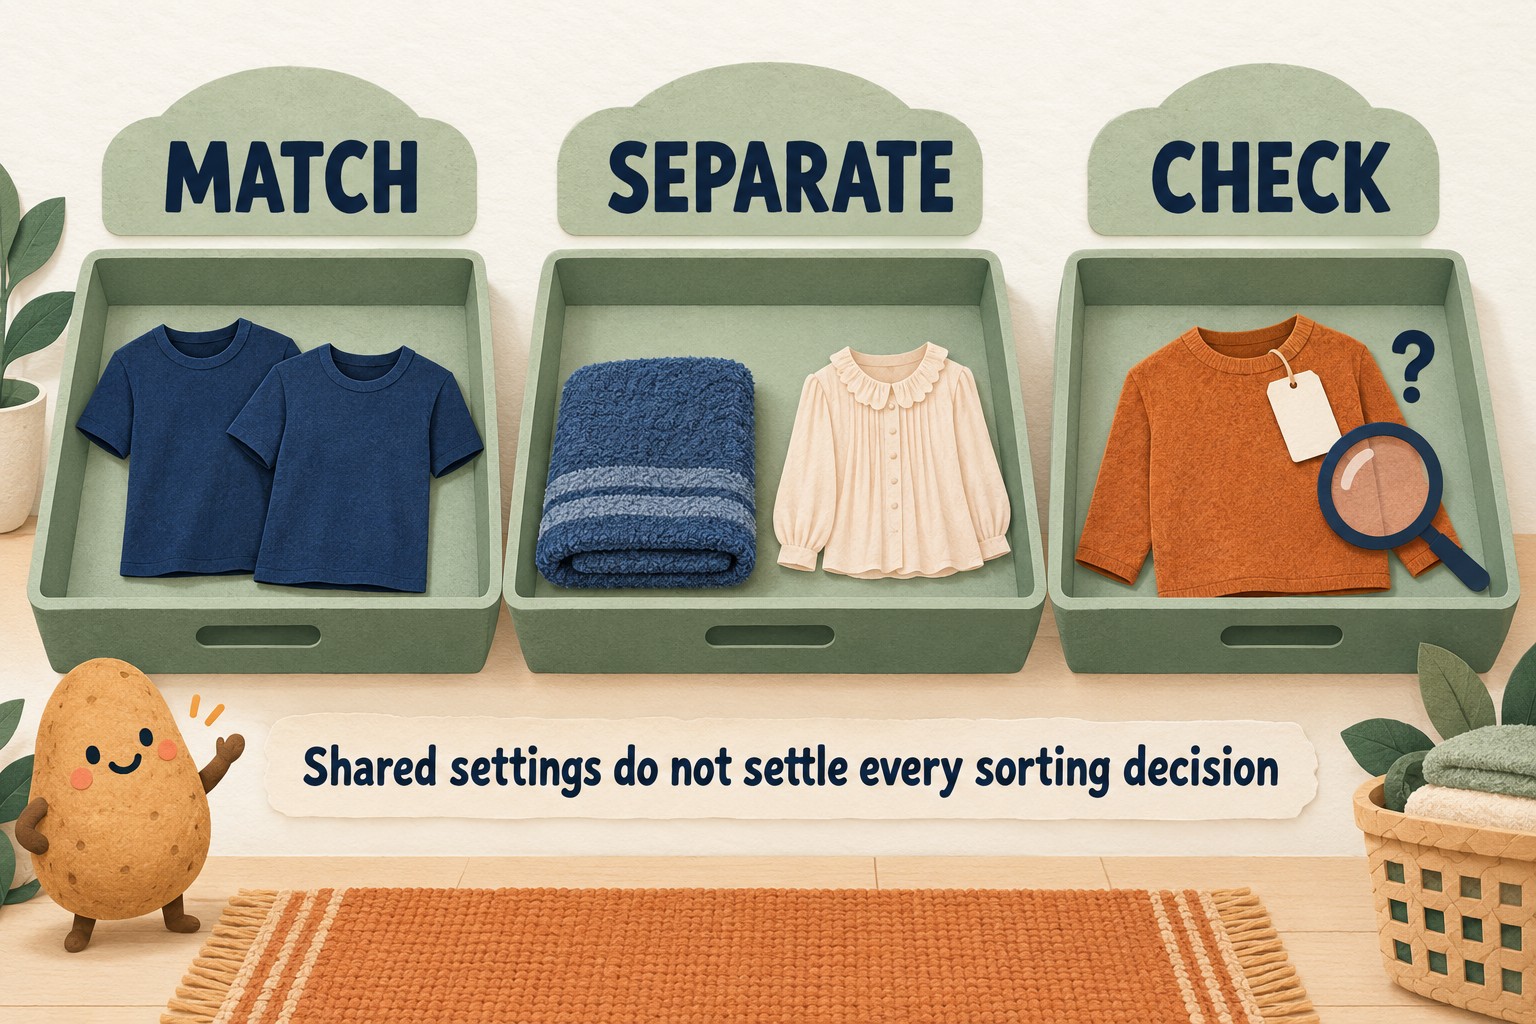
Use three temporary piles or notes. You do not need three new baskets.
- Match: items that can share the chosen treatment after the other sorting checks.
- Separate: items with a known reason to leave this load, such as a different wash method or incompatible fabric weight.
- Check: items whose care instructions you have not resolved.
Within a compatible mixed load, Whirlpool recommends following the most conservative care instructions. That is a ceiling on the treatment you choose, not a way to make every combination compatible. A gentle setting does not turn a bulky towel and a fragile blouse into ideal wash companions.
For each proposed group, write one actual temperature and cycle you intend to use, then compare that choice with every label. If you cannot confidently make those instructions agree, split the group. Avoid the vague note “usual wash”: it leaves the next person to guess which of your usual settings you meant.
A worked example: four items, two different decisions
The following garments and instructions are invented to demonstrate the card, not recommendations for all shirts, knits or towels. In this example, Shirts A and B are previously washed, colorfast, similarly weighted dark garments with similar light soil. Both labels permit the same machine cycle and detergent, and neither allows bleach.
| Example item | Its stated washing instruction | Its stated drying instruction | Decision for this load |
|---|---|---|---|
| Shirt A | Machine wash, 30°C, gentle cycle | Tumble dry low | Candidate for the shirt load; dryer allowed at low heat |
| Shirt B | Machine wash, 30°C, gentle cycle | Line dry in shade; do not tumble dry | Candidate for the same wash; remove before the dryer |
| Knit C | Hand wash only, following its label | Reshape and dry flat | Set aside for a separate hand-wash task |
| Towel D | Machine wash following its own label | Tumble dry following its own label | Set aside from this lightweight shirt load |
The load note is simple: “Shirts A and B; 30°C gentle; no bleach. Remove B and line-dry it in shade. A may tumble-dry low.” A gentle button does not make Knit C machine-washable. Spare drum space does not make Towel D compatible with this shirt load.
Notice that the two shirts can share one wash while needing separate drying routes. That is the handoff to record. In a shared household, identify the exception clearly: “navy shirt with white buttons” is more useful than “the nice one.”
Reserve the drying space before the wash
Check that you can carry out the label’s drying instruction before making the garment wet. A flat-dry item needs an appropriate supported surface; a line-dry item needs suitable hanging space. If the required space is occupied, choose another compatible load or clear the space first.
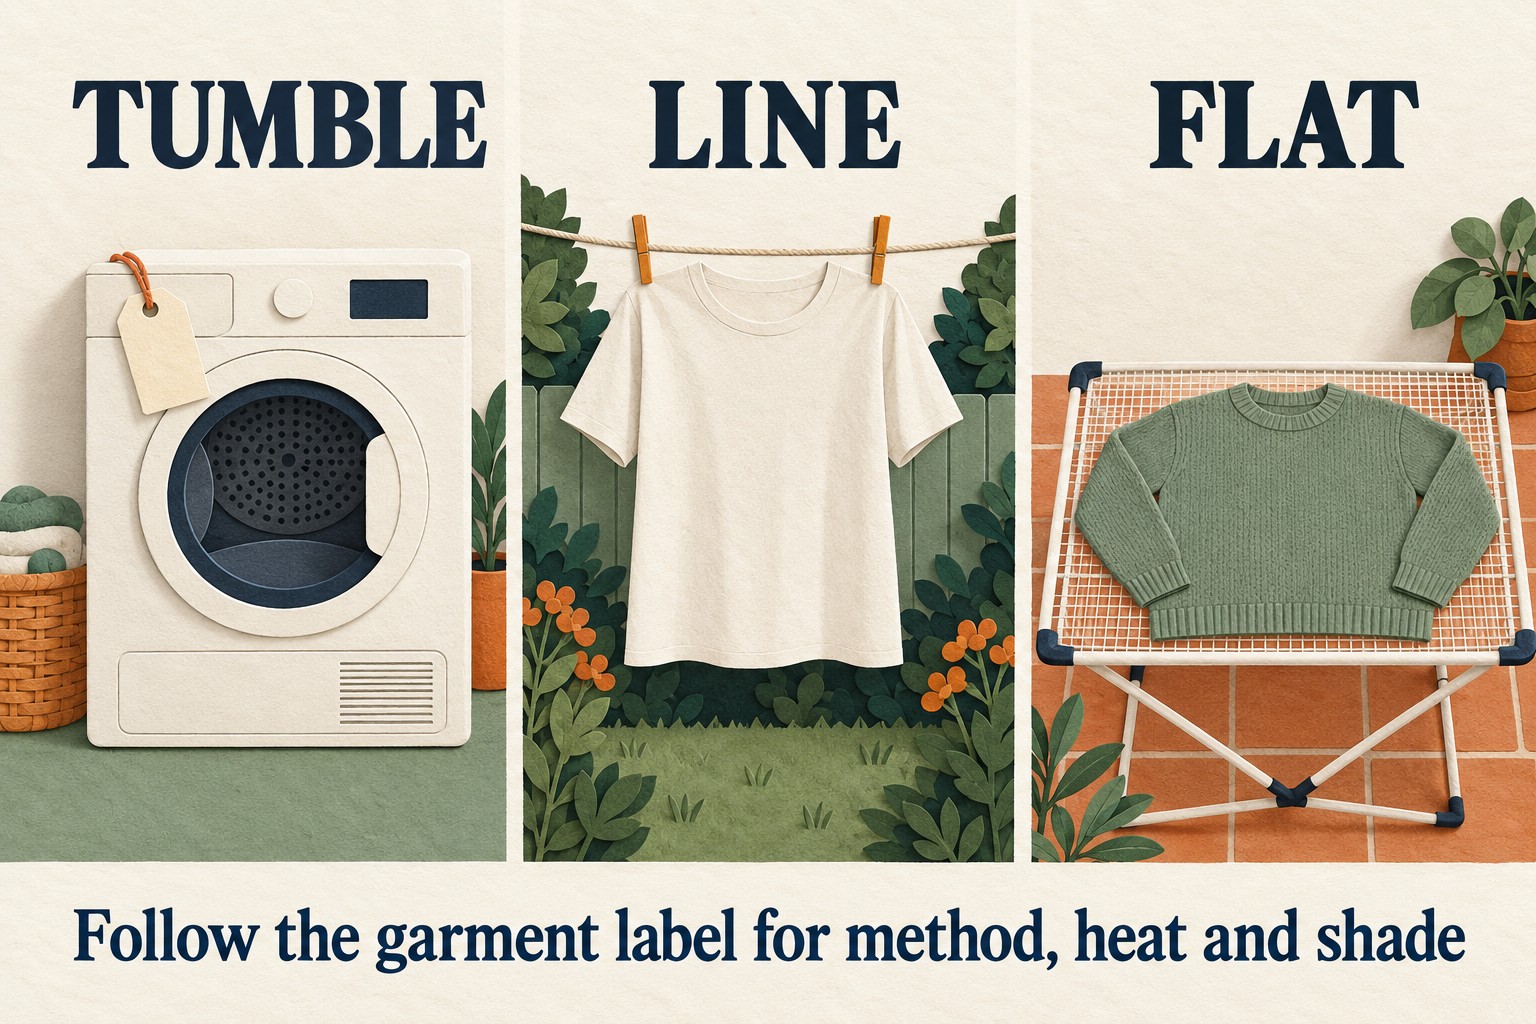
GINETEX treats tumble drying, natural drying and their restrictions separately. Follow the complete instruction, including shade where specified. Do not assume that a low-heat tumble cycle satisfies a do-not-tumble-dry label.
Make the handoff hard to miss. Put a note beside the washer controls, or add the remove-before-dryer list to the message you send whoever is finishing the load. Keep loose paper outside the appliances. If you are doing the whole job yourself, the card is still useful when an interruption turns a quick transfer into a memory test.
Use a transfer checkpoint
When the wash finishes, pause before tipping the entire basket into the dryer. ACI recommends checking whether stains remain because drying can set them. Follow garment and treatment-product instructions if further stain treatment is needed.
- Read the remove-before-dryer list.
- Find those items and put each on its planned drying route.
- Check the remaining garments for unresolved stains or care questions.
- Choose drying settings permitted by every item that is actually going into the dryer.
If someone else takes over, pass along the exception list, not just “laundry is done.” In the example, “B is on the line; A is ready for low tumble drying” describes the state of the clothes. It does not require the next person to reconstruct your morning.
Copy the before-this-load card
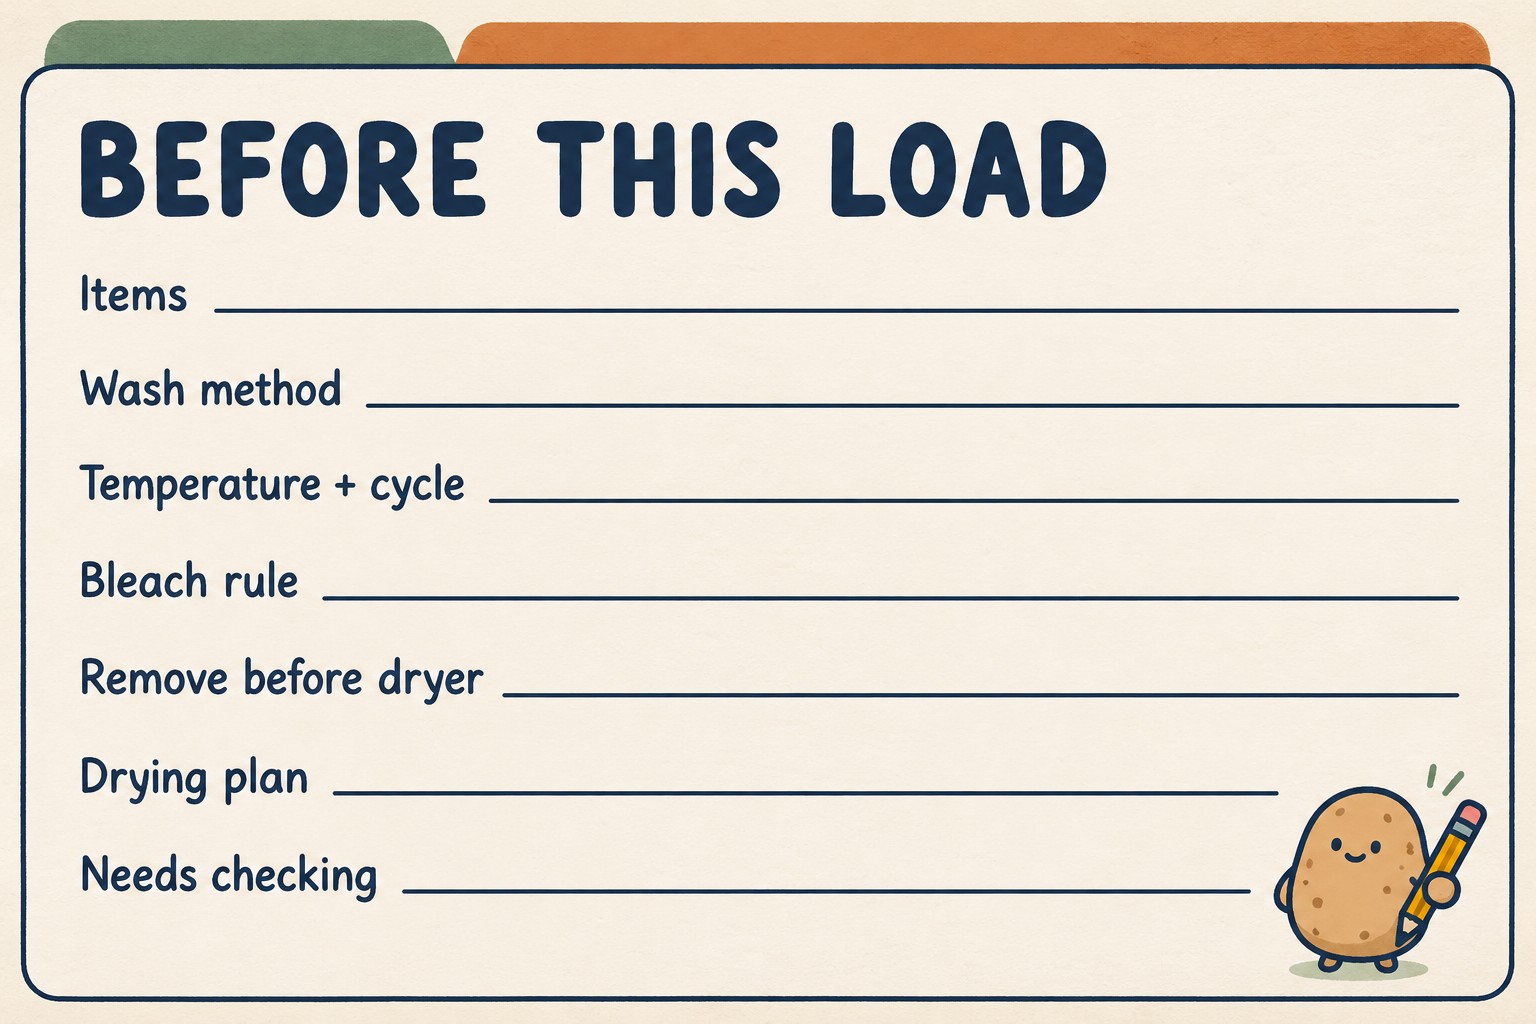
- Items: ______
- Wash method: ______
- Temperature and cycle: ______
- Bleach rule and other product restrictions: ______
- Remove before dryer: ______
- Drying plan, including heat, shape or shade: ______
- Needs checking before starting: ______
- Who will finish the load: ______
Before starting, empty pockets and use the detergent amount directed for your product and load; ACI cautions that more is not automatically better. Keep the machine’s instructions alongside the garment instructions when selecting settings.
For a familiar repeat load, reuse the card after checking that the contents still match. When a new garment arrives, read its label rather than letting it inherit the basket’s settings. The aim is not to become a walking symbol dictionary. It is to make the next wash, and especially the next dryer transfer, a little less dependent on luck.