Store seasonal clothes when they are clean, fully dry and ready for their next use. Keep likely near-term needs accessible, choose support and space that suit each garment, and record what actually goes into each container. If an item still needs drying, repair or care advice, leave it out of the ready-to-store batch.
A seasonal wardrobe swap is easier to reverse when the record says more than “summer clothes.” A useful label tells you where the navy shorts are, whether the trousers ever made it out of the repair basket, and which jacket you deliberately kept nearby. This guide gives you a readiness check and a copyable retrieval card for ordinary household clothing. Valuable, historic, fragile or specialist garments may need individual professional guidance.
First decide what should stay within reach
Before choosing a box, ask: “What might I realistically need before I plan to open this again?” Consider your own weather, travel and occasions rather than a fixed calendar season. Leave year-round pieces in the normal wardrobe. Keep a small, specific near-term group somewhere accessible, and put genuinely off-season pieces through the checks below.
Do not add unwanted clothes to a storage box simply because there is space. Give them a separate next step; our clothing donation preparation guide can help with that decision. The aim here is a retrievable wardrobe, not storing every item you own.
Use a ready-to-pack gate for every garment
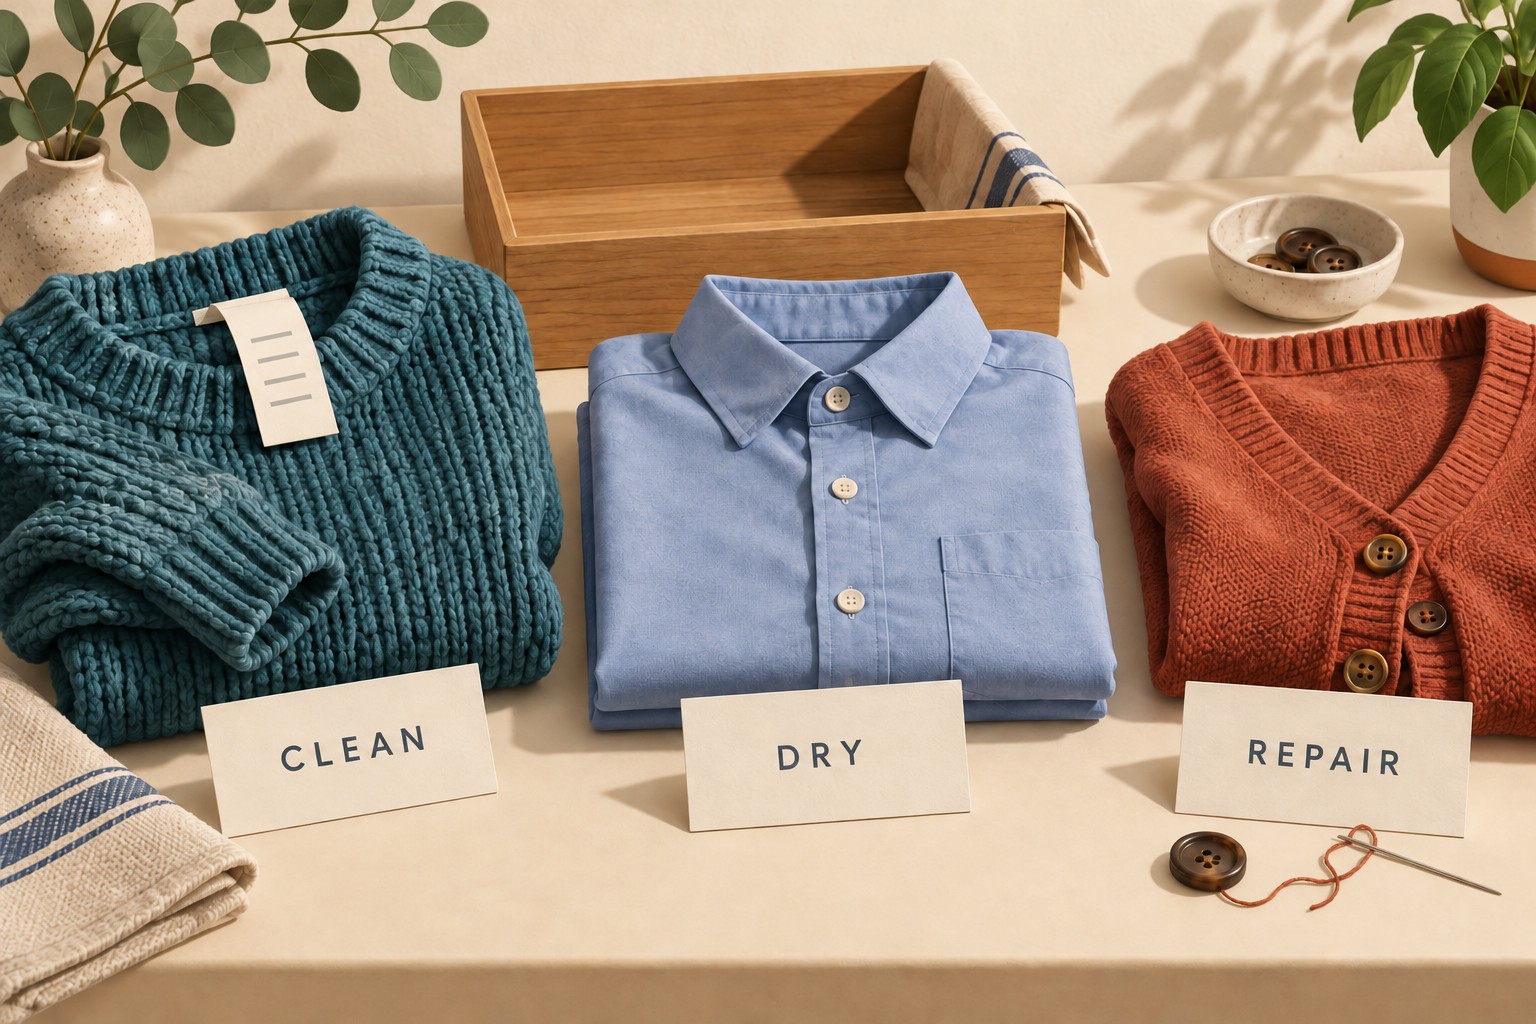
These checks are a practical organizing workflow, not a tested preservation system. Keep a visible “not packed yet” area so unfinished work cannot quietly become part of the inventory.
- Care instructions understood: read the particular garment's label before choosing cleaning or drying methods. Fiber names alone do not specify a complete process. Woolmark's care-symbol guidance explains the role of the label. If it is missing or unclear, ask the maker or a suitable cleaner instead of guessing. Our wash-and-dry care-label checklist covers the separate laundry decision.
- Clean: empty pockets and inspect cuffs, collars and visible marks. Follow the garment's instructions to resolve anything that needs cleaning. Already-clean, unworn clothing does not automatically need another wash just to satisfy this checklist. Woolmark recommends cleaning wool before storage in its wool-storage guide.
- Fully dry: finish the appropriate drying process before closing the item away. Do not infer that a thick lining or filling is dry merely because the outer surface feels dry. For example, Rab's down-jacket guidance highlights this distinction for down. Use the maker's process for your garment; uncertainty means leaving it out of the closed batch.
- Ready to use: check buttons, fastenings, seams and hems. Resolve a repair or record a specific next action in the preparation area. A missing button need not be a storage emergency, but hiding it in a box makes the next wear less convenient.
Suspected pests, mold or unexplained damage are separate problems to investigate before combining an item with the ready batch. This article does not prescribe pest treatments or restoration methods.
Choose support before choosing a container
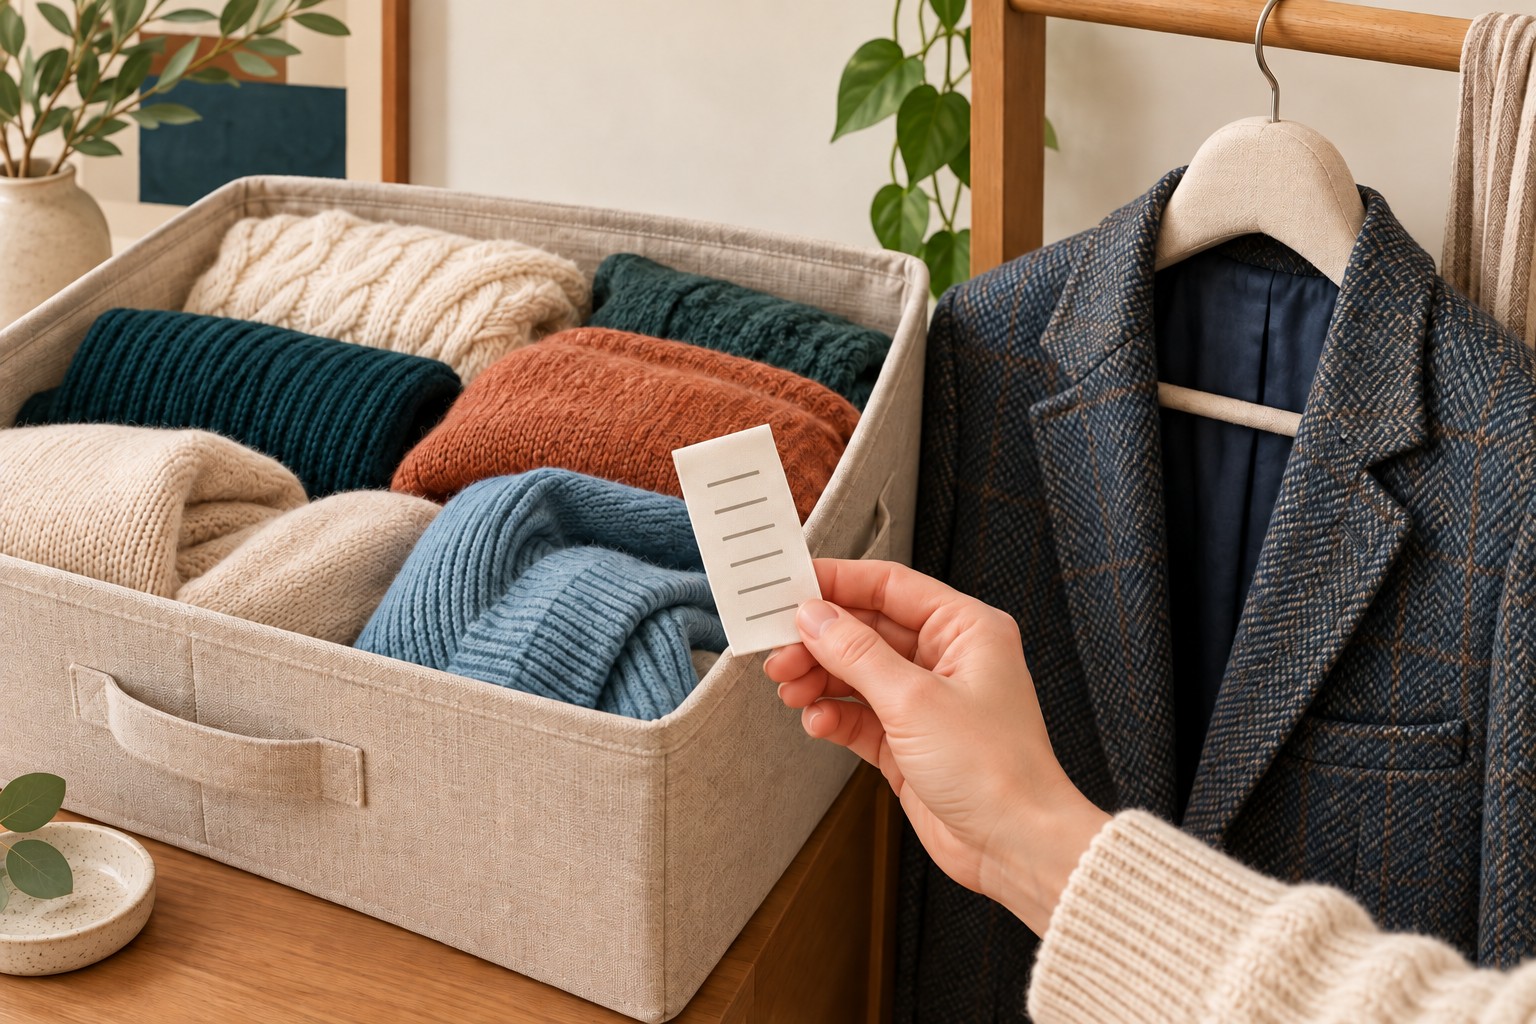
Garment construction matters as well as material. Woolmark's care guidance distinguishes gently folded knitted garments from woven wool garments supported on shaped or padded hangers. “Fold all wool” and “hang all delicate clothes” are both too broad.
- Knitted pieces: follow garment-specific advice and support folds without cramming them into the available space.
- Garments suited to hanging: choose a hanger that supports their shape. Do not assume a thin wire hanger or a wall hook is appropriate for long-term storage.
- Down and specialized clothing: check the manufacturer's storage instructions. Rab recommends storing its down jackets uncompressed in a cool, dry place; that does not establish a care method for every other insulated garment.
- Fragile or heavily decorated pieces: pause for individual advice. The Canadian Conservation Institute's hanging-storage guidance, written for collections, explains why weakened, knitted, heavily decorated or bias-cut garments can be poor hanging candidates. It is an exception warning, not a requirement to give everyday shirts museum treatment.
A sealed container and a vacuum-compressed bag solve different problems. Neither is automatically suitable for every garment. Woolmark's storage guide notes moisture and delicate-garment limits with vacuum bags. Its Merino sweater care manual, section 1.5, allows plastic containers under conditions including complete dryness and no undue compression, while advising against vacuum bags for those sweaters. That is specific guidance, not a universal plastic-container ban or endorsement.
Fragrance is not evidence that storage is protected. UC Integrated Pest Management describes uncertainty around herbal oils and cedar effectiveness. Do not mark “pest protection complete” simply because a scented sachet is inside.
Check the storage location before filling it
Look for a place you can reach, inspect and empty comfortably. Check for dampness, condensation, obvious leak paths and direct sunlight. Avoid crowding garments so tightly that retrieving one means pulling on the others. The Smithsonian's textile-storage guidance discusses environmental and access risks for collections; the modest household takeaway is to examine the location rather than assume a container fixes its surroundings.
Choose an arrangement you can inspect again. If a box will go on a shelf, check the packed box's fit and the clearance needed to remove it; our storage-bin fit worksheet handles those measurements. Do not fill a container beyond what you can comfortably handle.
Make a card that separates actual contents from plans
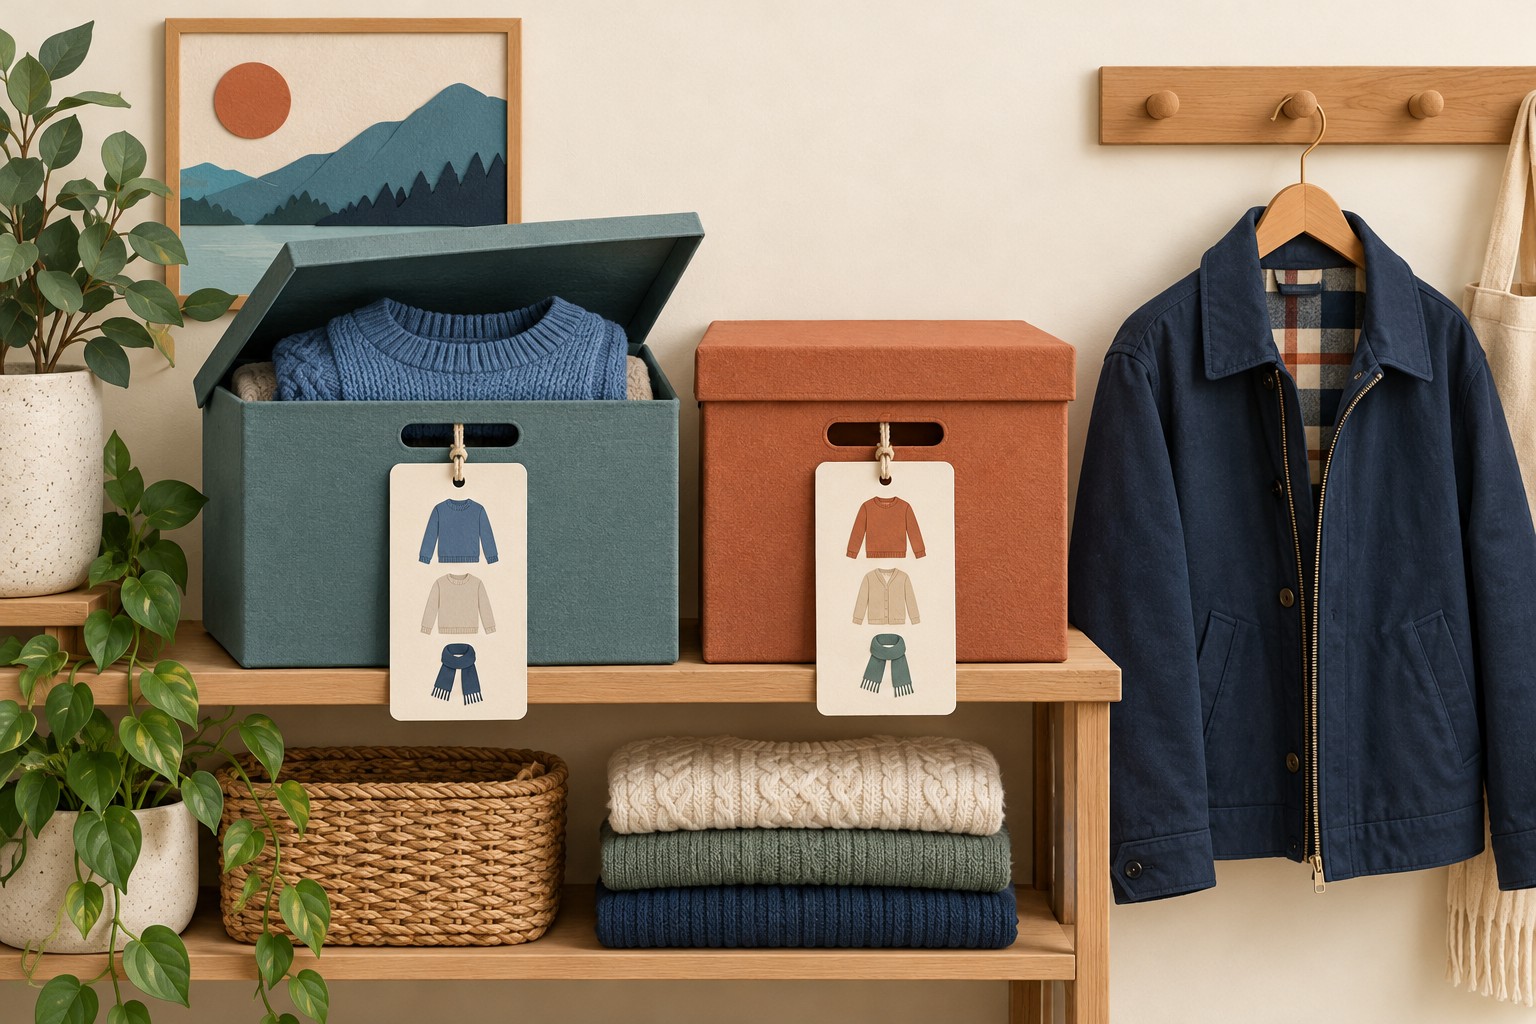
Give each container an ID, then keep one card with it and a searchable copy outside storage. A phone note or a sheet of paper is enough. Group interchangeable items, but name distinctive pieces precisely enough to identify them. “Two tops” may work for basics; “cream linen top with wooden buttons” is more helpful when that is the item you will seek.
| Card field | What to record |
|---|---|
| Container ID and location | For example, S-01; bedroom wardrobe, lower shelf, left. Use the same ID on the outside. |
| Packed on; review cue | The actual packing date and your next planned use, seasonal swap or other useful review point. |
| Ready-to-pack check | Care instructions checked; clean; fully dry; repairs resolved; container and location checked. |
| Current contents | Item or group, quantity currently inside, and position if it helps retrieval. |
| Storage exceptions | Garment-specific support, compression or other instructions you need to remember. |
| Kept accessible elsewhere | Item, actual location and reason it stays out of seasonal storage. |
| Not packed yet | Item, next action and where it currently is. Do not include it in the packed count. |
| Movement log | Date, item and quantity removed or returned, destination, and updated quantity inside. |
Copy the fields into your preferred format. Avoid a record that says “shorts: three” without clarifying whether that means three owned, three planned or three actually in this box. The card above always uses the last meaning.
Worked example: a warm-weather trip interrupts storage
Illustrative example, not a tested household: someone is putting away warm-weather clothes but expects another warm-weather trip. Three cotton shorts and two summer tops have passed their individual care, dryness and condition checks. They go into S-01. A swimsuit stays in the travel drawer; a light cardigan stays in the normal wardrobe. Linen trousers with a loose button remain in the repair basket.
- S-01 location: bedroom wardrobe, lower shelf, left.
- Current contents: three cotton shorts and two summer tops, five garments in total.
- Kept accessible: swimsuit in travel drawer; cardigan in wardrobe.
- Not packed yet: linen trousers in repair basket; next action is fixing the loose button.
- Review cue: before the planned warm-weather trip.
Then one pair of navy shorts moves to the travel drawer. Change the card to two shorts and two tops, four garments inside, and log the move. The original count is no longer accurate even if the shorts will return later. Do not add the trousers to Current contents or the packed count until they have actually passed the checks and entered the box.
Test one retrieval, then keep the record current
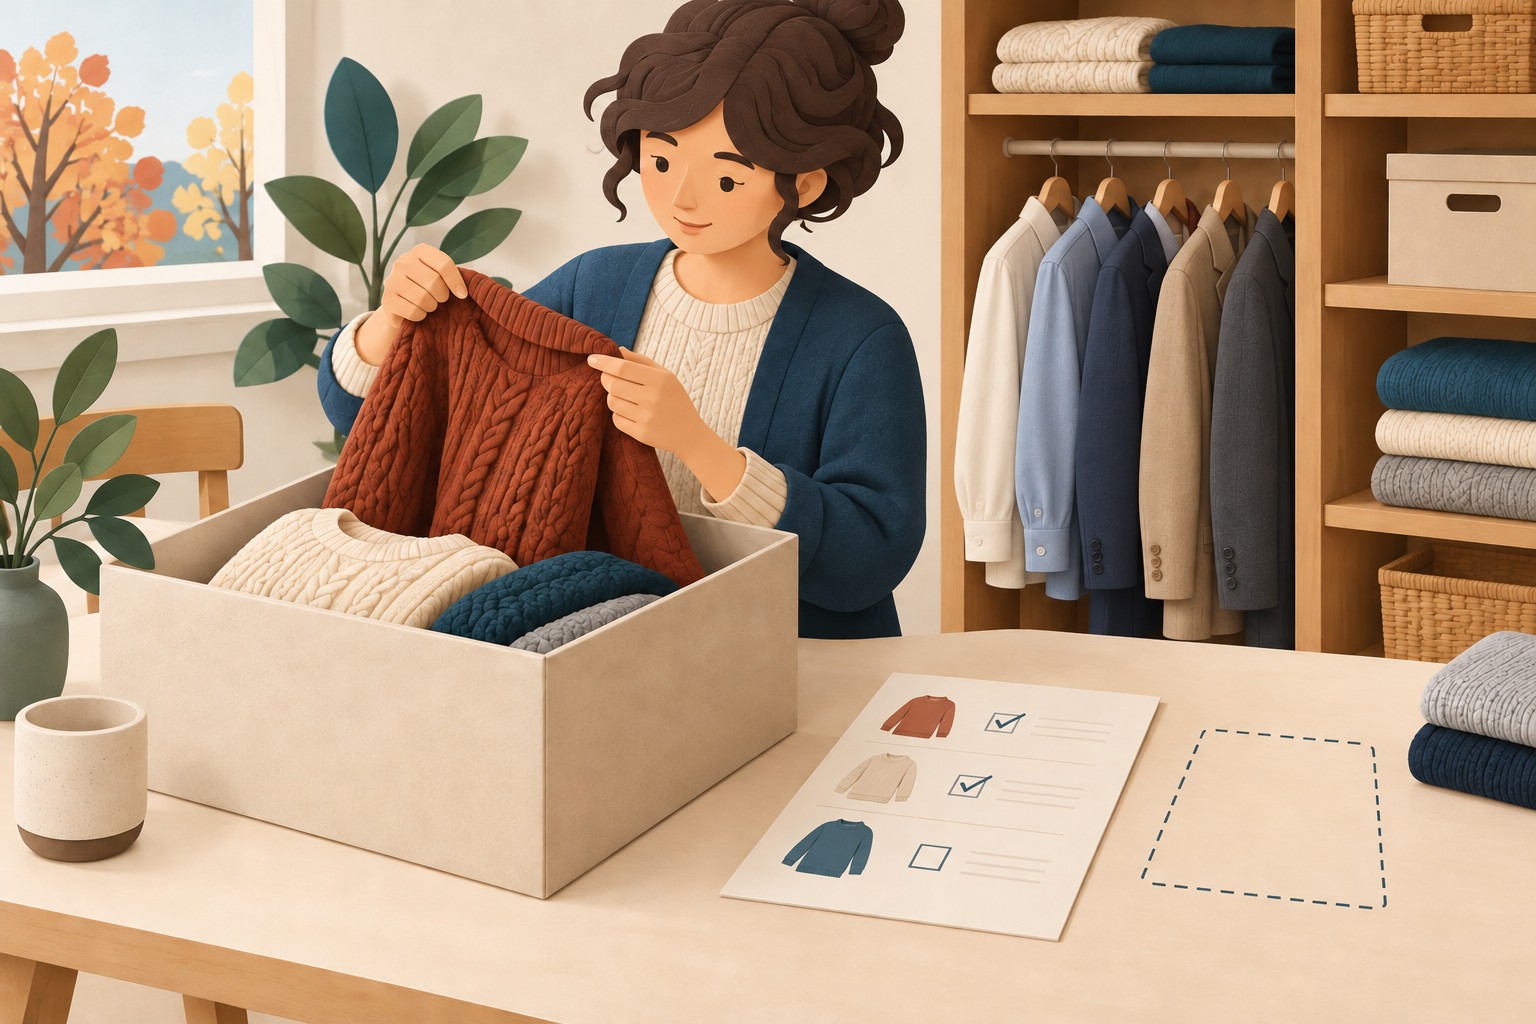
Before you put everything away, choose an item you might unexpectedly need. Use the card to find its container and location, then retrieve it without unpacking unrelated boxes. If the process is awkward, change the location, label or near-term group now. This is a proposed household check, not a timed performance promise.
Whenever something moves, update its location and the quantity inside. Worn clothing returning to storage goes through the readiness check again; an old check mark does not describe its current condition. At your next planned swap, inspect both the garments and the location, and investigate sooner if you notice a leak or another concerning change. Woolmark recommends periodic checks, but there is no single inspection interval established here for every home and fabric.
The useful finish line is simple: each stored item is ready for its next use, each exception remains visible, and the card points to what is actually there.