Clean an insulated lunch bag using the instructions for its exact model, then leave it open until the lining, seams and pockets are dry before closing it. Do not assume that a washable lunch container makes the surrounding bag machine-washable. A freezable bag also needs its own drying and freezing instructions.
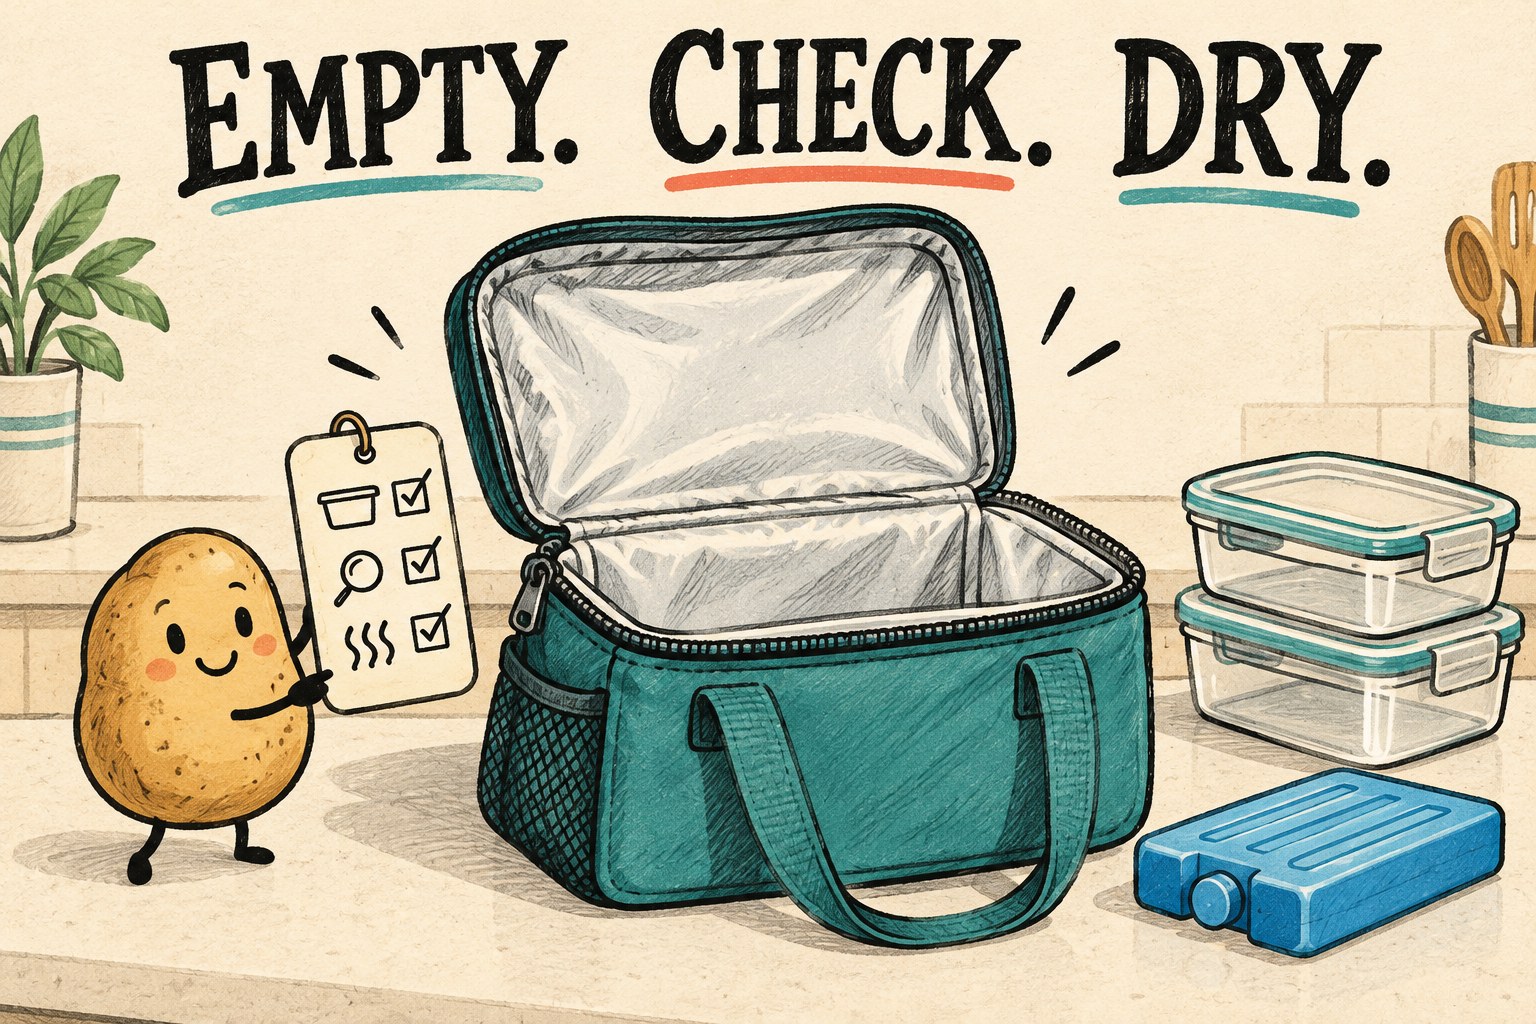
The lunch container has reached the sink. The bag has reached the chair. Yesterday's small spill has apparently been promoted to permanent resident. A useful reset treats the bag, its contents and its drying space as three separate jobs.
This guide is for routine care of an empty insulated lunch bag. It offers a repeatable inspection and handoff record, not a food-temperature test, a disinfection method or a claim that an old bag has become safe for every use.
Read the bag's instructions before choosing a method
Find the label, model name or manufacturer's care page. Write down the allowed cleaning method and any restrictions before getting the bag wet. A soft outer fabric is not enough evidence that the insulation, lining, seams and fasteners can take the same treatment as clothing.
For example, Smash's insulated-lunch care sheet directs owners to wipe the lining with warm soapy water, spot-clean the outside and let it air-dry before closing or storing it. It specifically prohibits immersion and use in a washing machine, dishwasher, dryer or microwave. These are instructions for the products covered by that sheet, not a universal rule for every lunch bag.
PackIt's care page gives different details: hand-clean its interior with mild soap and warm water, or use the permitted wipe method, spot-clean the exterior, and dry it completely with the flap open before freezing. It also excludes machine washing, tumble drying, dishwashing and microwaving. Do not transfer that freezing step to an ordinary insulated bag.
If the model or care instruction cannot be identified, pause before soaking, using an appliance or trying a stronger cleaning product. Finding the instruction is more useful than choosing the most confident comment under a cleaning video.
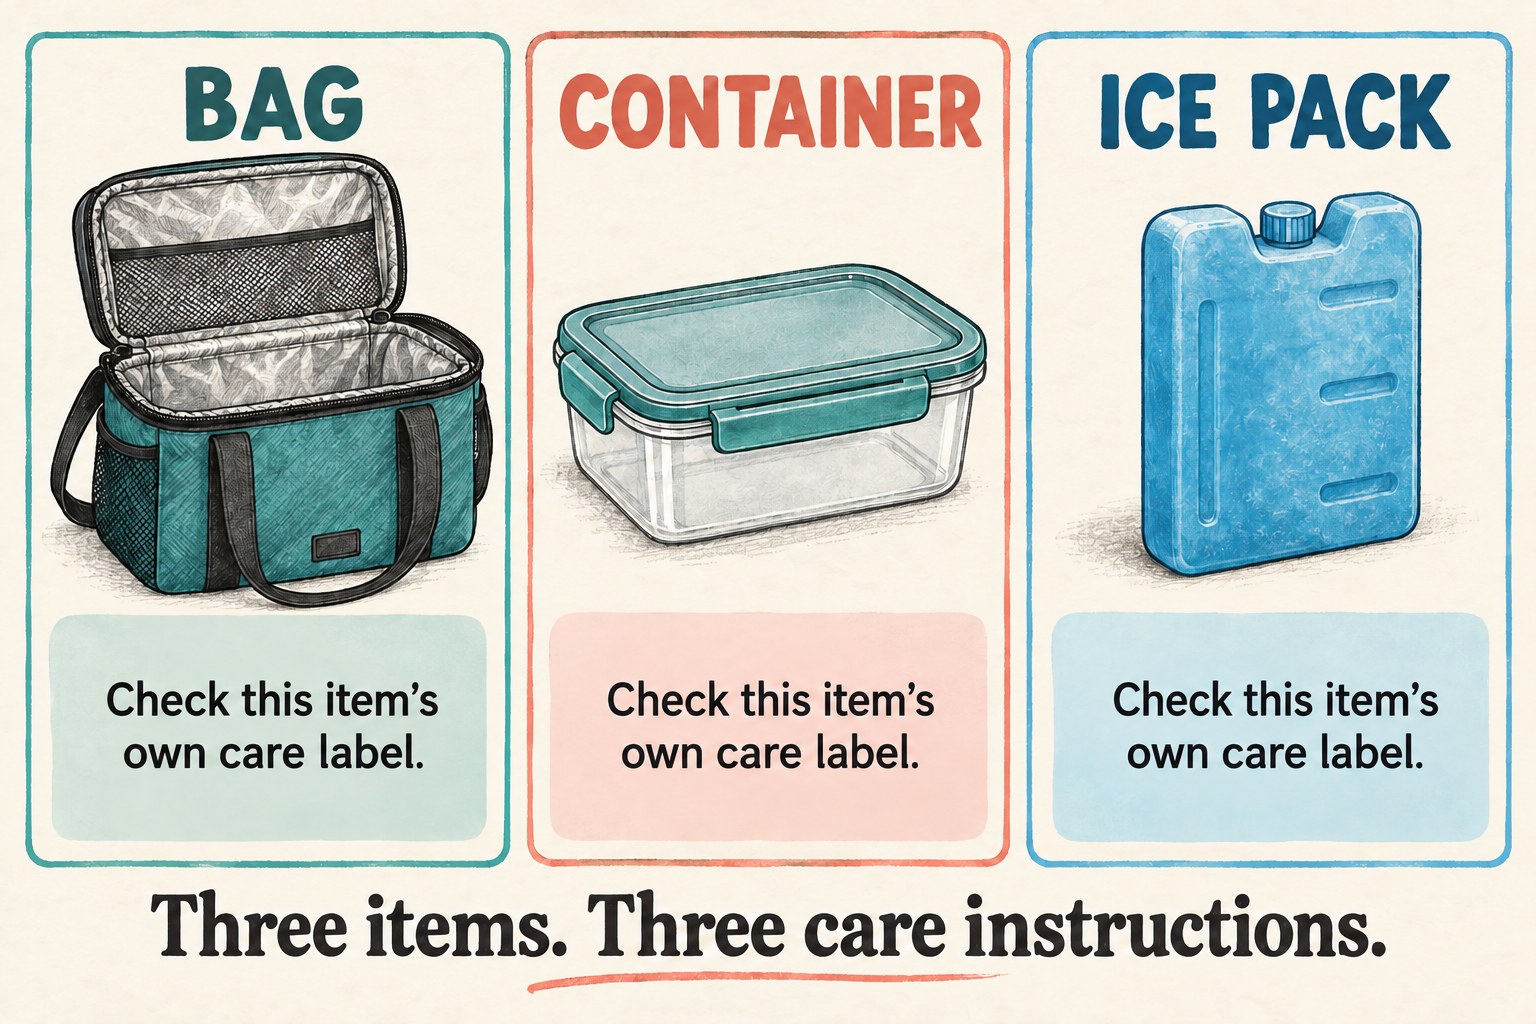
Empty everything and give each part its own route
- Remove containers, utensils, napkins and anything tucked into the outside pockets.
- Take out a removable ice pack or base insert only if it is designed to come out. Do not peel back a fixed lining or try to extract integrated cooling material.
- Set the parts apart so a cleaned item does not disappear into the damp bag again.
- Read each accessory's care instructions separately. An appliance-safe container does not authorize putting the bag beside it in that appliance.
For an everyday reset, emptying the bag after use also lets you see what needs attention before a spill dries in place. Smash specifically includes emptying after use in its care instructions. You can use our container-and-lid matching checklist if the problem is a growing collection of orphaned lids rather than the bag itself.
Use a three-point inspection before and after cleaning
Look into the accessible bottom corners, along the lid and base seams, and inside the pockets. These are inspection prompts, not permission to prise apart a seam. Note where you actually found crumbs, sticky residue or moisture; the exterior can look fine while one corner still needs attention.
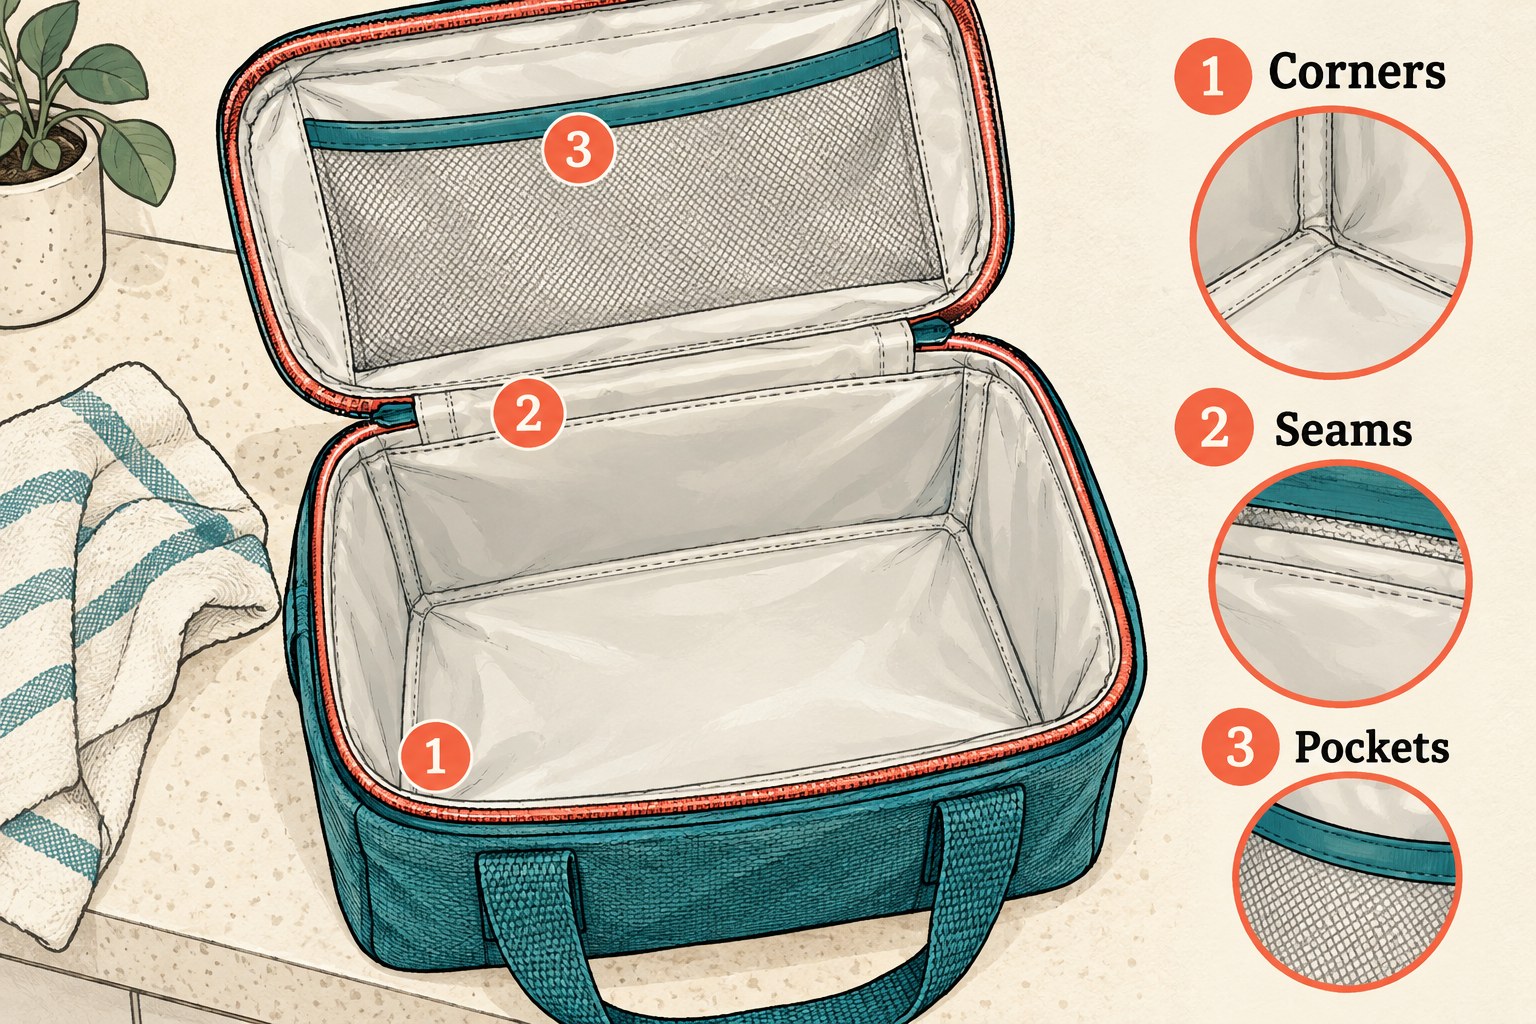
| Check point | What to record | Next step |
|---|---|---|
| Bottom corners | Loose debris, visible residue or a wet patch | Remove debris and use the model's permitted cleaning method. |
| Accessible seams | Residue caught along an edge, or a damaged join | Clean reachable surfaces gently; stop if cleaning would require pulling the lining apart. |
| Pockets and flap | A forgotten item or moisture in a folded area | Empty and open the area for cleaning and drying as allowed. |
Rex London's cleaning guide describes removing crumbs, wiping with a cloth or sponge and washing-up liquid, removing residue with clean water, and air-drying. It cautions against rough scourers and hard-bristled brushes that could damage the lining. Match any product and water use to your own bag's directions rather than treating this sequence as a recipe for all materials.
Finish the permitted clean, then check the result
Where your instructions allow a cloth-based clean, work across the accessible interior instead of giving only the central flat panel a quick swipe. Follow the specified soap or cleaner guidance and remove cleaning residue as directed. Clean the outside according to its own instruction; a spot-clean exterior does not automatically permit an all-over soak.
Do not combine household cleaners, improvise a stronger chemical treatment or assume that fragrance means the residue is gone. If a visible problem remains after the permitted method, or the lining is peeling, torn or inaccessible, stop using a generic cleaning routine as the answer. Check the maker's guidance for that condition before repacking the bag.
The useful completion question is concrete: “Have I checked the place where the spill actually was?” This does not certify sanitization or food safety. Food storage temperatures and the handling of spoiled food are outside this care checklist.
Keep drying separate from putting away
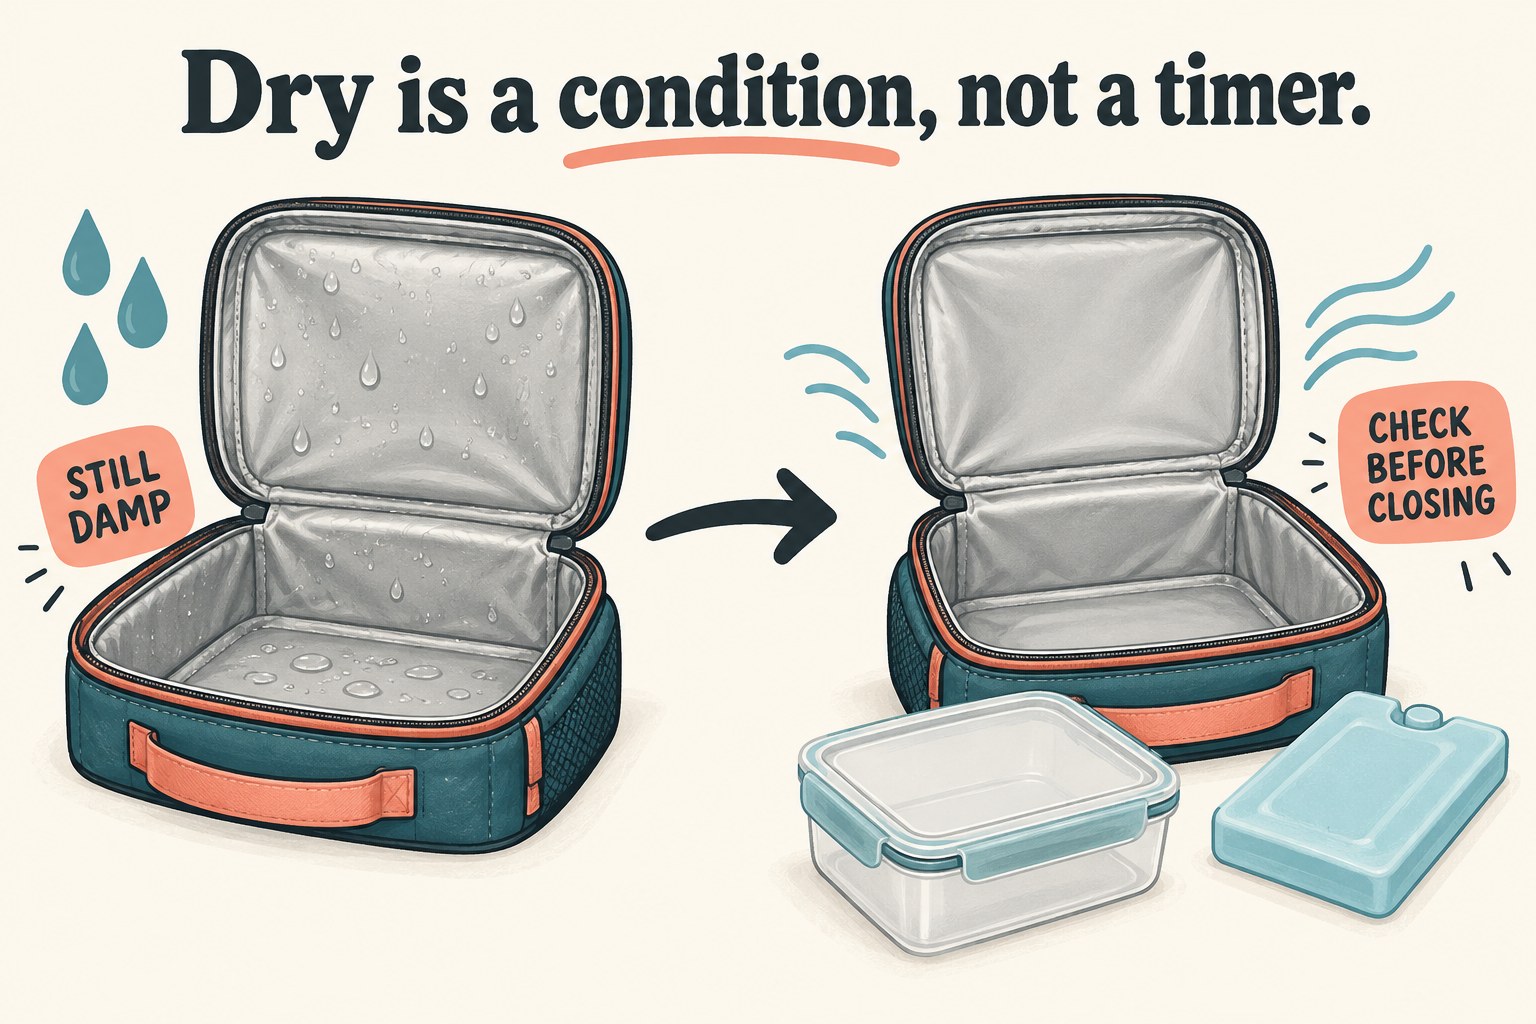
Leave the bag open as its care instructions specify. Check the same corners, seams and pockets again before closing it, returning accessories or putting it into storage. A dry-looking outside is not the same observation as a dry inner corner. There is no universal number of hours here: the bag, amount of moisture and drying conditions differ.
For a PackIt model covered by its care page, complete drying comes before freezing; the manufacturer identifies this as a way to avoid frost forming on the bag. For a normal insulated bag, do not add a freezer step simply because another product uses one. Nor should freezing be treated as a substitute for cleaning.
Choose a temporary place where the open bag can remain undisturbed. Our drying-space planning checklist can help with arranging room around items, but it does not replace the lunch bag's own drying directions.
Copy this bag-specific reset record
Keep one note for the bag rather than rebuilding the decision every evening. The record below is an original organizational aid; the manufacturer's directions remain the authority for the cleaning method.
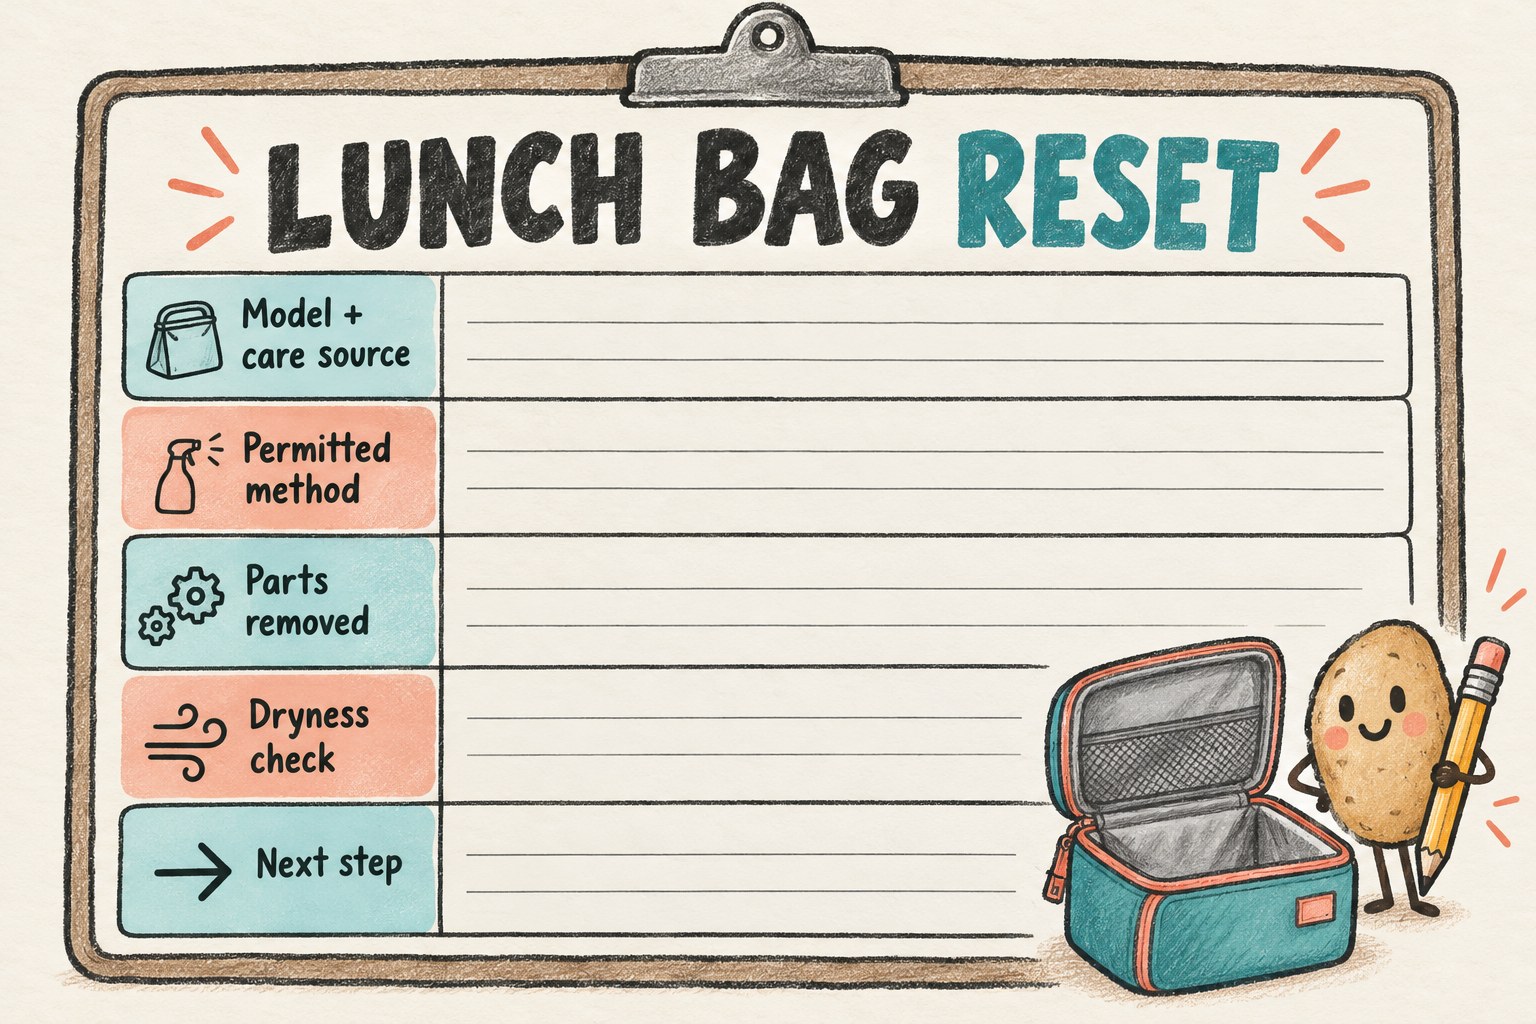
- Bag model and care source: __________
- Interior method / exterior method: __________ / __________
- Prohibited appliances or treatments: __________
- Removable parts and their separate care sources: __________
- Residue found at: corner / seam / pocket / elsewhere: __________
- After-cleaning observation: __________
- Dryness check before closing: corners __________; seams __________; pockets __________
- Next step: continue drying / ready to store / consult maker
Illustrative example: A bag's label says to wipe the lining and spot-clean the exterior. Its container is cleaned separately under the container's instructions. After the permitted wipe, one corner remains damp, so the owner records “continue drying” and leaves the bag open. No time estimate or appliance setting is invented to make the checklist look finished.
The goal is modest: the next person using the bag should know which method belongs to it, what was removed, and whether the drying check is actually complete. Tomorrow's lunch does not need yesterday's mystery corner as a travelling companion.