Set up an indoor drying rack by assigning each garment a place before filling the bars. Reserve supported space for flat-dry items, enough height for hanging pieces, and clear gaps between neighboring garments. Then check that the loaded rack still fits the room.
This guide is for an ordinary, unheated airer. It turns drying instructions into a small layout plan you can reuse. If you still need to decide what can share a wash, start with our care-label sorting checklist.
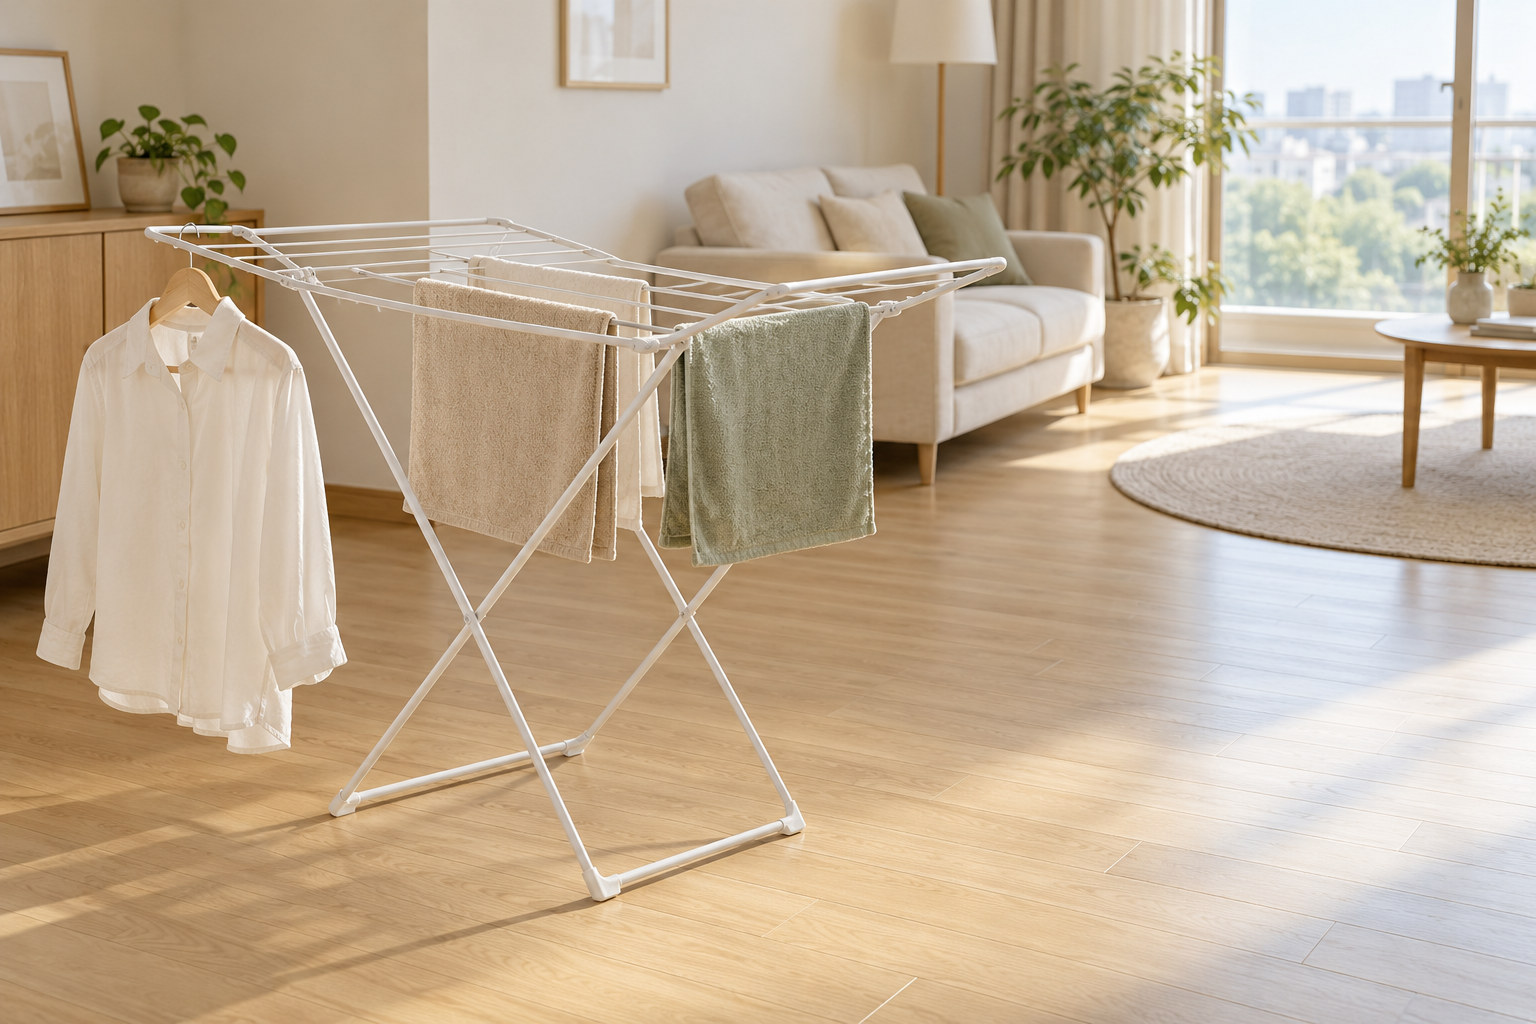
Translate the drying instruction into a space requirement
Read the whole label, including written qualifications. GINETEX distinguishes line drying, flat drying, drip line drying and drip flat drying; shade can be an additional requirement. A do-not-tumble-dry instruction alone does not tell you which rack position will support the garment correctly.

| Your label says | What to reserve | What to check |
|---|---|---|
| Line dry | Suitable hanging space | The garment can hang as directed without resting on the floor or another item |
| Dry flat | A suitable supported surface | The body and sleeves fit without hanging off the edge |
| Drip line or drip flat dry | The specified hanging or flat position, with provision for drips | Water will not fall onto other laundry or a vulnerable surface |
| Dry in shade | The required drying position outside direct sunlight | The spot will remain shaded while the garment is there |
Copy combinations together: “flat, reshape, shade” belongs on one item entry. Follow any instructions about removing water; do not automatically add an extra spin or wring a garment to make it easier to place. If the label is unreadable or conflicting, resolve it with the maker before washing.
Check the room with the rack fully open
Open and secure the rack according to its instructions. Check its load limit and permitted uses of wings, rails and hanger hooks. A rail that fits a hanger is not necessarily designed to carry one.
Brabantia's indoor-drying guide recommends air movement and room ventilation, as well as measuring the available space. Choose a position where you can use the room's ventilation safely and keep access to it clear. Follow your home's ventilation guidance rather than treating a fan as a substitute.
Walk around the open rack. Open nearby doors and drawers. Leave the exit route usable, keep fabric off furniture, and check where dripping items would drain. Include the clothes' footprint: long sleeves and trousers can extend beyond the frame. Keep this setup away from direct heat; heated airers require their own instructions.
Reserve the awkward shapes first
Begin with pieces that have only one workable location. A flat-dry sweater may occupy an entire support; long trousers may need the rack's tallest suitable section. Add smaller pieces after those spaces are assigned.
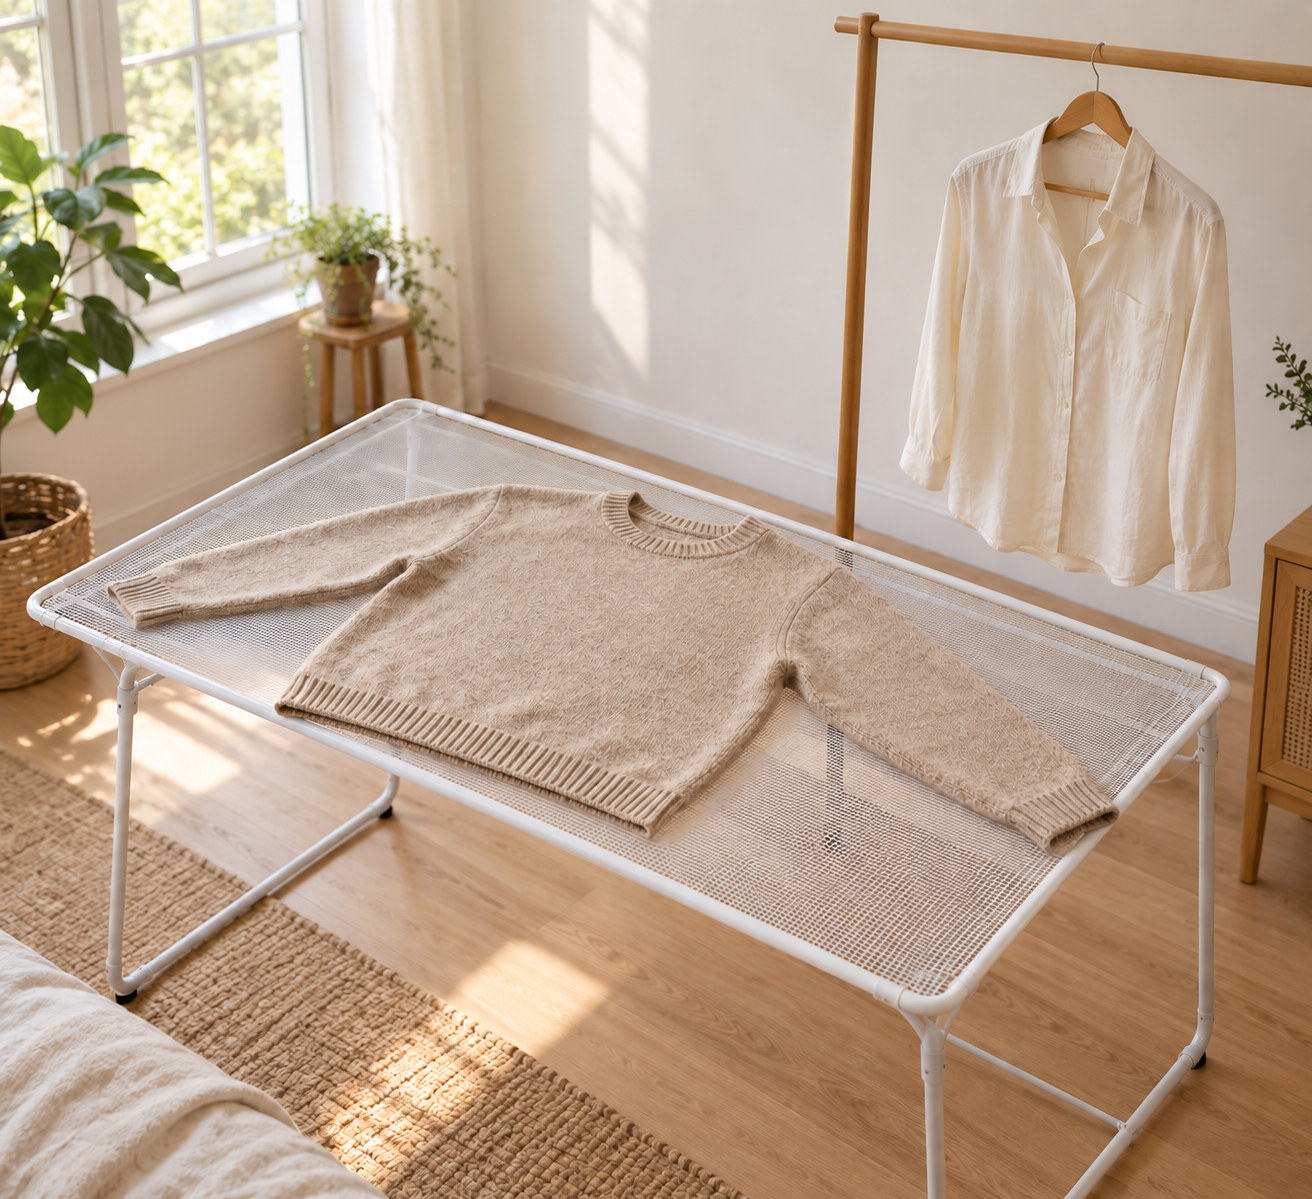
Woolmark recommends flat drying wool knitwear on a suitable towel or garment-drying mesh and gently restoring its shape. Hanging wet knitwear can stretch it. Its guidance also cautions against direct sunlight and direct heat. Follow the garment's own care claim, and support the sleeves as well as the body.
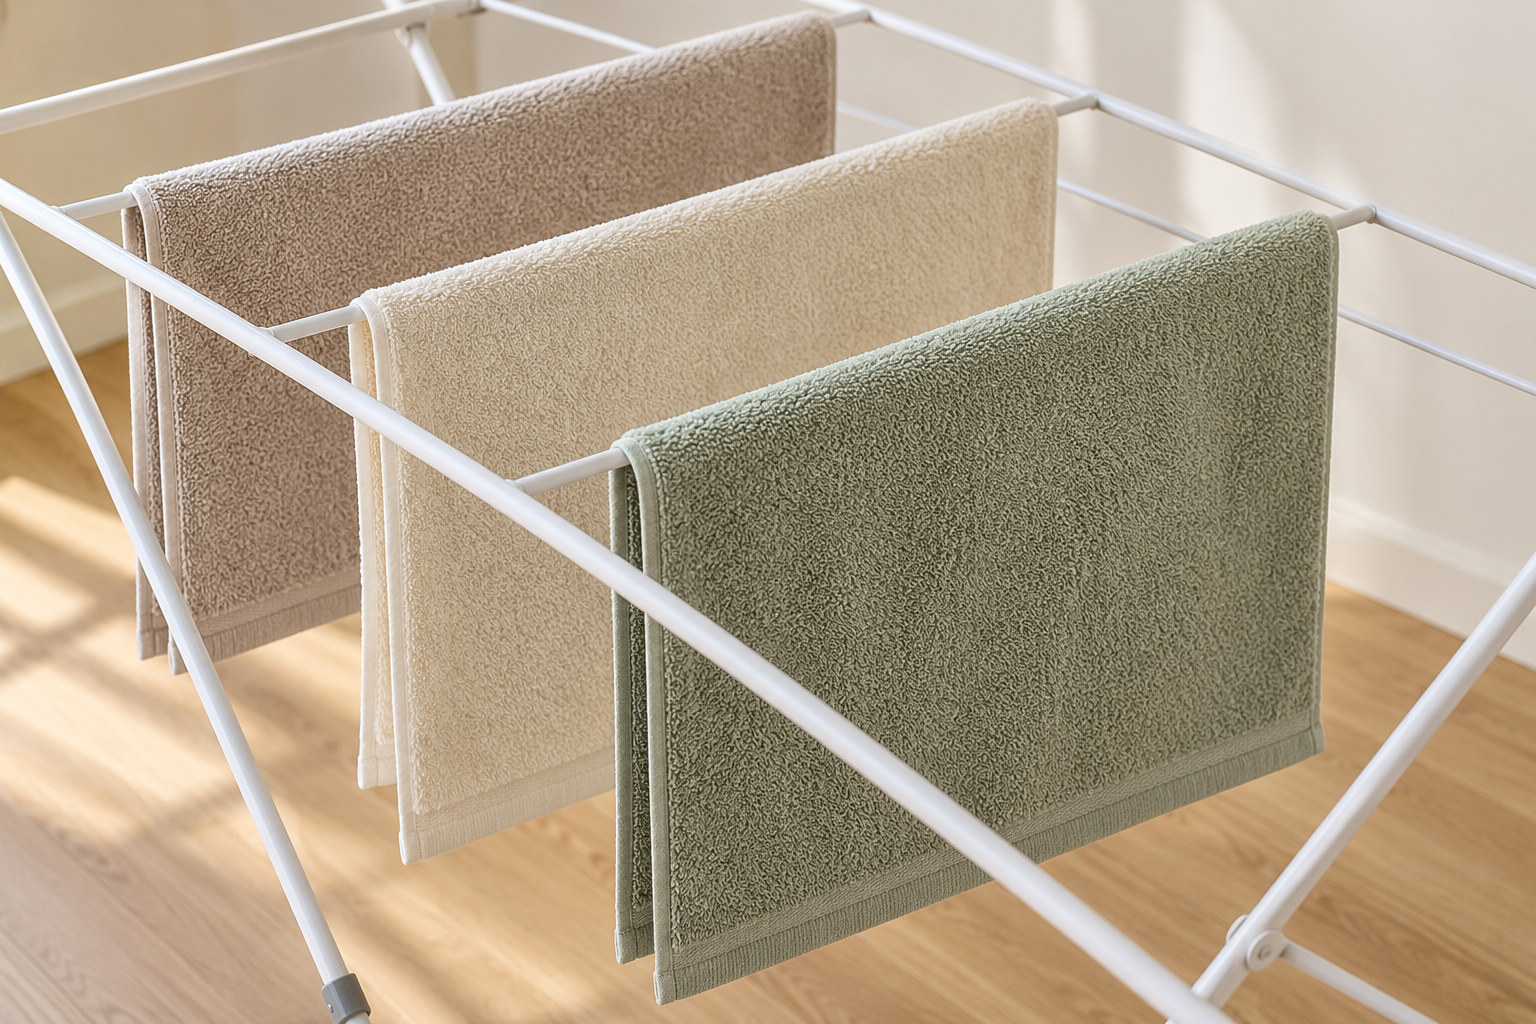
Next, inspect the hanging pieces from the side. Separate touching items and open out bunched fabric, while preserving the required support. Brabantia advises spreading garments apart and avoiding unnecessary layers. Where folding over a bar is suitable, do not pile a second item on the same spot.
Use a visible-gap check rather than an invented universal measurement. Can you see separation between neighboring pieces along their hanging length? A gap at the top is little help if two towel bottoms press together. If the rack cannot hold the load this way within its stated limit, reserve another suitable drying area or wash fewer items next time.
Try a four-place map
This fictional example assumes the items have already been washed by their respective permitted methods. Their stated drying instructions are examples, not rules for every garment of that type.
| Item and instruction | Assigned place | Final layout check |
|---|---|---|
| Blue knit: reshape and dry flat in shade | Separate garment-drying mesh, outside direct sunlight | Body and sleeves supported; no hanging item dripping above it |
| White shirt: line dry in shade | Hanger position approved by the rack maker, using support suitable for this shirt | Shirt clear of the knit, neighboring fabric and floor |
| Long trousers: line dry | Tallest suitable hanging section | Hems clear of lower rails and laundry |
| Two small towels: line dry | Separate remaining bars | No overlap; fabric remains separated below the rails |
Suppose the trousers cover the only usable towel bars. Move the towels to another suitable space; do not turn the sweater's flat-dry area into overflow hanging space. The map records a real capacity conflict before it becomes a rack full of touching fabric.
Recheck the clothes before reclaiming the space
Choose a convenient time to inspect the load, without treating that time as a drying deadline. Check folds, cuffs, waistbands and thicker seams, not only the exposed middle of each piece. Remove items once they are fully dry, then use the freed space to separate remaining damp pieces while keeping their required drying method.
Record what you changed. “Trouser hems touched the towels; leave that lower section empty next time” gives you a more useful repeat plan than “rack was too full.” Drying time varies with the garments and room conditions; this layout cannot promise an overnight result.
Copy the next-load rack plan
- Rack location and clear walking route: ______
- Rack setup and load instructions checked: ______
- Flat-dry items and supported places: ______
- Hanging items and height needed: ______
- Shade or drip requirements: ______
- Touching fabric or blocked spaces to fix: ______
- Next inspection and remaining damp areas: ______
- Change to repeat next time: ______
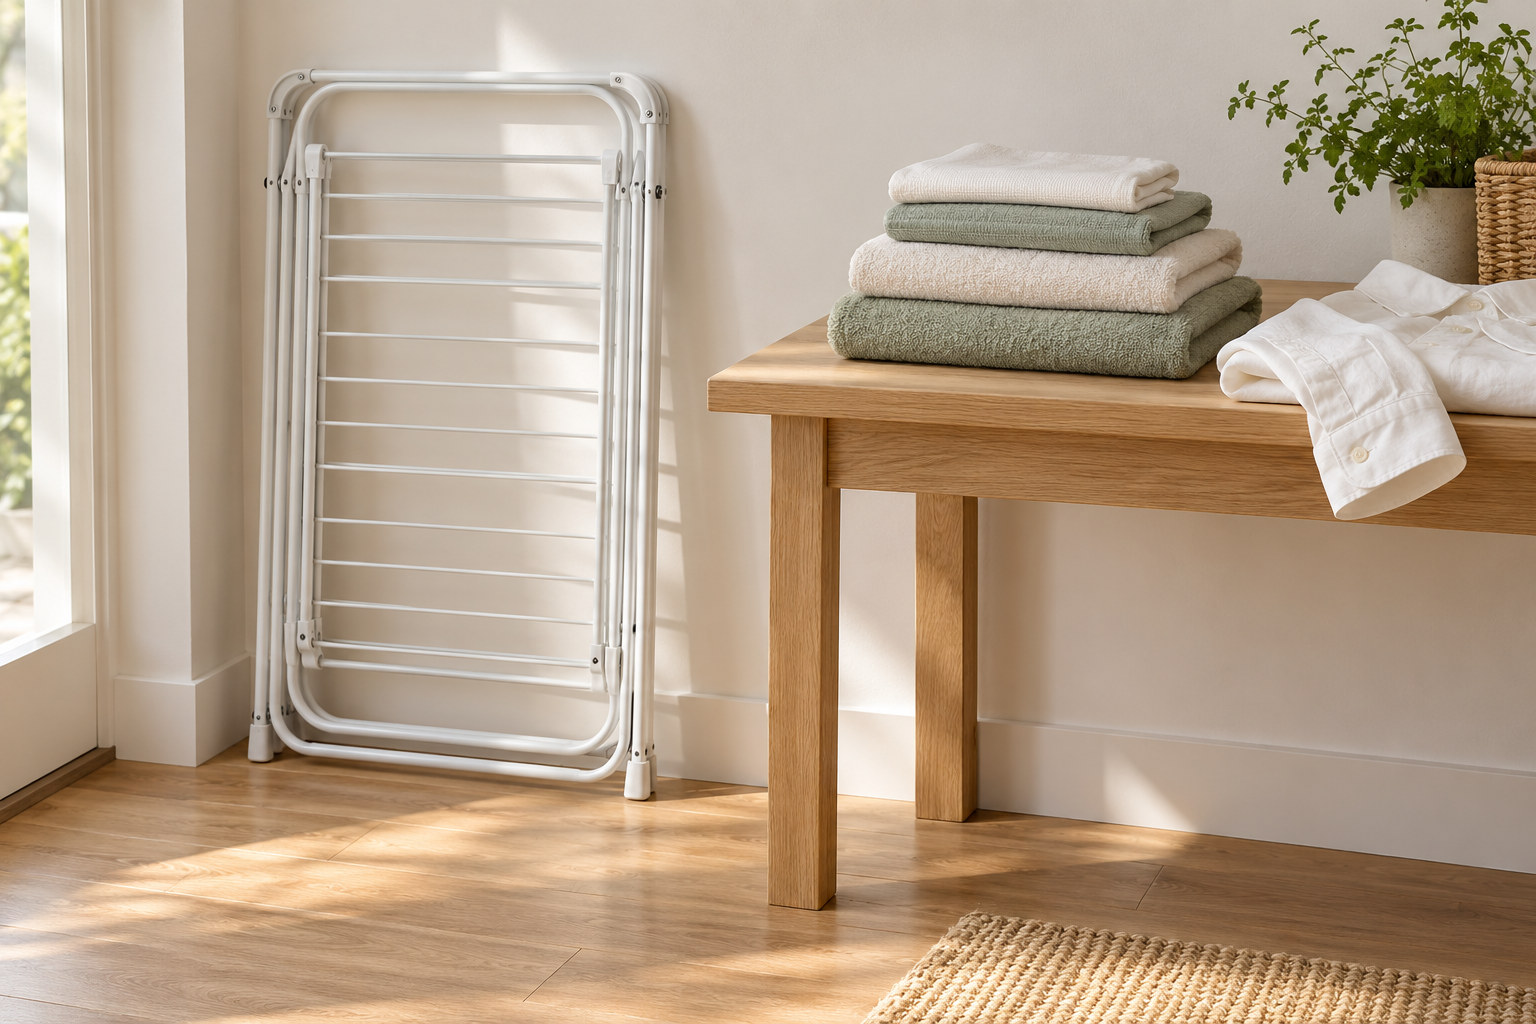
This is a household planning aid based on care-label and manufacturer guidance, with an original worksheet and fictional example. We have not tested drying speeds, energy savings or indoor-air outcomes.