For routine cleaning of an uncoated stainless steel sink, start with the method approved for its exact finish: a soft cloth and mild detergent solution where permitted, followed by a thorough rinse and drying. Work along visible grain when the maker instructs it. If a mark remains, check the care guide before reaching for a stronger cleaner or rougher pad.

A sink does not need a twelve-product skincare routine. It does need a clear distinction between everyday washing, a stubborn mark and an actual scratch. This guide helps you finish the ordinary job and keep a useful note for the exceptions. It covers sink surfaces, not drain blockages, garbage disposals or disinfection.
Identify the finish before choosing the bottle
Find the model name on your purchase record, installer paperwork or manufacturer’s product page. Record whether the basin is ordinary stainless steel or has a special coating or finish. A silver-looking surface is not enough information to choose a treatment. If you cannot identify it, find its care instructions before experimenting with stain removers.
Keep the faucet and nearby counter out of this decision: their care instructions may differ. Kohler’s kitchen-sink care page explicitly separates materials and says its sink instructions are not faucet-cleaning instructions. Its general guidance also calls for testing a cleaner on an inconspicuous area.
- Surface: make, model and finish, or “not yet identified.”
- Routine product: the cleaner and dilution allowed in that care guide.
- Tool: the specified soft cloth or nonabrasive sponge.
- Exception: the maker’s next step for a mark that routine cleaning leaves behind.
Make the gentle pass, then rinse and dry
Franke’s cleaning leaflet, page 29, describes clean water or a mild detergent solution applied with a soft cloth or sponge, followed by rinsing and drying. It favors regular gentle cleaning over an occasional aggressive scrub. Use that as a starting pattern only where it agrees with your model’s instructions.
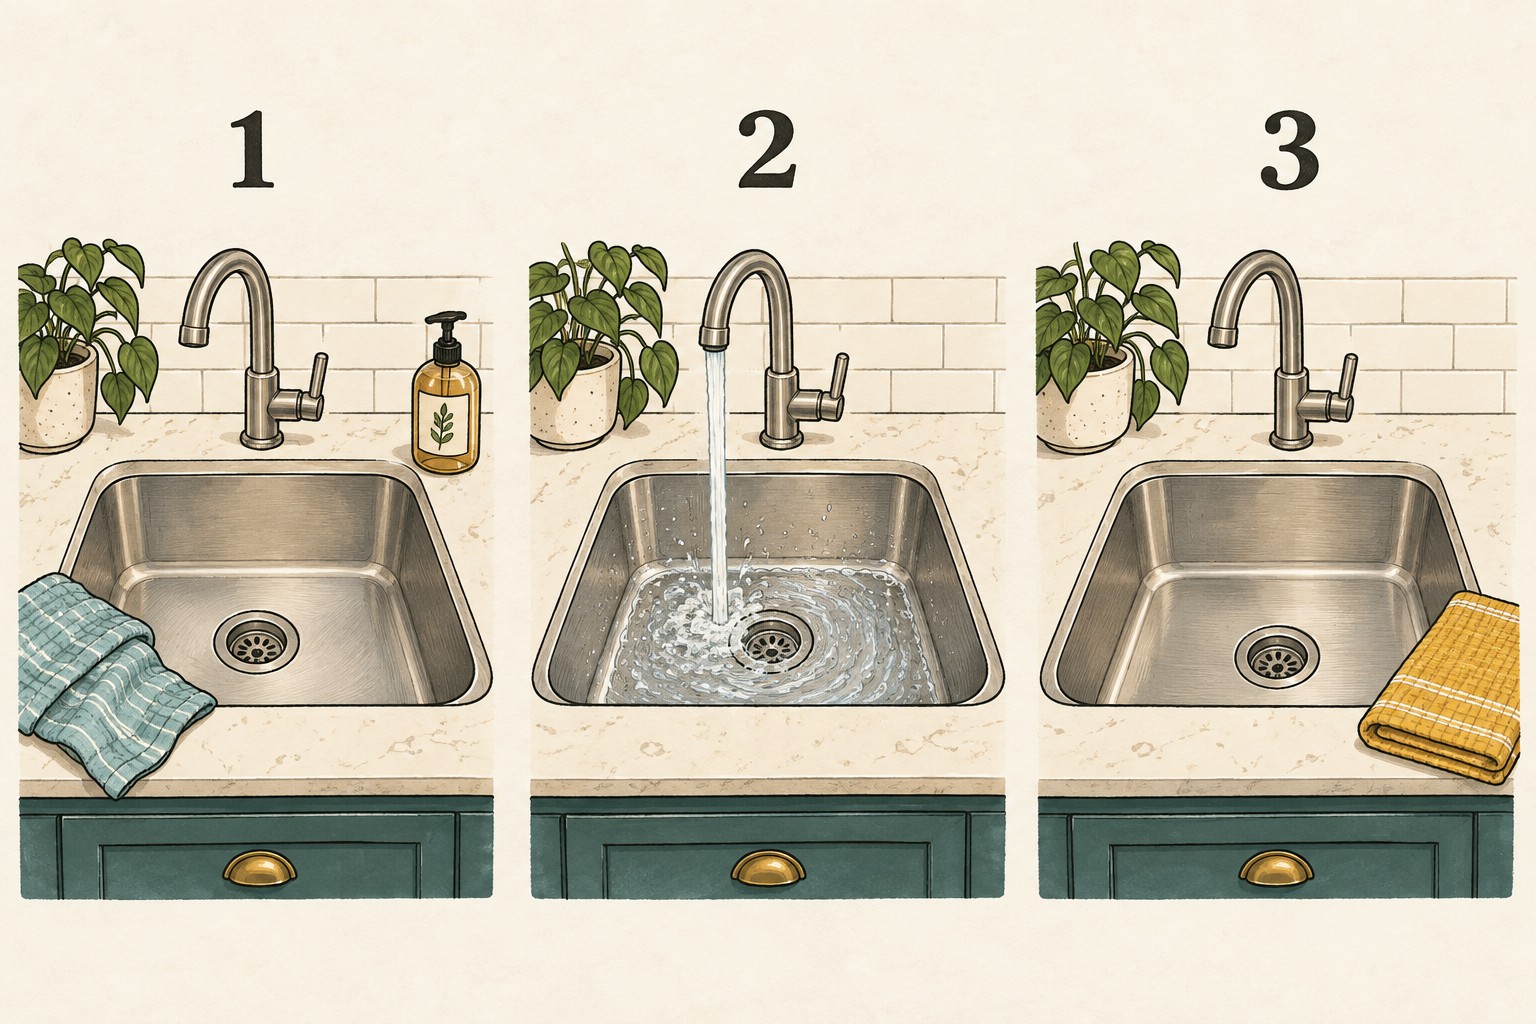
- Clear the basin. Remove dishes, loose food and removable accessories. Keep accessory-cleaning instructions separate rather than assuming the basin’s product suits everything.
- Prepare the approved routine cleaner. Follow its label and the sink instructions. Put aside other bottles so you do not accidentally switch products partway through.
- Wipe gently. Use a clean, soft cloth or the approved sponge. For a directional brushed finish, follow its grain where instructed.
- Rinse completely. Remove cleaner from the basin and rim. Follow the applicable instructions for any splashes on adjacent surfaces.
- Dry and look again. Use a clean, soft dry cloth. Check the rim and corners as well as the bowl. Evaluate any remaining mark only after this ordinary pass is complete.
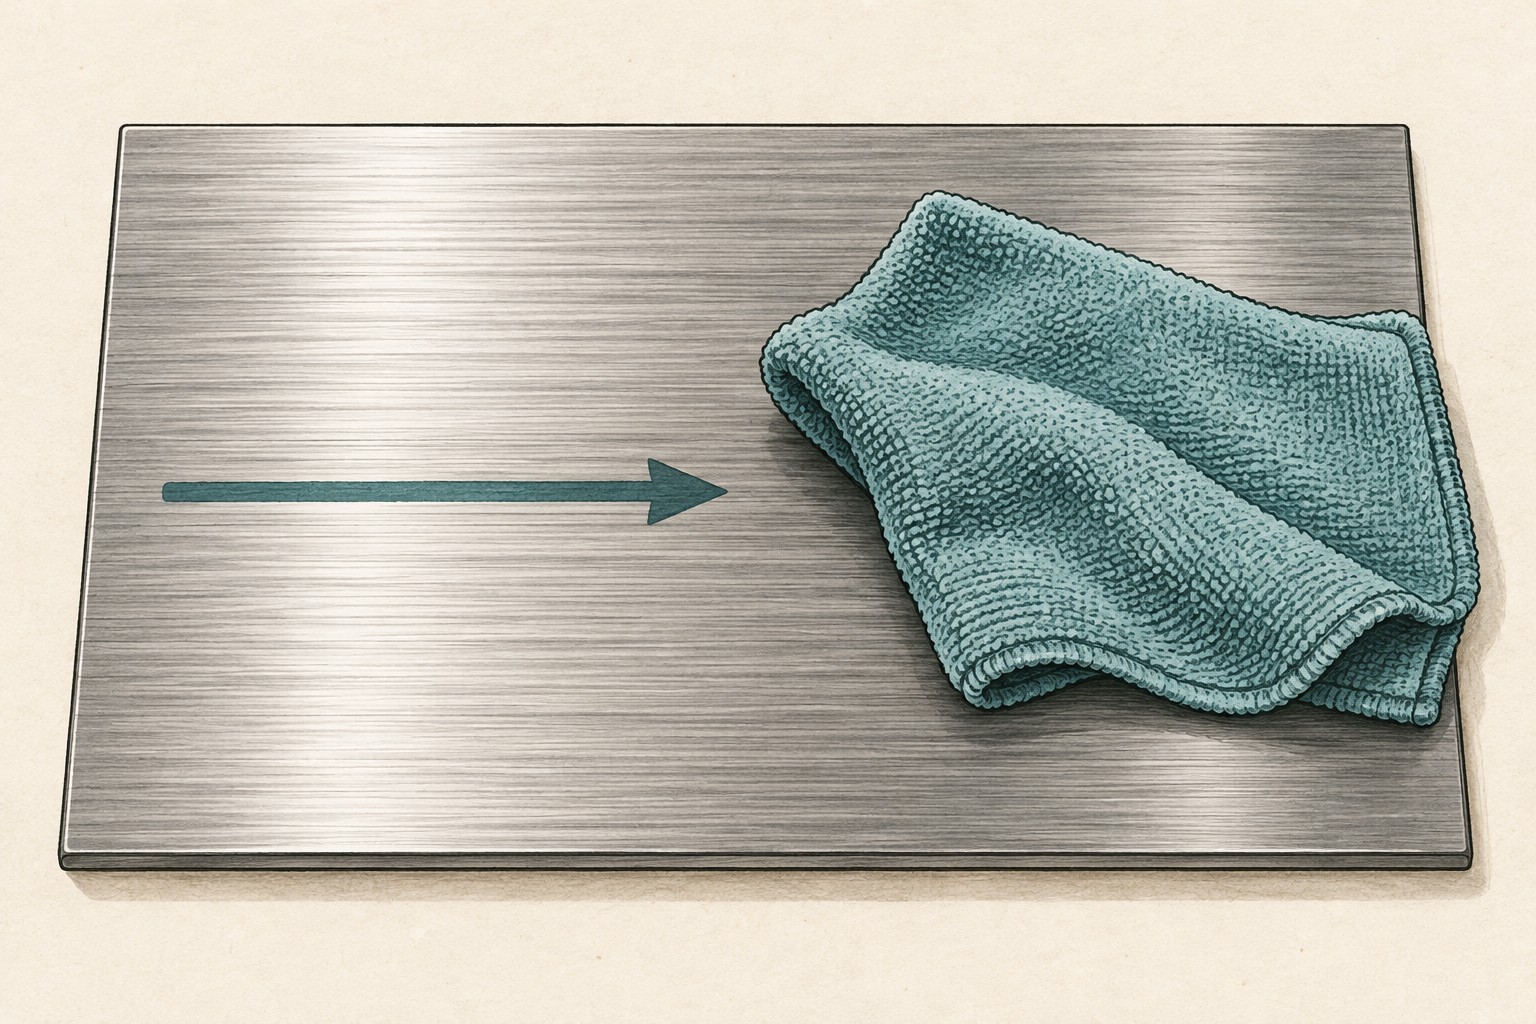
The arrow illustrates a cloth moving parallel to the visible grain; it is not a direction that every sink must follow. A basin’s grain can change direction between surfaces. Kohler’s stainless steel section specifies working with the grain and avoiding steel wool, wire brushes and abrasive sponge pads.
A remaining mark is a decision point, not a scrubbing contest
Write down what you can observe without assigning a diagnosis: “pale ring near the drain after drying,” “brown spot under the rack,” or “fine line visible in angled light.” Color alone is not a reliable instruction to use a particular chemical. The worksheet below is an original handoff aid, not a stain-identification test.
| After the rinse-and-dry pass | Useful next step | Do not assume |
|---|---|---|
| The mark is gone | Record the routine method and finish. | That a stronger product is needed next time. |
| A spot or ring remains | Photograph its location and check the model’s stain-care instructions. | That every white or brown mark has the same cause. |
| A line or change in finish remains | Ask the maker about that finish before attempting restoration. | That cleaning will remove a scratch. |
| The finish or cleaner compatibility is unknown | Pause the stronger treatment and identify the model. | That “for stainless steel” settles every coating or finish question. |
Franke’s stainless steel care guidance notes that ordinary use can scratch a sink. It also warns against bleach, scourers, wire wool and abrasive cleaners, and against leaving acidic food residues or salt on the surface. That is a good reason not to turn a cleaning checklist into an improvised scratch-removal recipe.

Copy this sink-care note
Save the blank version below with your household instructions. It captures the information needed to repeat a permitted method or ask the manufacturer a specific question. Do not write “safe” merely because a product worked on someone else’s sink.
- Sink make / model / finish: ______
- Official care-guide link and date checked: ______
- Routine cleaner / label dilution: ______
- Approved cloth or sponge: ______
- Grain direction, if relevant: ______
- Rinse completed / basin and rim dried: ______
- Remaining mark: location, appearance and photo reference: ______
- Next step supported by the care guide, or question for the maker: ______
Hypothetical example: After the allowed routine wash, a pale ring is still visible beside the drain. The note says “ring remains after drying; photo A; model confirmed; treatment not yet selected.” That is enough to make the next decision deliberate. It is not evidence of limescale, corrosion or a successful repair.
Finish by clearing what would sit wet
Remove the used cloth from the basin and give it a separate drying place. Kohler’s troubleshooting guidance warns about leaving cleaning utensils in the basin and about deposits beneath rubber mats. It also warns that bleach cleaner sprayed on a neighboring counter can reach the sink. Check the surrounding cleaning routine as well as the basin itself.
Before walking away, check: cleaner rinsed away; bowl and rim dried; used cloth removed; unresolved mark recorded rather than repeatedly scrubbed. A clean sink with an honest note beats a shiny sink with a mysterious new patch.

For the next small household job, use our task-first cleaning caddy checklist to keep only the relevant supplies together. Our microfiber cloth care guide covers the separate task of preparing the cloth for reuse.