To clean a manual hairbrush, remove loose hair first, then use the water contact, cleaner and drying position allowed for that exact brush. Do not assume a plastic handle makes the cushion washable—or that every brush dries teeth-down. Write those three decisions on a care card before getting anything wet.
A bathroom drawer can contain three brushes and three incompatible cleaning routines. The goal is not to give everything the same spa day. It is to remove the mess without creating a waterlogged mystery inside the base.
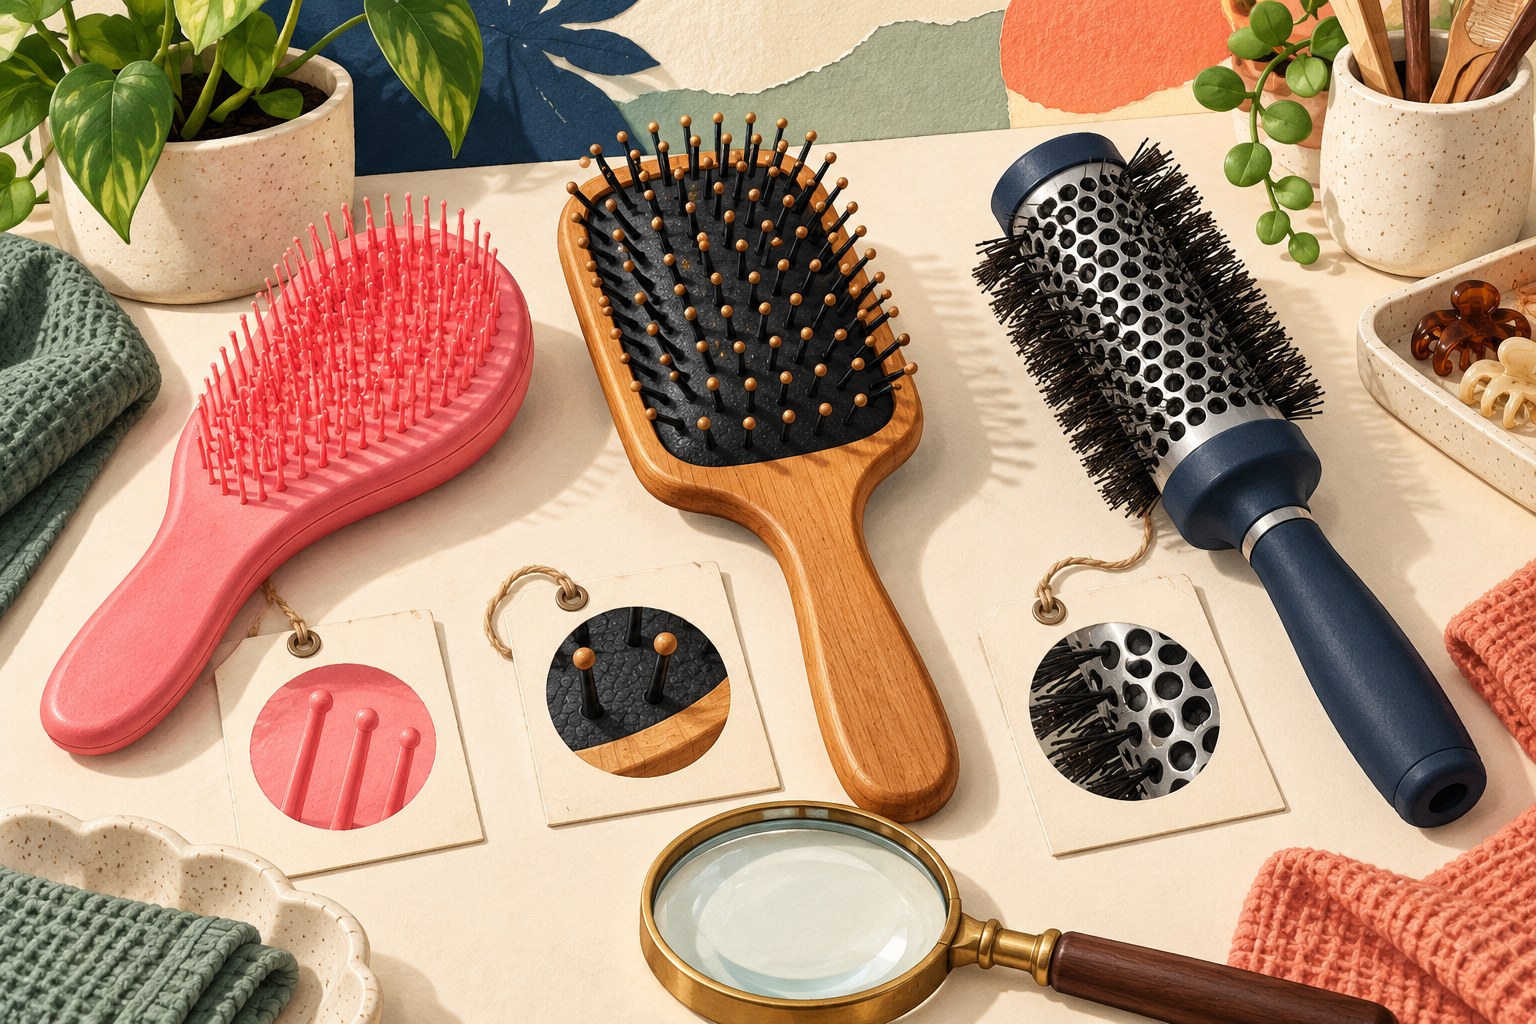
Start with the whole brush, not just the bristles
This guide covers ordinary, non-powered hairbrushes. A heated brush or hot-air styler needs its own appliance manual; do not apply this wet-cleaning workflow to it. It is household maintenance, not a disinfection procedure or treatment for scalp problems.
Turn the brush over and record its model name before a cleaning cloth rubs over the label. Look at four separate components: handle, bristle or pin material, cushion, and any opening or seam. If you cannot identify the construction or find care instructions, remove only easily accessible loose hair and postpone wet cleaning. “Probably plastic” is not a care instruction.
The distinction is real. Conair’s cleaning guide separates plastic brushes from padded and wooden ones, warning against submerging wood and padding. Use that as a reason to check construction, not as permission to soak every brush from another maker.
Remove the hair before tackling residue
- Work over a dry towel so you can collect the strands instead of sending them down the drain.
- Lift hair that is already loose with your fingers. If the maker specifies a cleaning tool, use it gently between rows.
- Work in small sections. When a strand catches around a pin, loosen the strand rather than tugging the pin.
- Inspect the newly exposed base. Separate removable hair from residue that still needs the approved cleaning method.
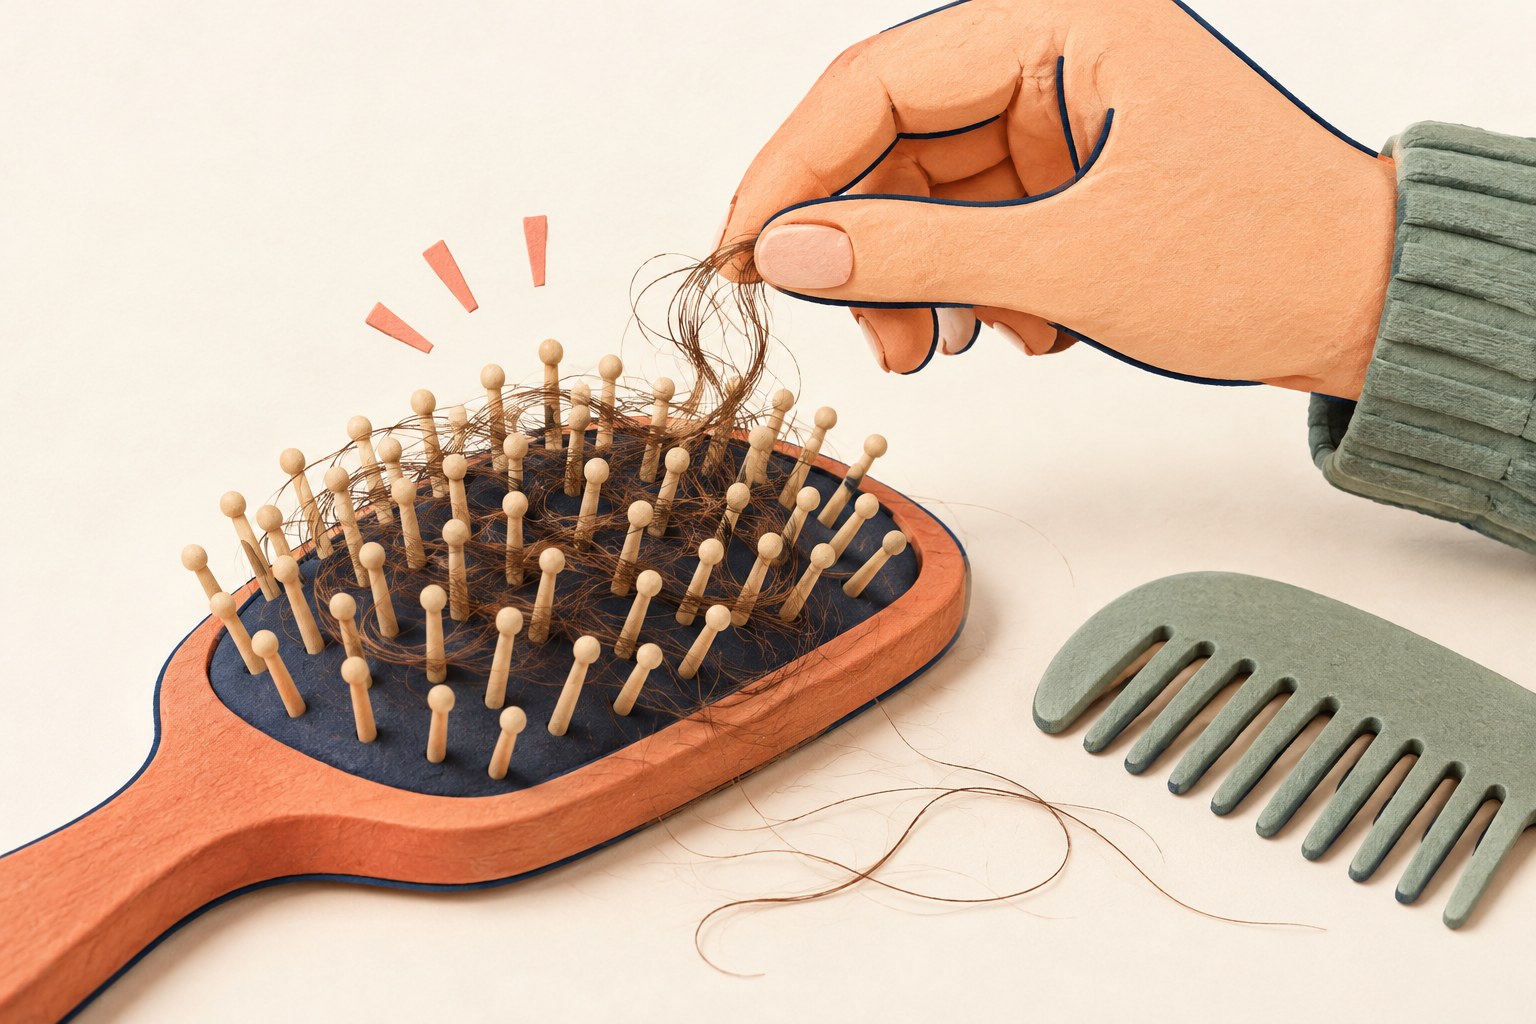
Conair describes using a comb to lift hair from flat brushes and working around round brushes to release trapped hair. You do not need to reproduce every technique to make progress: stop if a tool catches, the cushion lifts, or the construction is unclear. This guide does not require cutting near the brush or dismantling it.
Copy the actual permission into a three-part plan
Find the official care page or the leaflet that came with the brush. Fill in the following before preparing a bowl. A missing answer stays “unknown”; it does not become “yes.”
| Decision | Write down | Do not substitute |
|---|---|---|
| Water contact | Which parts may be wiped, rinsed or wetted; any parts that must stay dry | Advice for a similar-looking brush |
| Cleaner | The named cleaner or permitted type, plus any dilution specified | A stronger household cleaner because residue looks stubborn |
| Drying | Orientation, heat restrictions and where the brush will remain while drying | A generic teeth-down rule or an invented drying deadline |
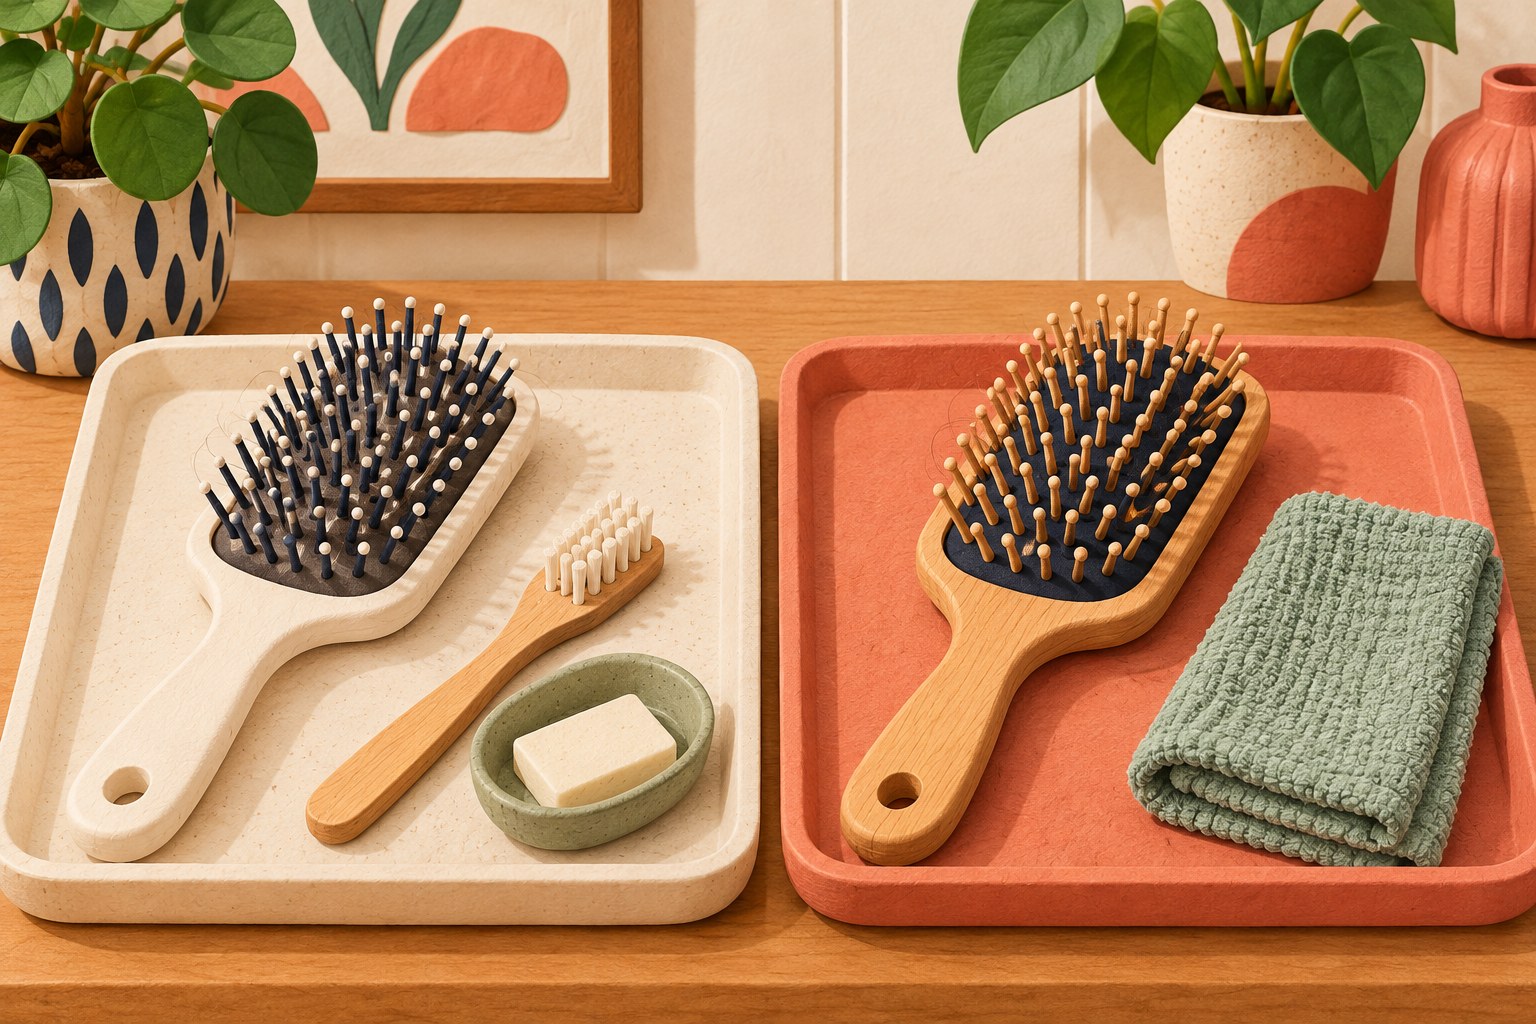
For example, Kent’s product aftercare gives different routes even within its own range. Its listed bristle-brush groups receive gentle cleaning at the tips while the wood stays out of water; its quill-brush instructions specify wiping individual quills with a cloth and no immersion. Check which group your model belongs to rather than combining both methods.
Drying direction is a model decision
Tangle Teezer’s FAQ describes removing hair, cleaning between the teeth and base with a clean toothbrush and warm soapy water, rinsing, then naturally drying with the teeth upward. In contrast, Kent’s instructions for its listed bristle-brush groups say bristles downward and no direct heat or sunlight. These are examples of different instructions, not a contest to find one universal winner.
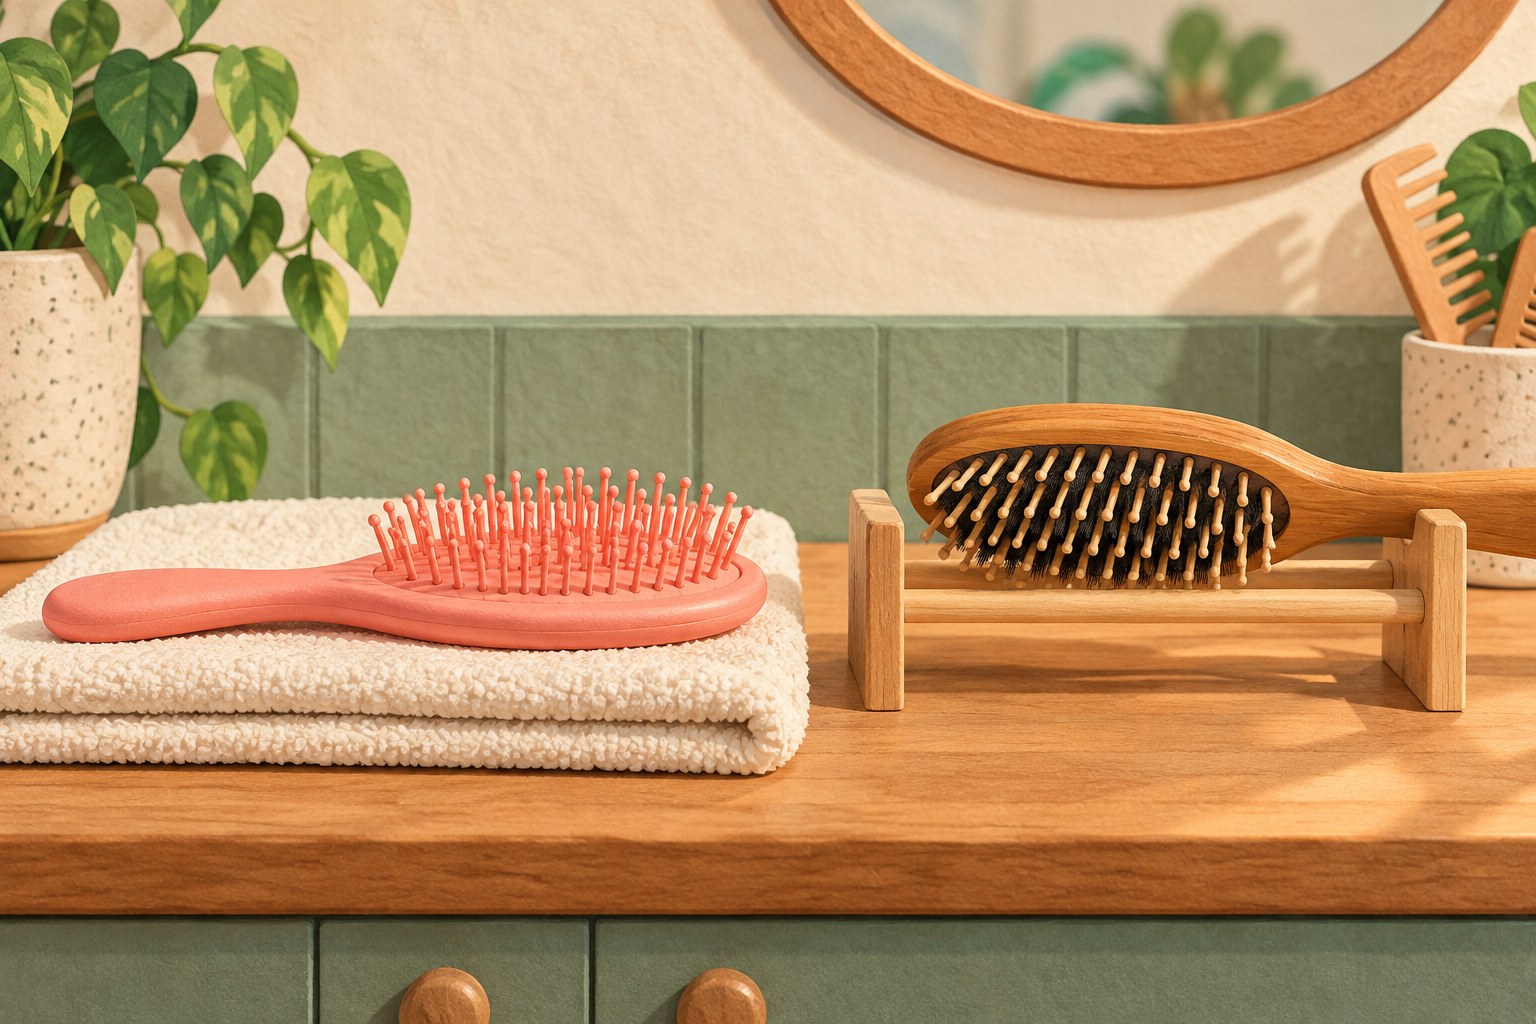
Before starting, choose a clean place where the brush can stay in its specified position without being buried under toiletries. Keep the care page open while you work. If the brush still seems wet, keep it out of the closed travel case or drawer and continue the permitted drying process. Do not declare it dry merely because the handle feels dry.
If water appears trapped somewhere you cannot inspect, pause and ask the manufacturer about that model. Do not drill a drain hole, pry out a fixed cushion or add heat to speed things up. A shiny exterior is not evidence about the inside.
A copyable brush-care card
Save one record for each brush. The blank card is the useful part; the example after it shows how to retain uncertainty.
- Brush: brand, model and identifying photo/reference ______
- Instruction source: official page or leaflet; date checked ______
- Allowed cleaning: water contact by part; cleaner; tool ______
- Drying: direction; restrictions; open drying location ______
- Result: loose hair removed? residue remaining? dry enough to store? unresolved question? ______
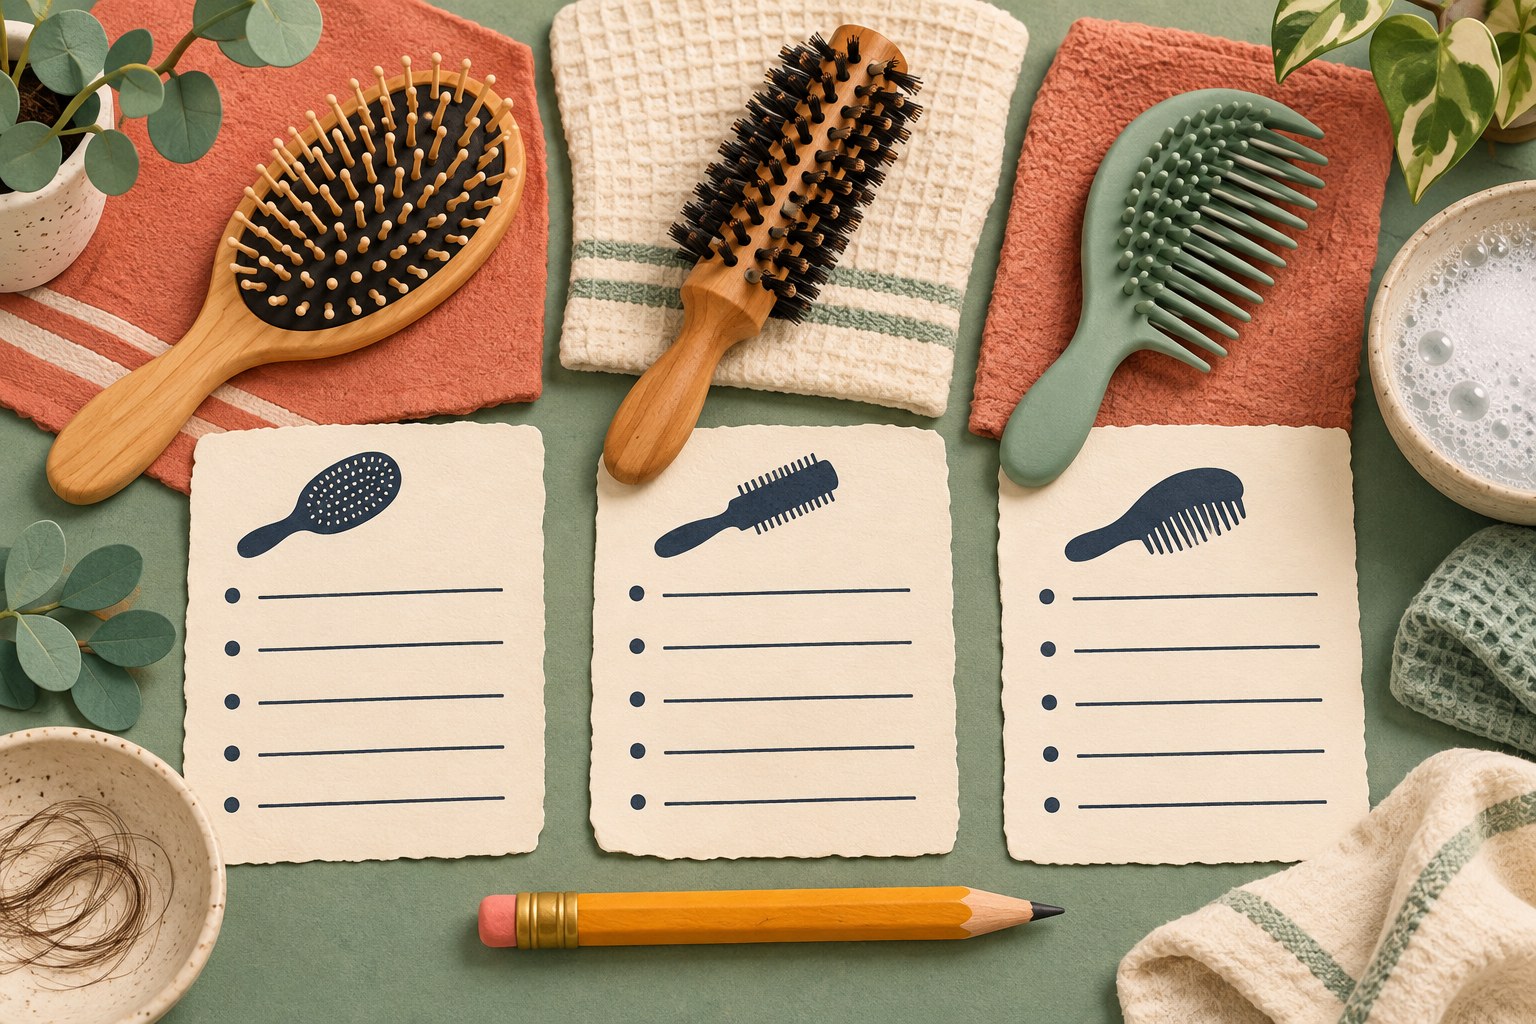
Hypothetical example: a wooden paddle brush has no readable model name. You remove the loose hair, but the cushion’s construction is unknown. Record “wet method not established; ask maker” and leave the wash pending. That is a completed inspection, not a completed clean. By contrast, a positively identified brush with matching instructions can move through cleaning and drying using its own recorded method.
Finish with a drawer check
- The loose strands are collected and discarded.
- The brush’s allowed method was followed without combining incompatible instructions.
- The pins, cushion and handle still look intact; anything loose or damaged is set aside for advice.
- Drying is complete before closed storage; unresolved internal moisture is not marked as cleared.
- The care card is saved where you can find it next time.
If you are packing it for a trip, finish this job before assembling your toiletry bag. A care card takes less room than a second brush bought because the first one was put away wet.
Primary care instructions checked October 11, 2026. Illustrations are AI-generated concepts, not photographs of tested products. This is an original planning workflow based on the linked manufacturers’ instructions, not a hands-on brush comparison.