Cleaning a reusable water bottle is a parts job. The bottle body, lid, straw and seals may need different treatment, even when they came in the same box. Before washing, make a short care card that answers three questions: what comes apart, how each part can be washed, and how it goes back together.
This guide helps you turn your exact model's instructions into a repeatable routine. It covers ordinary washing and organization, not a universal disinfection recipe or a way to certify a bottle as germ-free.
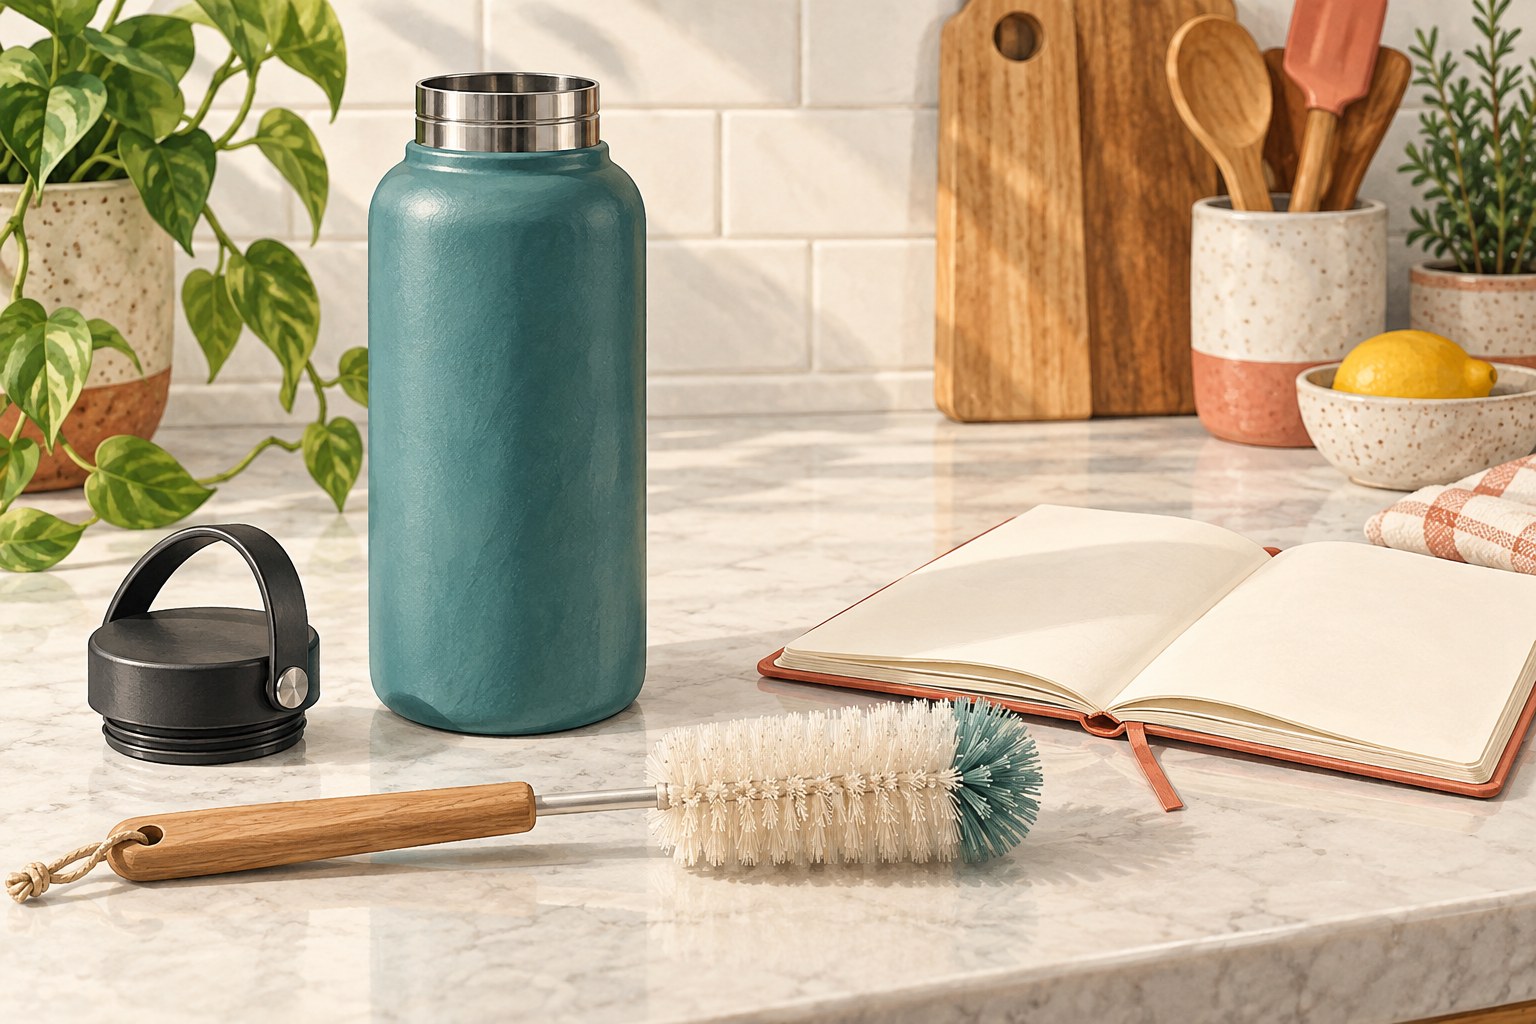
Identify the lid as well as the bottle
Start with the brand, bottle model and cap name. A replacement cap can change the instructions. Save the maker's care page or manual and check that its drawings match the parts in your hand. If the instructions are for another generation, look for the correct version before proceeding.
“Dishwasher safe” is not enough information on its own. You also need to know which pieces that statement covers and where they belong. For example, CamelBak's care guide directs users to hand-wash Podium and Podium Chill sports bottles while allowing their caps on the dishwasher's top rack. A rule for the cap is not automatically a rule for the body.
Record a separate answer for each component. Use “not confirmed” where the documentation leaves a gap; do not fill it with advice for a similar-looking bottle.
| Part | What to record |
|---|---|
| Bottle body | Exact model; hand-wash or dishwasher route; any stated restrictions |
| Lid or cap | Exact cap name; opening position during cleaning; permitted washing route |
| Straw or mouthpiece | Whether it is removable; how to clean its inside; where it dries |
| Seal or gasket | Which seal may be removed; its original location and installation direction |
| Other pieces | Carry loop, sleeve or mechanism only if the maker identifies it in the care instructions |
Make a parts map before taking anything out
On a clear surface, photograph the assembled lid and its underside. Follow the manufacturer's removal sequence, laying each permitted part in a small tray. A photo is a memory aid, not a replacement for the assembly instructions: a seal's important edge may not be visible in the picture.
Do not assume every rubber piece is meant to come out. YETI's Rambler Bottle Straw Cap instructions, for instance, distinguish the removable circular cap gasket from a small pressure-valve gasket that users should not try to remove. That distinction is specific to the named cap.
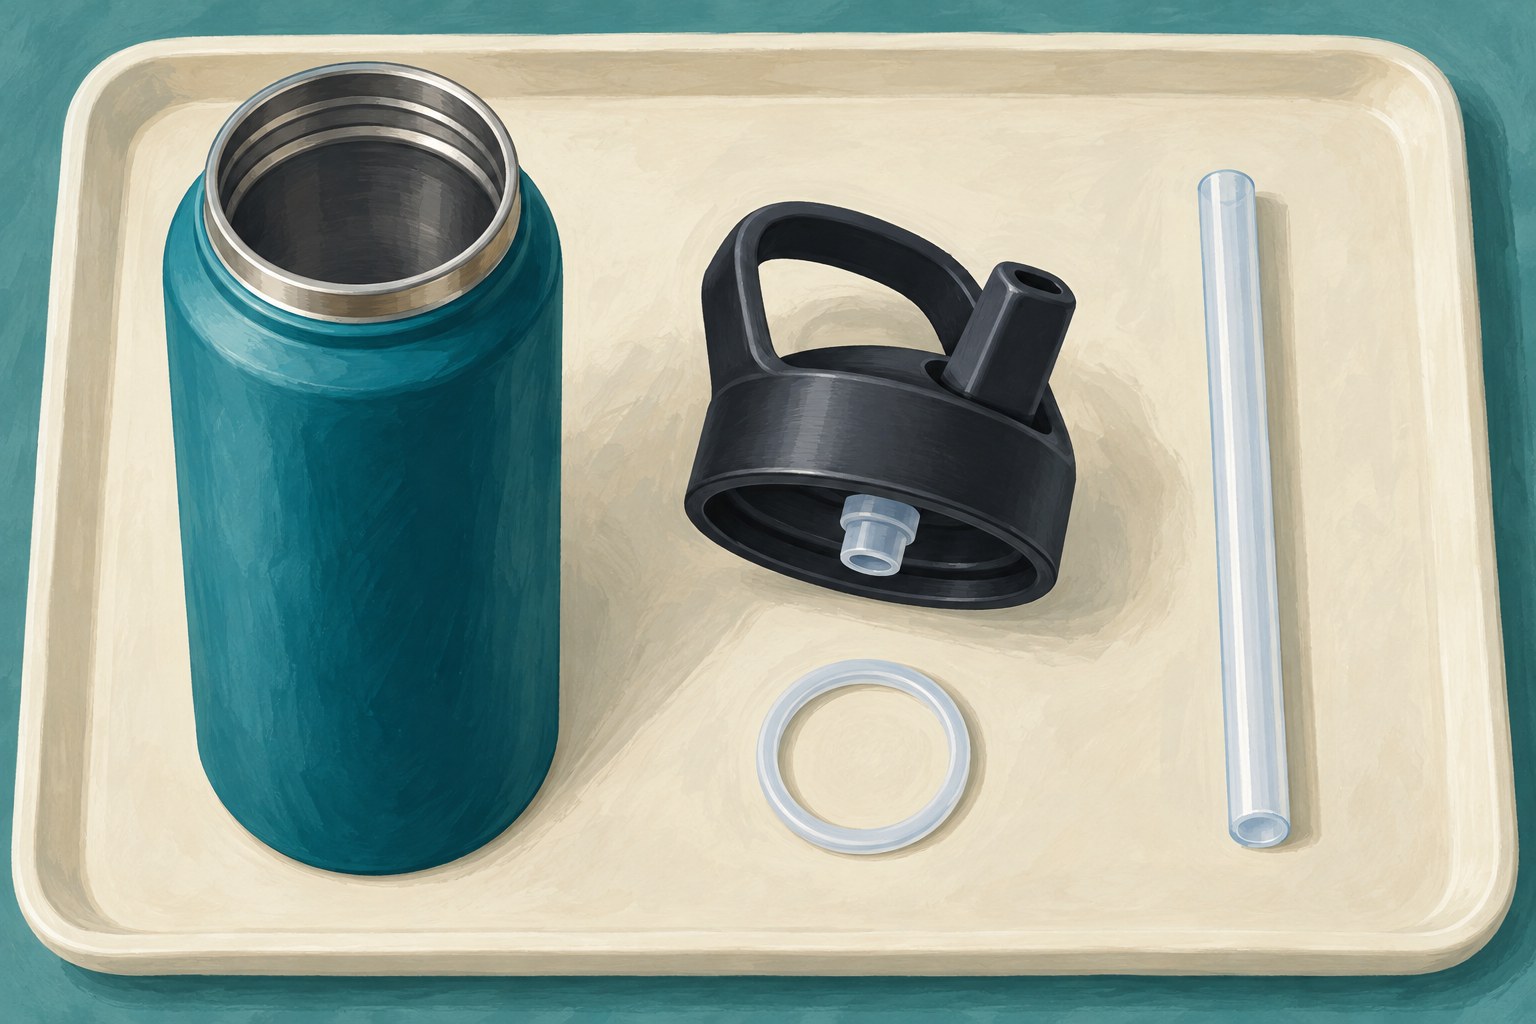
Give each removable piece a plain description such as “long straw” or “large circular lid seal.” Write “leave fitted” beside a component the instructions say to leave in place. If you cannot tell which part the manual means, stop that disassembly step and ask the manufacturer rather than prying at it.
For several bottles, work with one set at a time or use separate trays. Similar-looking rings can become hard to identify once they are mixed. Keep the care card with the matching set while you work.
Plan a washing route for each piece
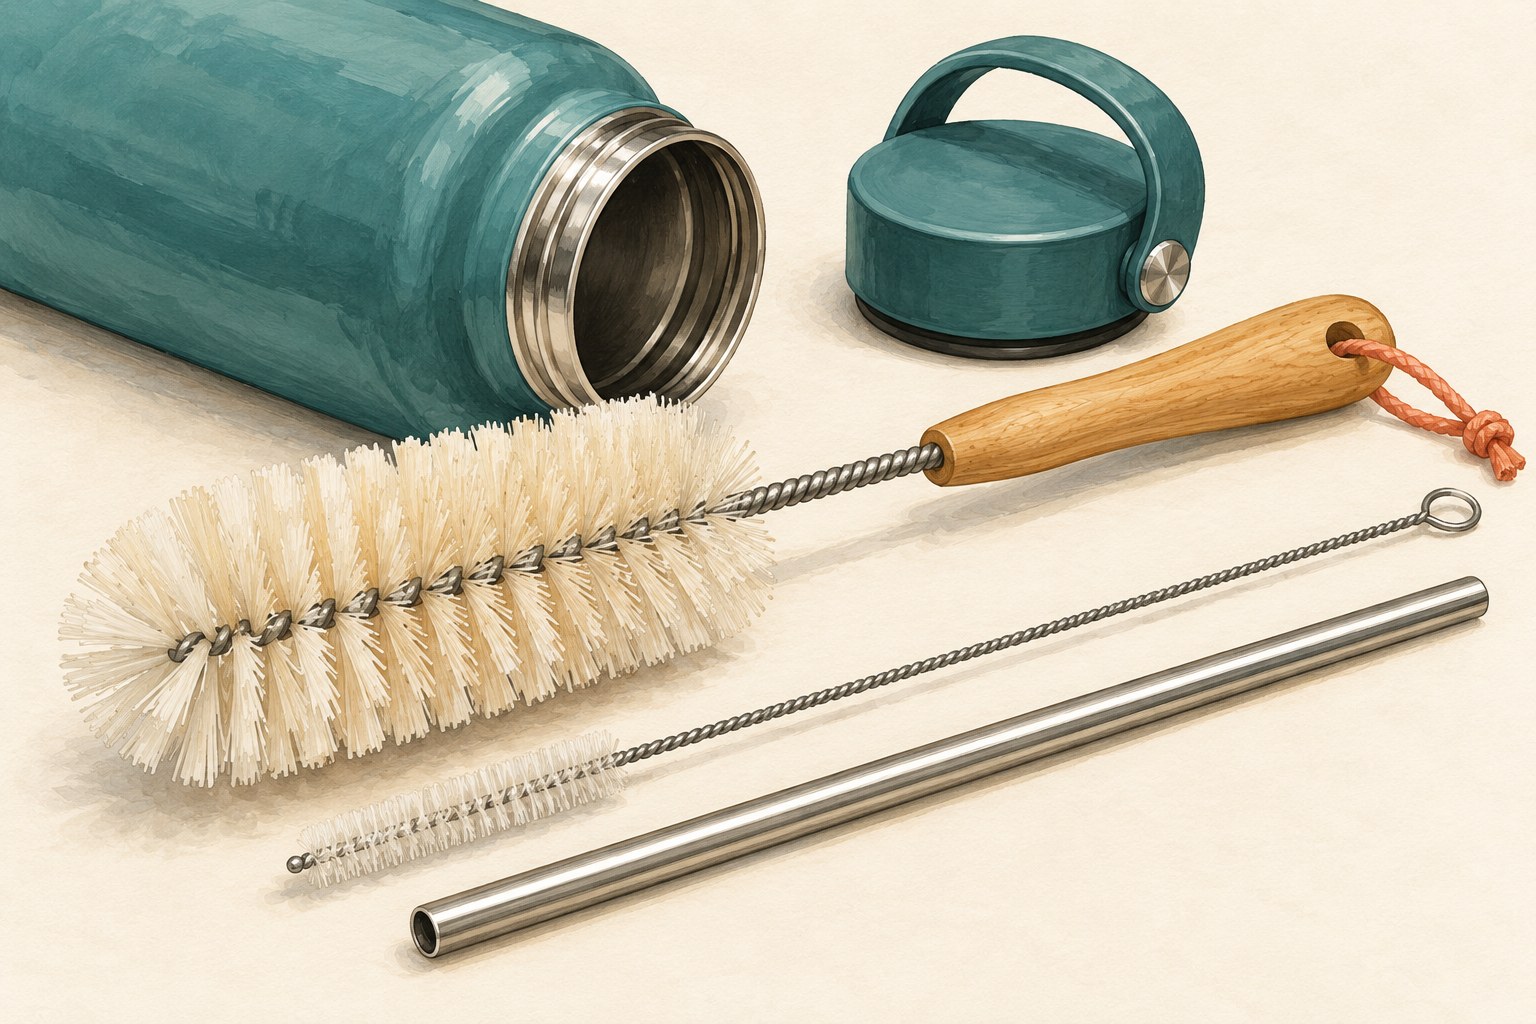
Use the cleaning method, detergent and equipment permitted by the maker. For an allowed hand-wash route, a bottle brush and a narrower straw brush solve different access problems. Check whether the brush can reach the base or the full inside of the straw without forcing it. Rinse as directed and inspect the surfaces you can see.
One model can have several routes. Owala's FreeSip Twist instructions recommend hand washing the base and lid, allow the straw on the dishwasher's top rack, and place the key mechanism, spout and both gaskets in the utensil case. This is an example of why the parts list matters, not a recipe for every Owala bottle.
If a permitted small part could fall through your dishwasher's holder, do not leave it loose and hope it stays put. Check for an appropriate manufacturer-approved placement or use the permitted hand-wash method. For the broader machine-loading check, see the dishwasher clearance checklist.
Keep special treatments separate from ordinary washing. A bottle-body cleaner is not necessarily approved for its lid: YETI's Rambler FAQ specifically excludes caps and lids from its cleaning-tablet use and advises against bleach and abrasive cleaners. Do not transfer a soak, chemical, temperature or boiling instruction from one model to another.
Give drying its own finish line
Choose a clean place for the separated pieces before washing. Leave space around them and arrange the bottle so it can drain and air can reach the opening. Avoid closing a damp bottle simply because the outside looks dry.
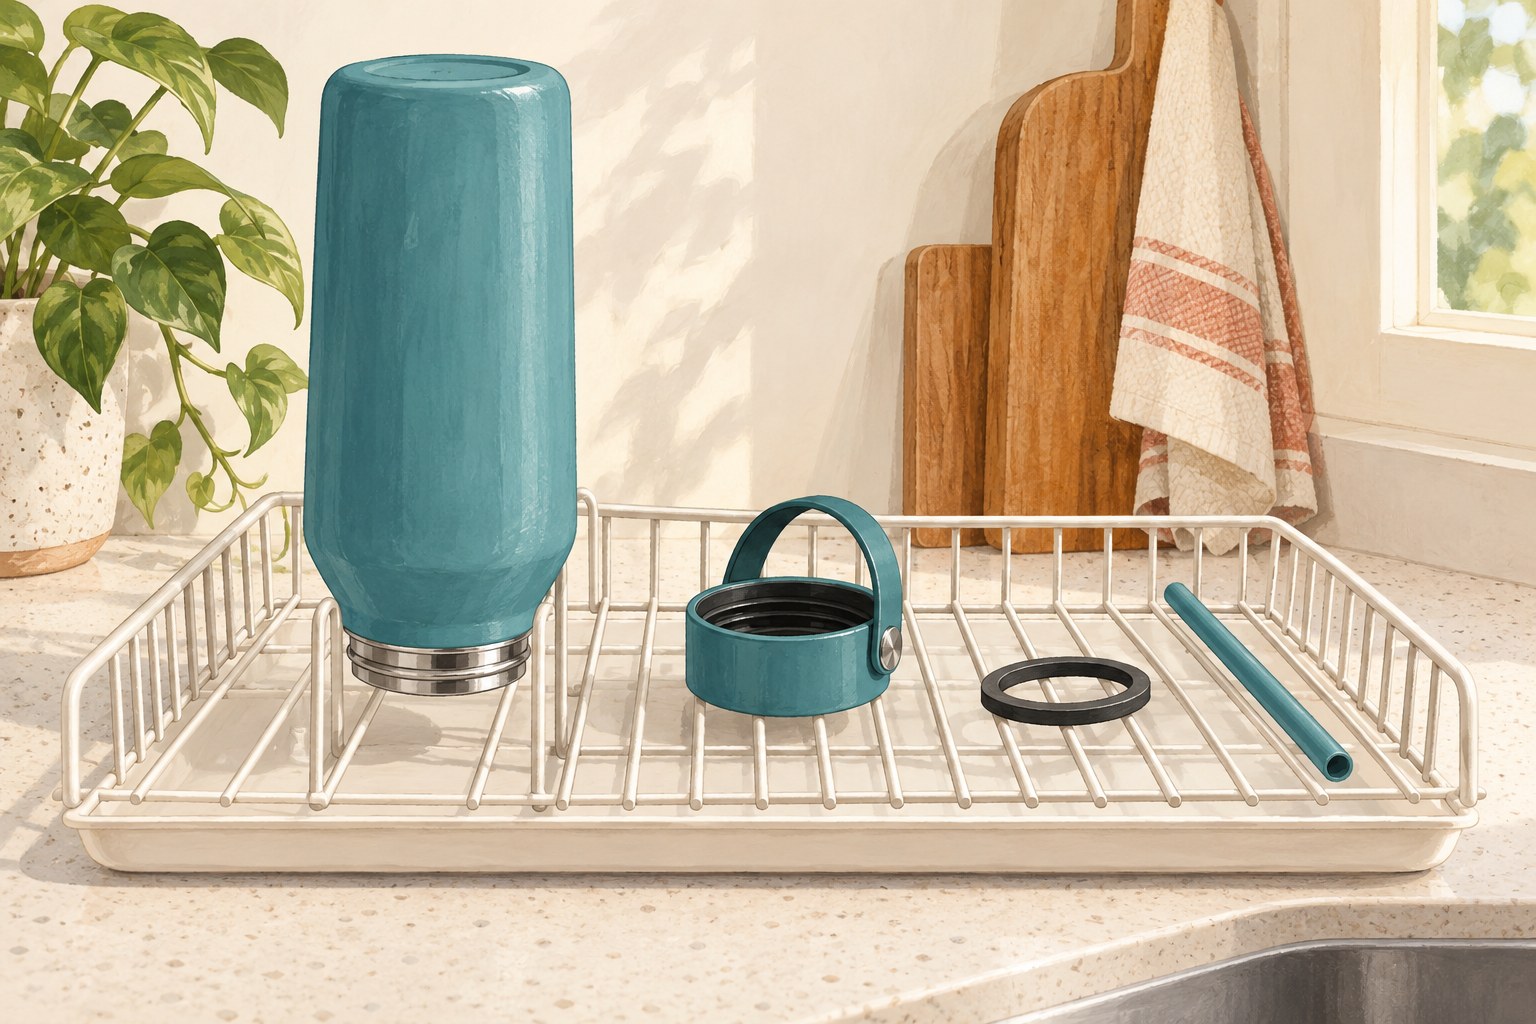
Check the interior, lid recesses, straw and seal separately. YETI's instructions for the named straw cap call for thorough drying before reassembly, use or storage, and storage with the cap removed. Follow your own model's storage directions; there is no single drying time established by this guide.
On the card, keep “washed” and “dry” as separate boxes. A part still holding water belongs in the drying step, not in the ready pile. If you cannot inspect or clean an area as the instructions require, leave the job unresolved and consult the maker.
Reassemble from the instructions, then check the set
Return each piece to its documented position. A seal may have a directional profile. For the YETI straw cap cited above, the circular gasket's flat side sits against the cap; that does not establish the orientation for another seal or another lid.
Compare the finished lid with the care diagram and your starting photo. Account for every part you removed, confirm the straw is attached where specified, and check for a visibly twisted or poorly seated seal. Do not force the lid closed to compensate for a questionable fit. A damaged piece or an unexplained leftover part is a reason to pause and find the correct replacement or assembly guidance.
As a final household check, use cool water over a sink to check closure and the intended drinking action according to the model's instructions. Do not assume a lid is leakproof merely because it closes; check its stated use before putting a filled bottle in a bag. A simple function check does not prove sanitation or long-term leak resistance.
Copy this one-bottle care card
- Bottle model and exact cap: ______
- Maker's care link or manual, checked on: ______
- Removable parts and their positions: ______
- Parts to leave fitted: ______
- Body washing route: ______
- Lid, straw and seal routes: ______
- Brush or access check: ______
- Drying arrangement and storage instruction: ______
- Reassembly detail worth remembering: ______
- Finish check: washed / rinsed / dry / parts accounted for / correctly assembled
- Unresolved issue and next step: ______
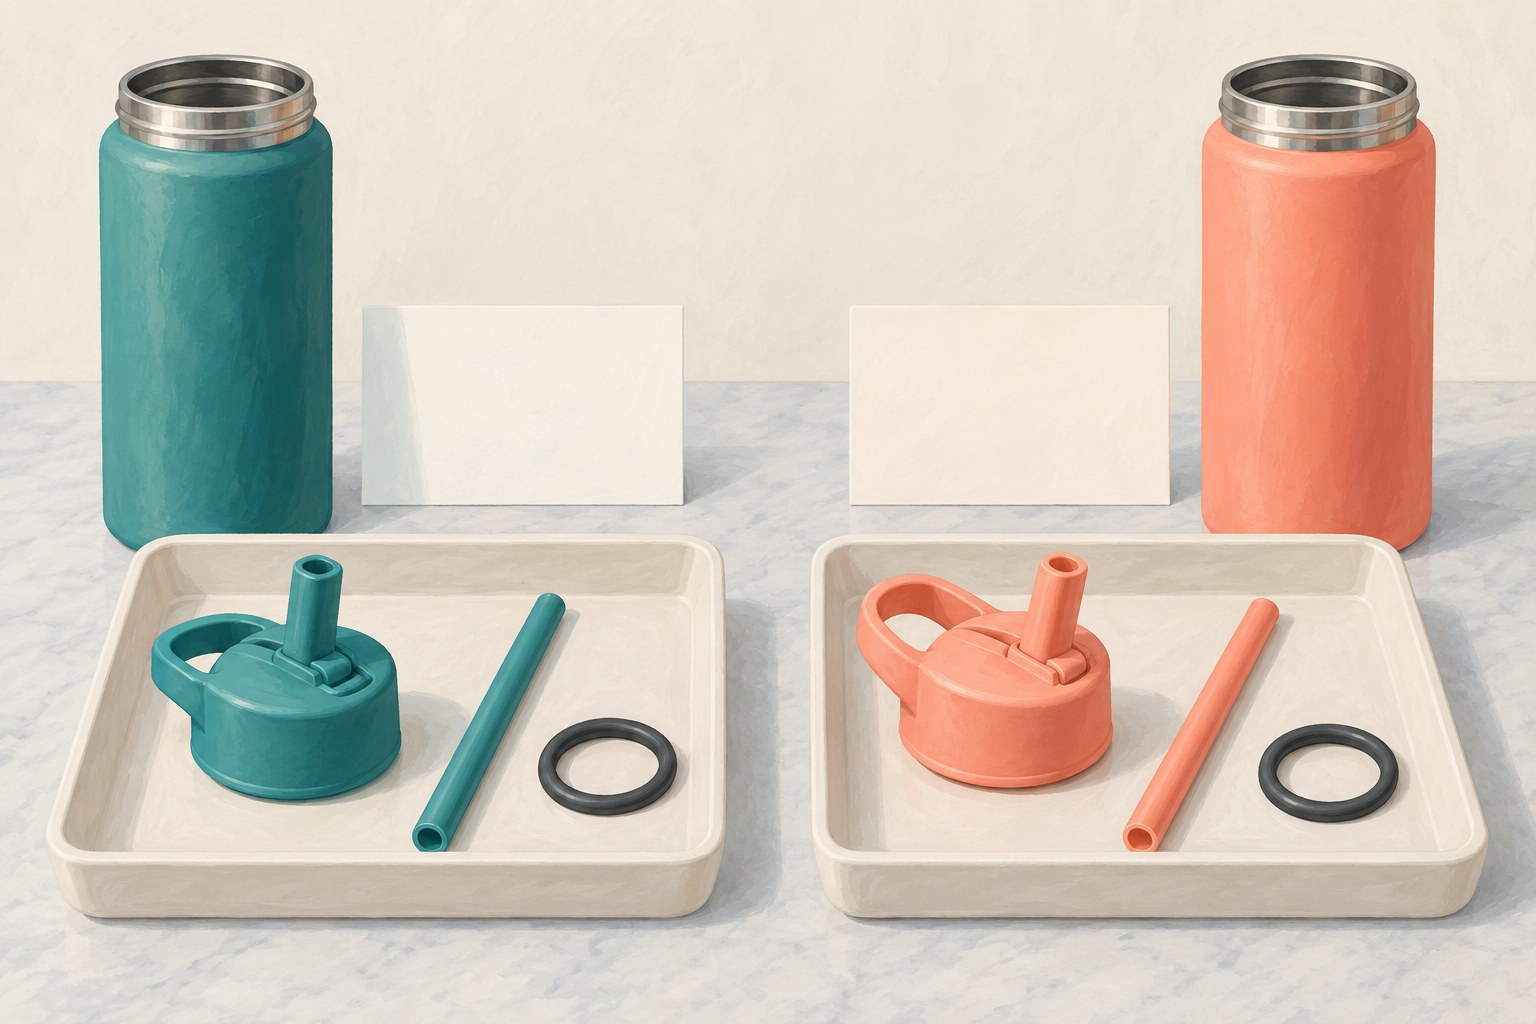
For example, a fictional household with two similar bottles might keep the teal bottle's cap, straw and seal in one tray and the coral bottle's set in another. If only the coral set is dry, mark only that set ready. If one seal's position is uncertain, keep that bottle out of the ready group until the instructions resolve it. The point is to avoid turning “the bottles are washed” into a claim about every component.
Keep the card short enough to reuse. Update it when you replace a lid or find a more specific instruction. The checklist and household example are original planning aids; the cited manufacturer facts were checked on October 7, 2026. We have not hands-on tested the named products. All illustrations are AI-generated concepts, not manufacturer diagrams or evidence of cleaning performance.