A toiletry bag can look finished while a flip cap is open and the toothpaste is still beside the sink. Give each item four checks before departure: the right container, a checked closure, suitable containment and a recorded place in the bag.
This toiletry bag packing checklist focuses on ordinary toiletries and the last steps before closing your luggage. Start with the products you already use. The worksheet below helps you finish packing them without buying a matching set of bottles or repeating your whole trip packing list.
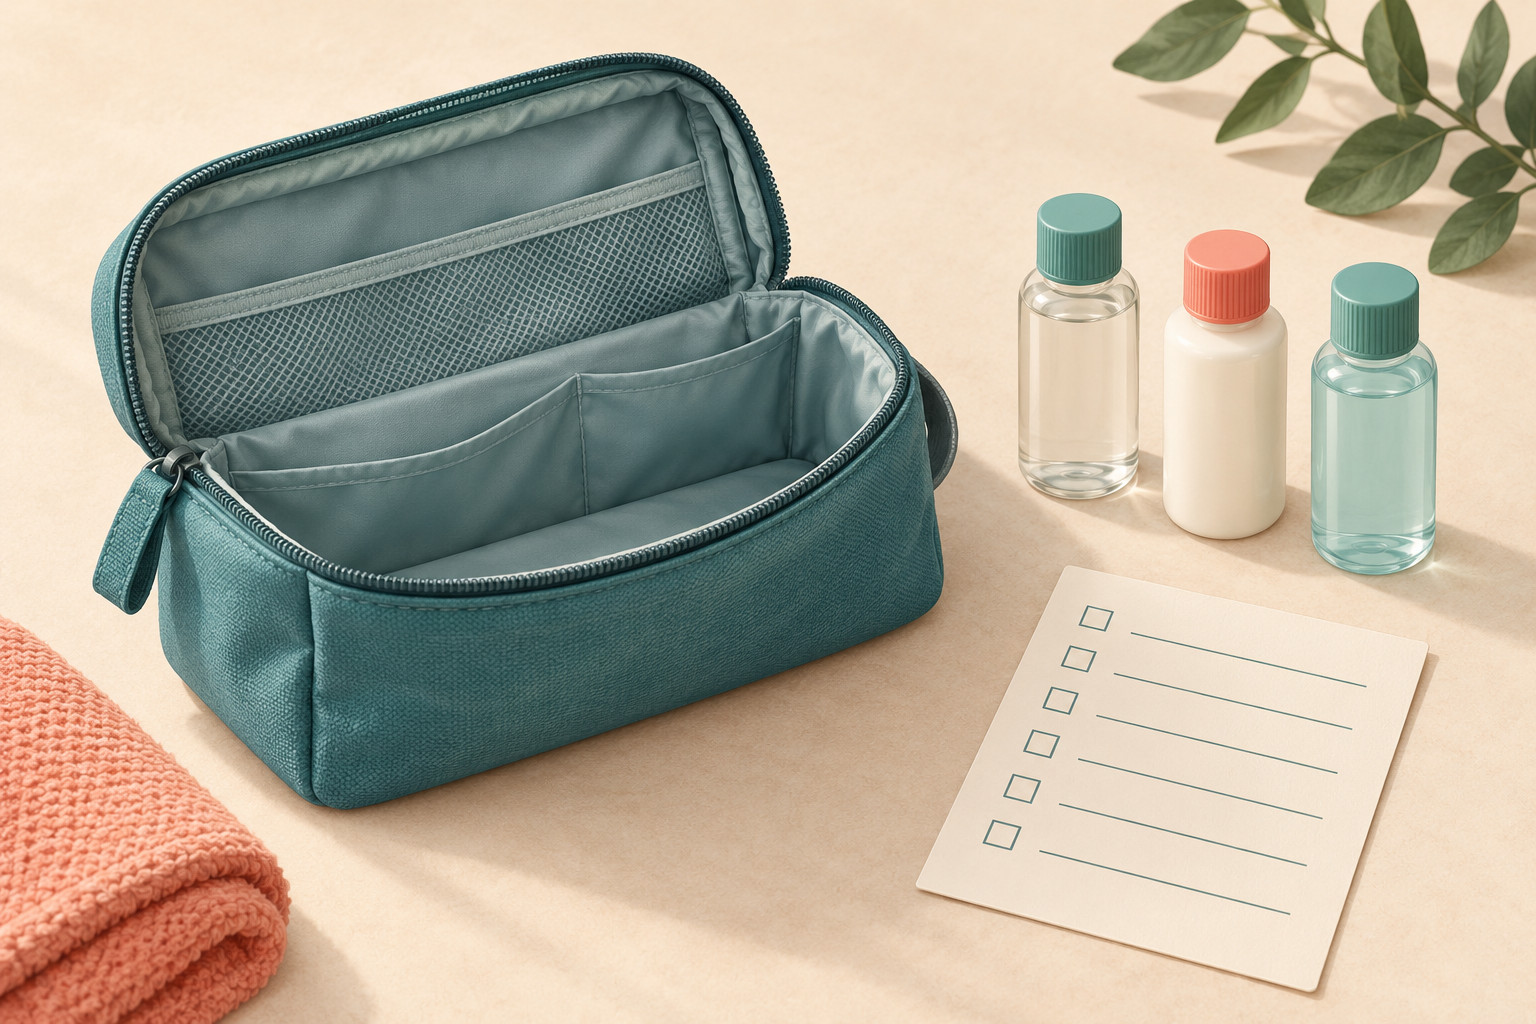
Choose the container before you fill it
Set out your actual products beside the containers you plan to carry. Keep a product in its original, appropriately sized packaging when that is the simplest suitable option. For anything you want to transfer, check both the product's storage directions and the travel-container maker's compatibility guidance.
For example, humangear's GoToob+ guidance identifies contents it does not recommend, including certain hair serums and treatments. It also recommends trying a small amount overnight for some products. That advice is specific to GoToob+; “silicone bottle” alone does not establish compatibility.
If compatibility is unclear, leave that transfer unresolved. Find a suitable original travel size or ask the manufacturer. Do not mix leftover products to free up a bottle. Label permitted refills with the exact contents, and keep the original packaging information available.
Follow the container's filling instructions rather than squeezing in as much as possible. Check the container's stated capacity separately from how much product you put inside. Record both only if knowing the amount will help you plan your routine.
Check each closure while it is still visible
Work over a washable surface, one container at a time. This is a practical inspection routine, not a pressure test or proof that a bottle cannot leak.
- Inspect: look for cracks, a damaged hinge, a missing cap or a visibly displaced seal. Leave suspect containers out of the ready pile.
- Clear the closing surfaces: remove visible product residue using the maker's permitted care method. Do not dismantle a valve or seal unless the instructions allow it.
- Close normally: seat a screw cap straight, fully close a flip top, or engage a pump's travel lock as its instructions describe. Fit the supplied protective cover where applicable.
- Check the finished position: look at the cap again. If the closure has a latch or lock, confirm that it is engaged rather than merely nearby.
- Record the result: mark “closed” only after checking. Write a specific action for a problem, such as “replace cracked cap.”
A strip of tape should not be your reason for accepting a broken closure. Avoid improvising extra material under a cap when you cannot confirm that the container maker permits it.
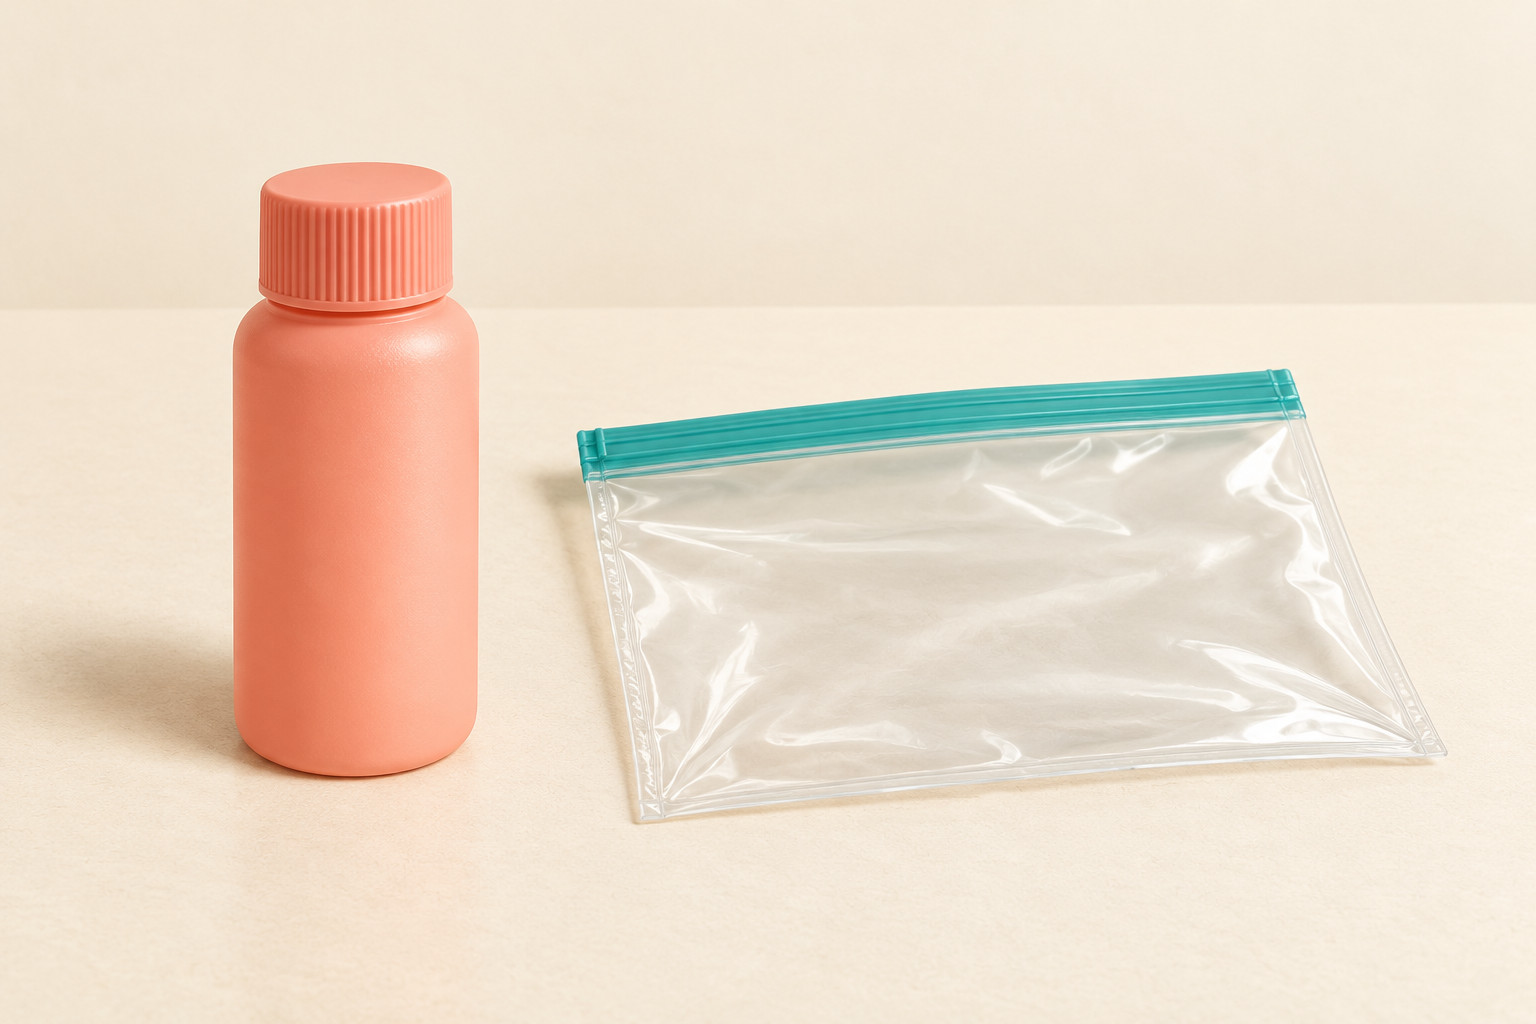
Give liquids a containment plan
Put checked containers into an intact, securely closing bag suitable for holding toiletries. Keep it separate from papers and electronics. Arrange containers without forcing a zipper across caps or pressing directly on pump heads.
Humangear recommends a sealed zip-top bag around its tubes as a backup against accidents. Follow your own container's instructions, and treat containment as a precaution. Neither a closed bottle nor a second bag guarantees that everything outside it will stay dry.
Inspect the pouch as well: corners, seams and the entire closure deserve a look. If it will not close normally with the planned contents, change the arrangement or reduce the kit. A toiletry organizer's fabric lining should not be assumed to contain a spill.
Make the US liquids bag easy to identify
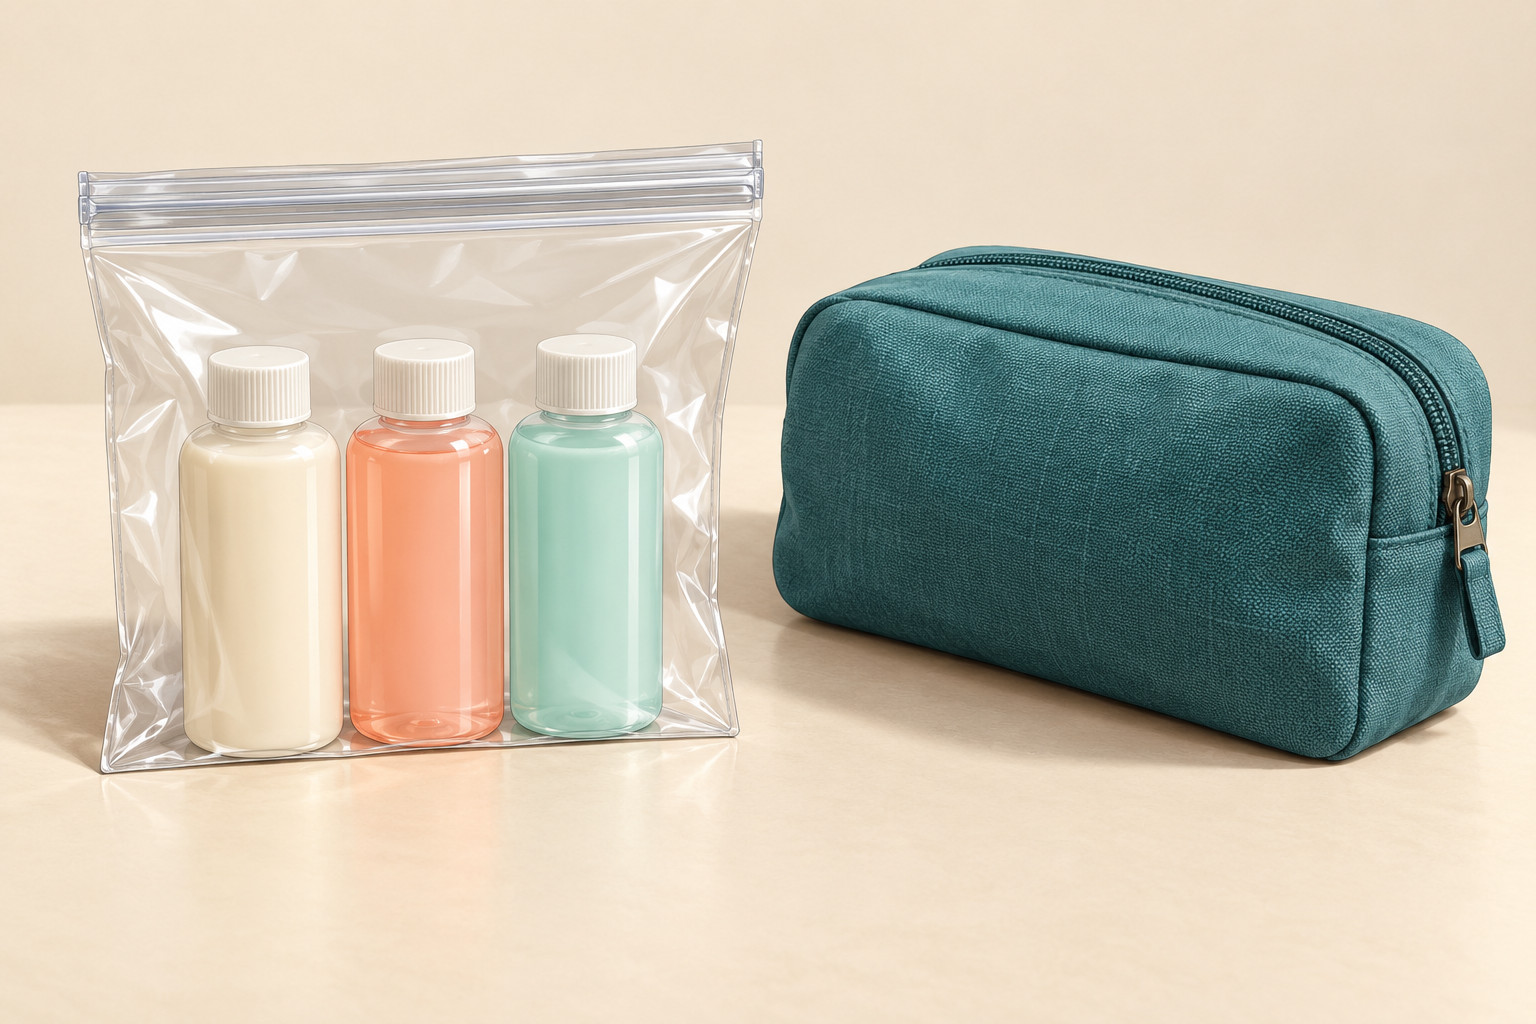
For ordinary toiletries through US TSA checkpoints, liquids, aerosols, gels, creams and pastes must be in containers of 3.4 ounces/100 mL or less, fitting inside one clear, quart-sized, resealable bag per passenger. See the TSA's official travel tips and Denver International Airport's security guidance. Check the container size, including for toothpaste and creams; a larger container with little remaining is not the packing target.
Gather ordinary liquid toiletries from every pocket into that plan. Keep the bag reachable and follow the instructions in your checkpoint lane about removing it. This ordinary US screening guidance was checked on October 7, 2026. Check official requirements again before your outbound, connecting and return flights. Use the relevant official guidance for any exception or restricted item.
Separate dry tools and name their locations
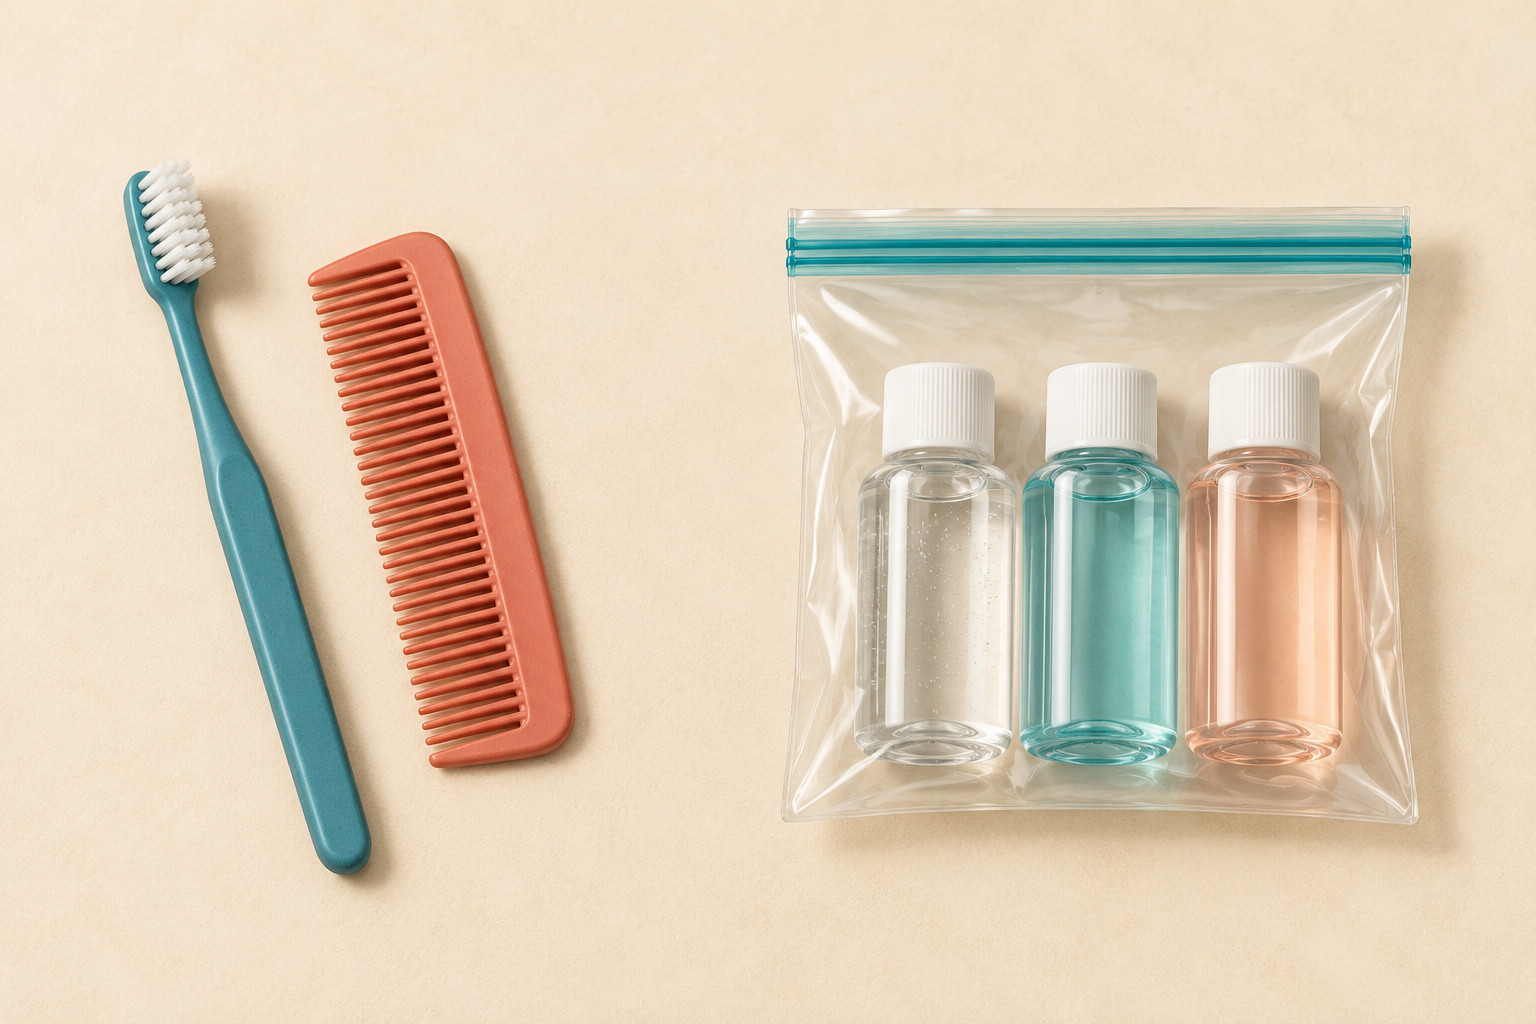
Give a toothbrush, comb and other dry tools their own suitable pouch or compartment. Keep each item's care and protective-case instructions with its packing plan. If something is still wet, record what needs to happen before it joins the dry kit rather than hiding it among dry contents.
Use location names that you can follow while tired: “clear liquids bag, backpack top pocket” is more useful than “toiletry bag.” If you use an outer organizer, record which removable inner pouch holds the item.
Copy this worksheet into a note. Add one row for each product you actually intend to take, and delete examples you do not use. Container sizes below are fictional examples, not recommendations for how much any trip needs.
| Item and container | Check before packing | Exact packed location | Status |
|---|---|---|---|
| Shampoo, 60 mL refill bottle | Compatibility confirmed; cap seated and shut | Clear liquids bag / backpack top pocket | ____ |
| Lotion, original 30 mL tube | Tube intact; cap closed | Clear liquids bag / backpack top pocket | ____ |
| Toothpaste, original travel tube | Capacity checked; cap cleaned and closed after last use | Clear liquids bag / backpack top pocket | ____ |
| Toothbrush | After-use care and travel-case instructions followed | Dry-tools pouch / main compartment | ____ |
| Comb | Ready to pack | Dry-tools pouch / main compartment | ____ |
| Your item: ____ | Container, closure and containment: ____ | ____ / ____ | ____ |
Use three statuses: ready to pack, packed, or waiting for last use. Move an item to “packed” only after it reaches the named location. For anything unresolved, add the action beside it.
Finish with a last-use handoff and access rehearsal
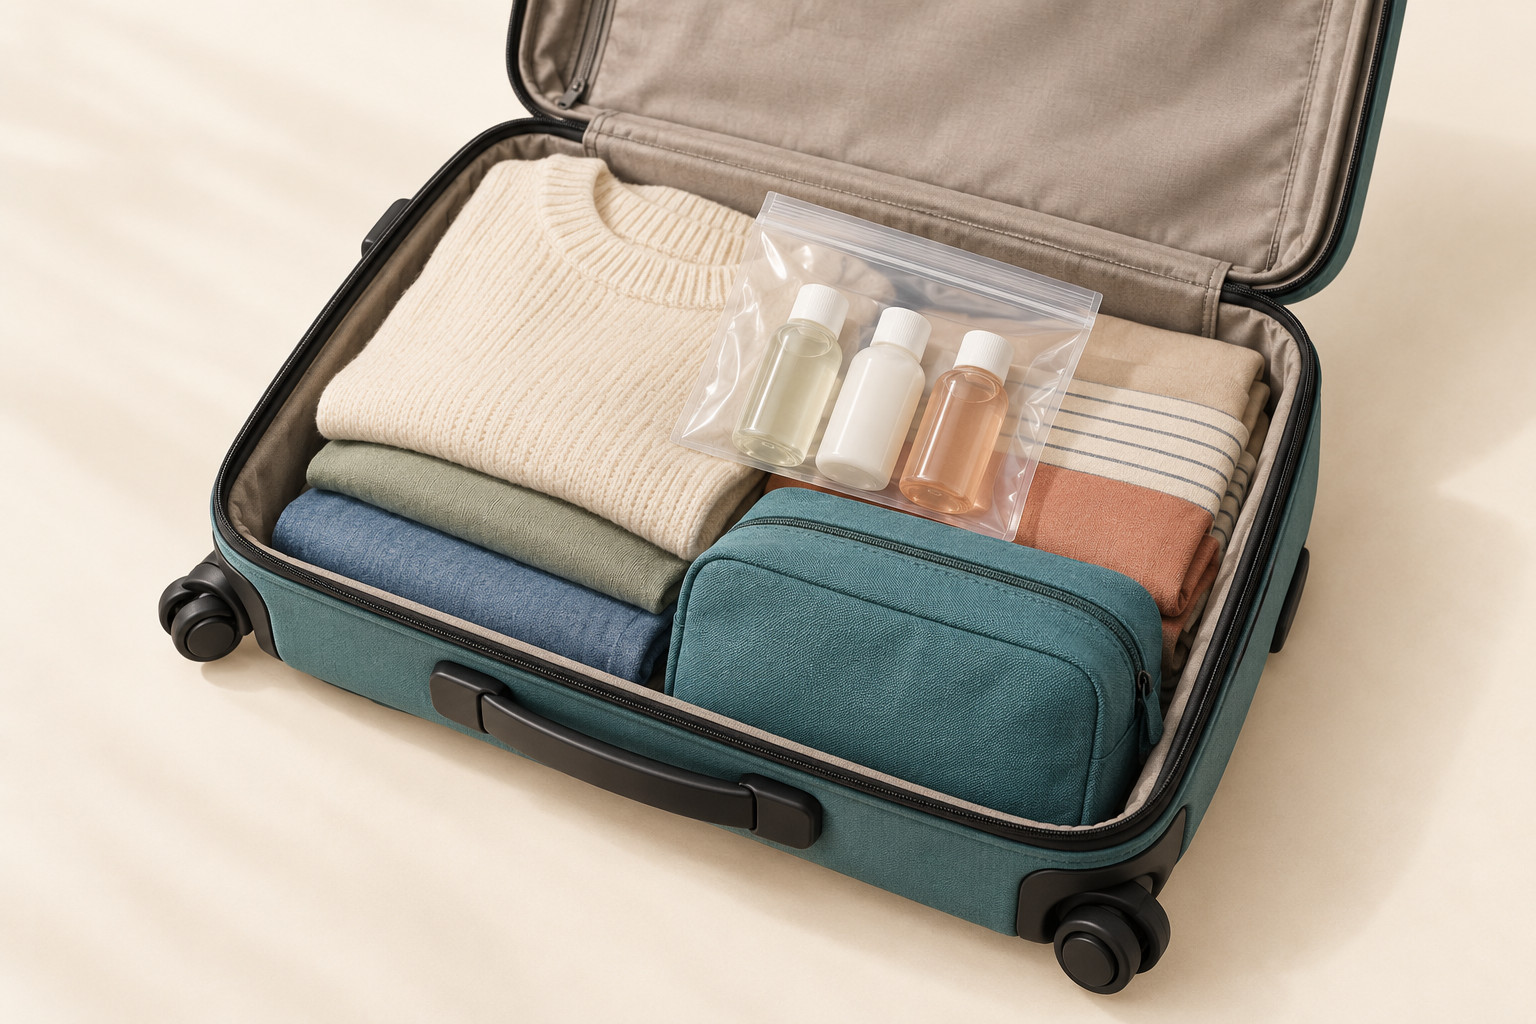
Leave one short note where you will see it: “After brushing: close toothpaste, finish toothbrush care, pack both in their recorded places.” Keep those rows open overnight if you still need them in the morning.
Once everything is packed, close the main bag and reopen only the access point for the liquids pouch. Can you retrieve and replace it without unloading clothing? If not, change its location and update the worksheet. Then verify that the liquids bag and outer bag both close normally.
For the rest of your luggage, use the three-day carry-on checklist. For this kit, the finish line is smaller: every closure checked, every item located, and no last-used product left waiting on the sink.