To clean a removable window insect screen, first identify its opening and find the care instructions for that exact screen. Use only its permitted cleaning method, let it dry fully, then return it in the recorded orientation and check its fasteners. If you cannot remove it safely or cannot confirm whether its mesh and frame may get wet, stop before washing.
A stack of nearly identical screens can turn a small cleaning job into a rectangular jigsaw. The useful finish line is not just “less dust.” It is the right screen, dry and undamaged, back in the right opening. This guide adds a location-and-return record to manufacturer care instructions; it does not replace them.
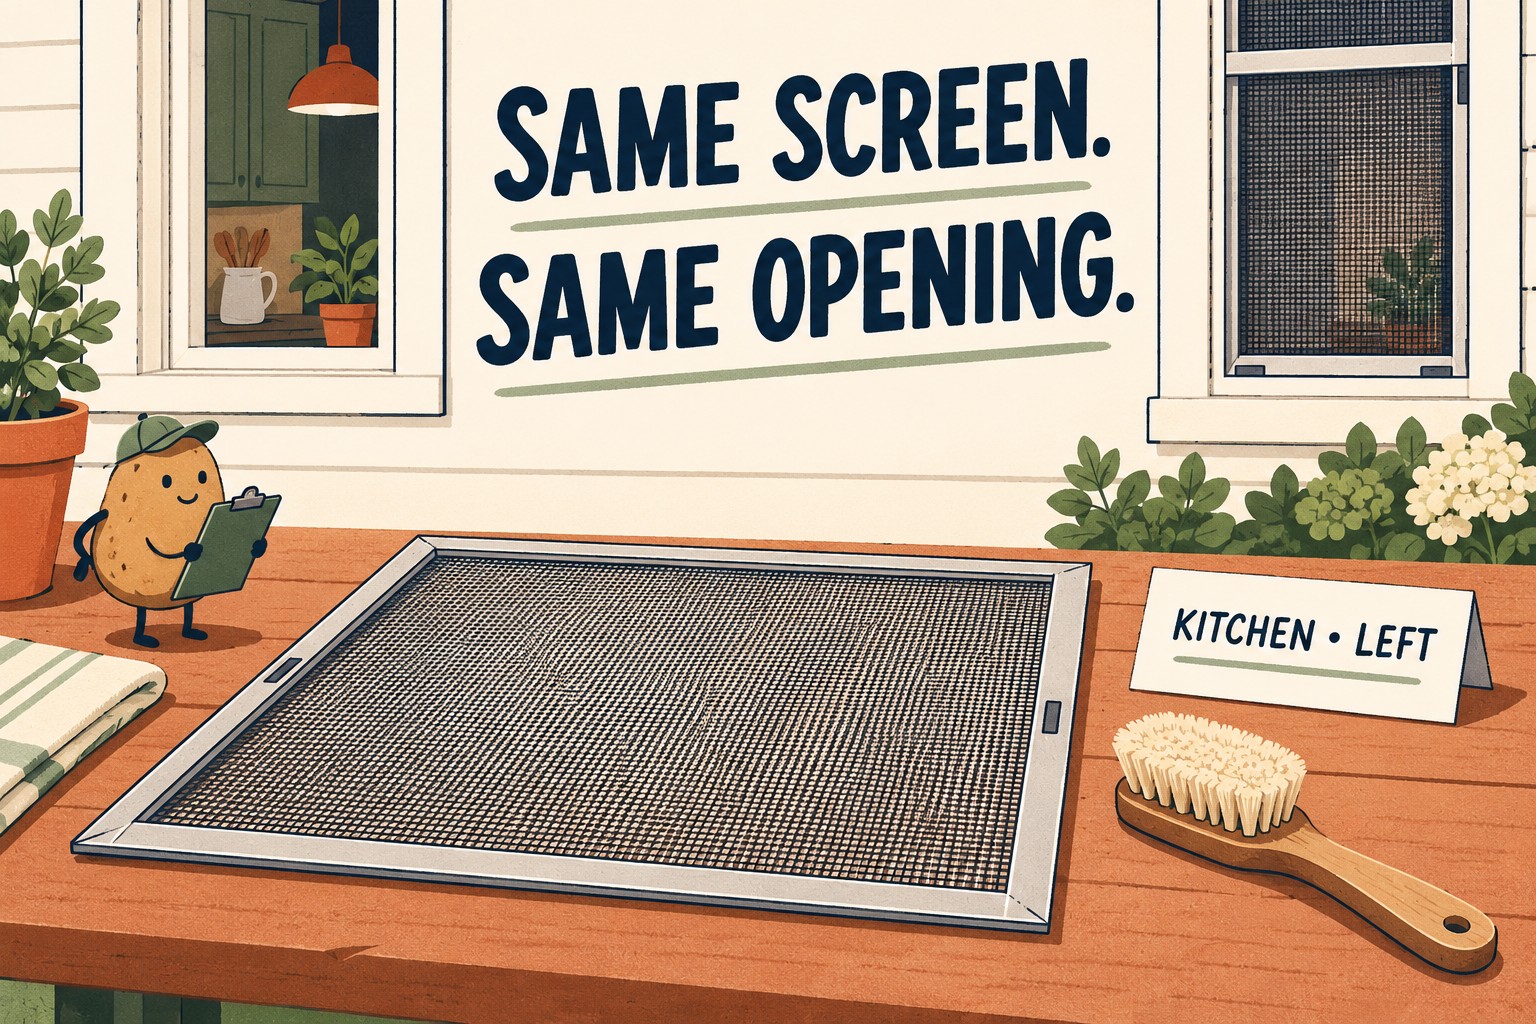
Start with one safely accessible screen
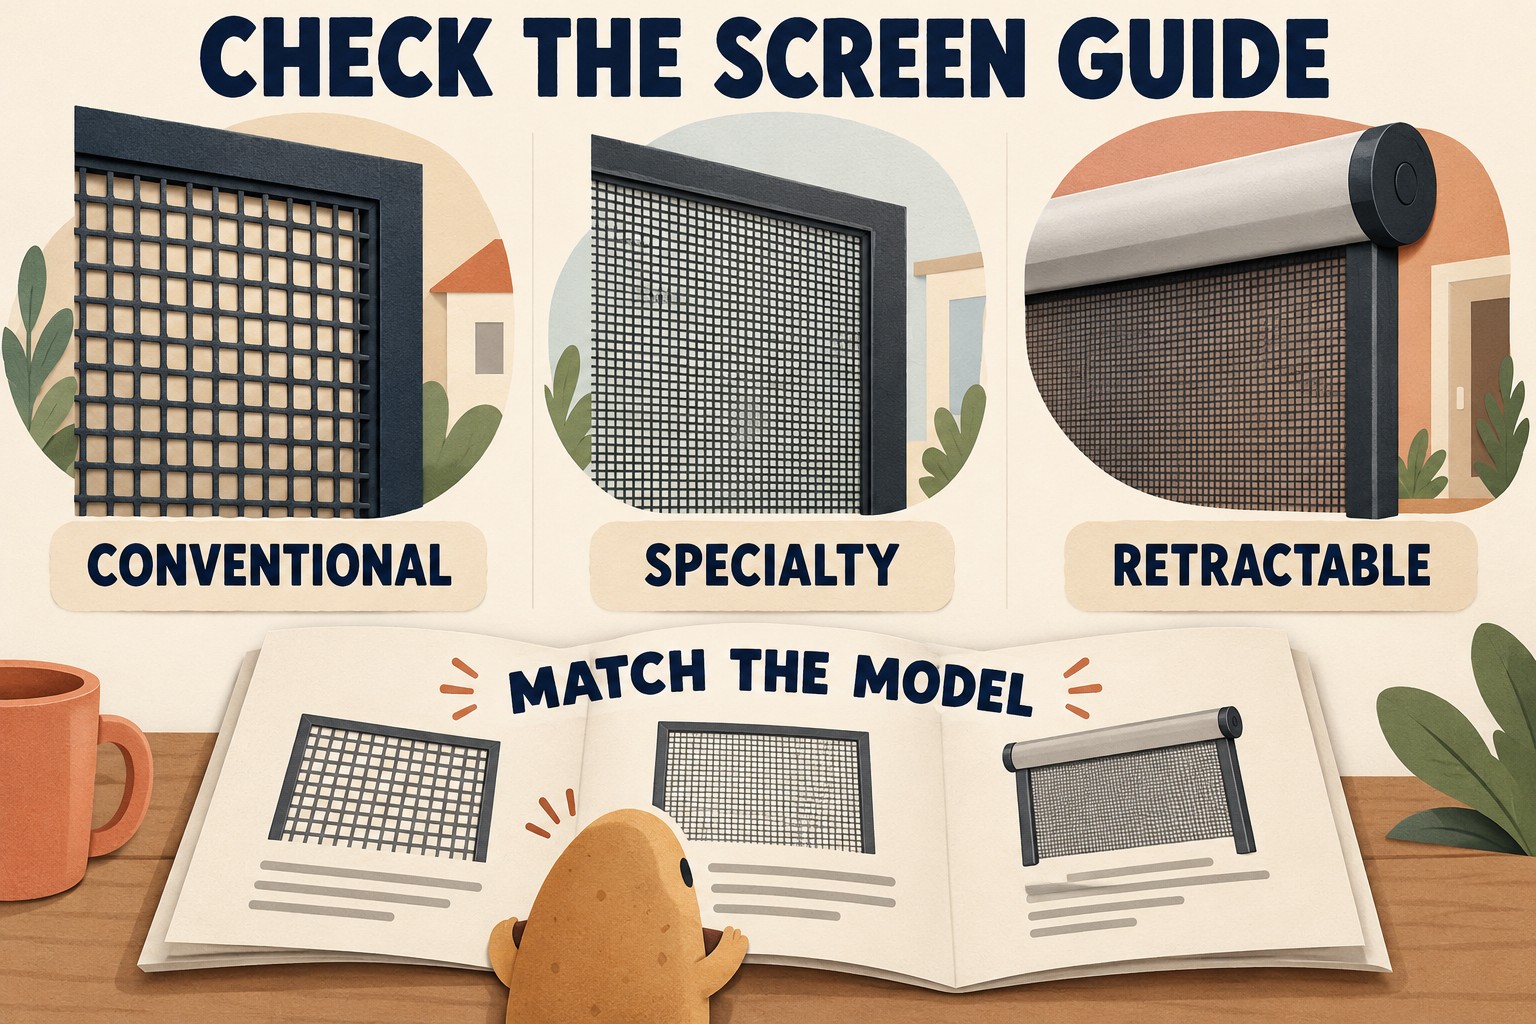
This workflow is for ordinary removable, rigid-frame insect screens. It is not a procedure for security screens, storm panels, retractable cassettes or every specialty mesh. Do not climb a ladder, lean through an opening or reach around an exterior window to follow it. If the manufacturer's removal procedure is not safely accessible from a stable indoor position or ground level, get appropriate help instead.
Keep children and pets away from open windows. An insect screen is not a fall barrier, as the Pella owner's manual warns. Close and secure the window while its screen is away whenever the window's design and instructions allow.
Before releasing anything, find the model-specific removal instructions. Andersen's removal and storage guidance directs owners to their screen's installation guide. A generic “pull harder” step is not an acceptable substitute for knowing which latch, pin or tab releases it.
Record the opening before making a pile
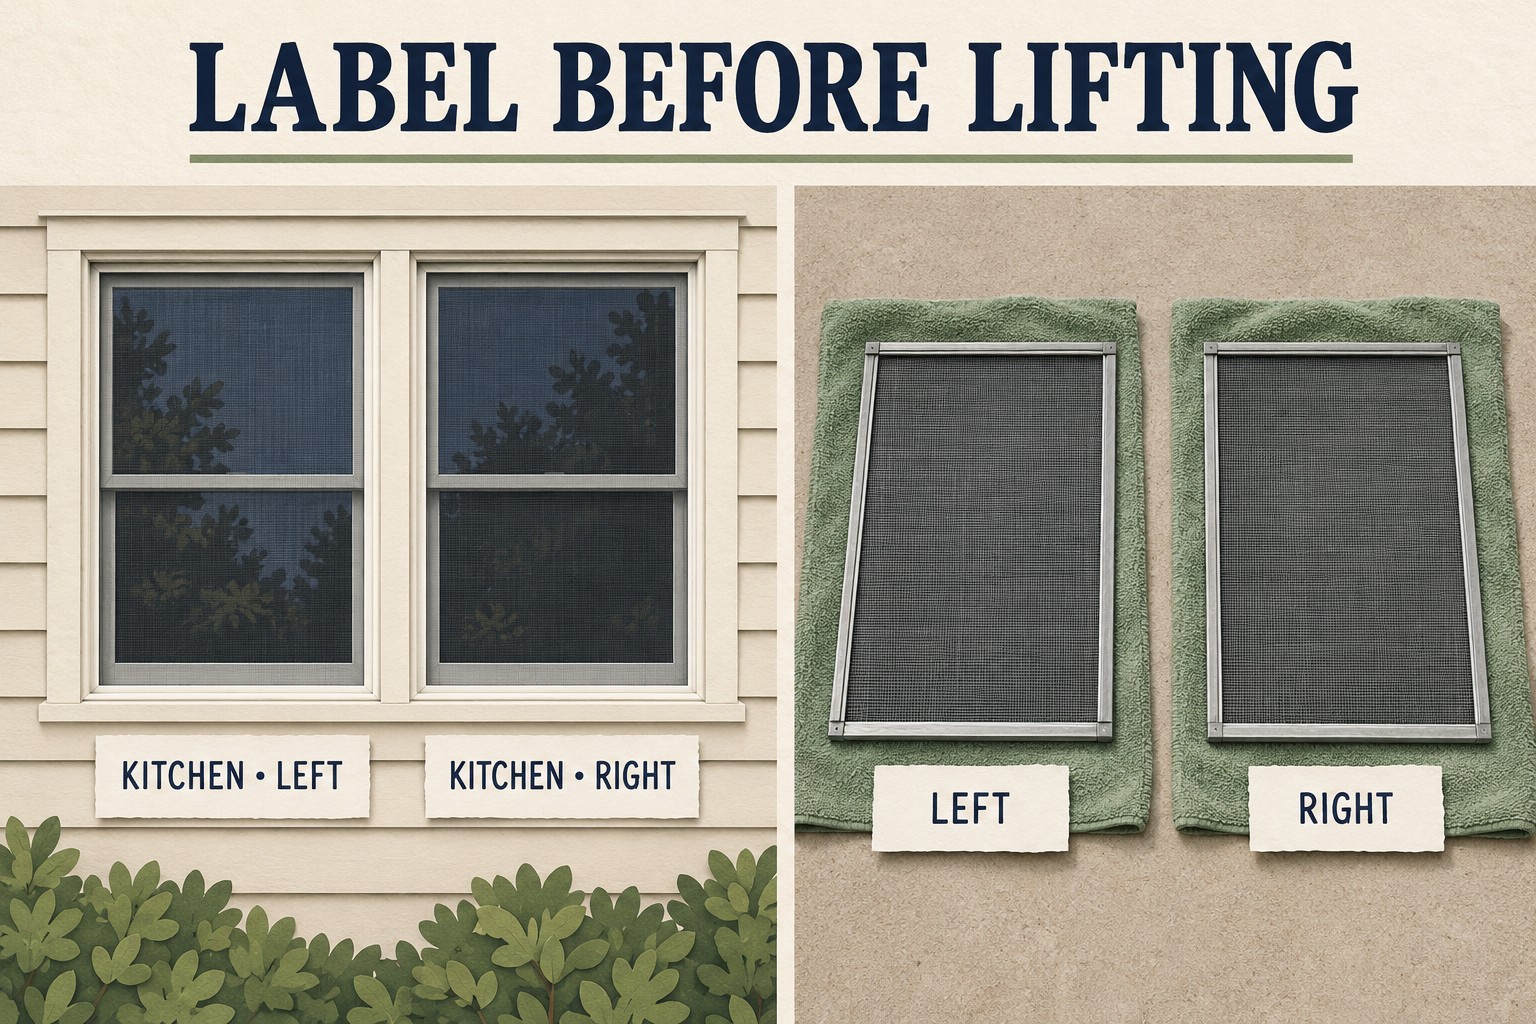
Our suggested system uses a room name, an opening number and a fixed viewpoint. For example: “Kitchen 1, left opening when viewed from inside.” Photograph the screen in place and note the top edge and the side facing the room. The photo is a memory aid, not proof that it was installed correctly in the first place.
- Make a paper card before removal. Put the same opening ID in your notes or photo filename.
- After removal, place the screen and its card together in a separate work area. Do not stick labels to the mesh or an unverified fragile finish.
- Keep any intentionally removed loose parts with that opening's record. Do not dismantle the frame or remove hardware just to create a matching set.
- Start with one screen if you have little drying space. Expand only when you can keep every screen and card distinct.
Choose the method by the screen, not the nearest cleaner
Mesh and surround are separate things to identify. A metal-looking frame does not tell you the mesh material. Marvin lists fiberglass Bright View mesh and different surround options on its screen options page. Treat an unknown or specialty screen as an identification task, not as permission to try a wash recipe.
The examples below show why copying one cleaning instruction across every screen is unreliable. They are source-specific summaries, not a universal menu of interchangeable methods.
| Official source | What it says about screens | Your decision |
|---|---|---|
| Andersen mesh and frame care | Mild soapy water, a soft-bristle brush and a thorough clean-water rinse; dry the frame with a soft cloth. | Use this only when it applies to your screen, including its frame finish. |
| Pella window-cleaning guide | Recommends an upholstery-brush vacuum attachment for screen dust and cautions that screens bend easily. | Check the model's instructions and use gentle handling rather than pressing the mesh. |
| Marvin screen care | A light hose spray or soft-brush vacuum, followed by complete air-drying before reinstallation. | Do not add detergent just because another brand's instructions mention it. |
Specialty-screen advice can even differ between related brands. Renewal by Andersen's screen guide specifies dry dusting for TruScene, while Andersen's product-care page includes premium TruScene in its washing guidance. Do not resolve that mismatch by guessing. Identify the actual product and ask its manufacturer if the applicable instructions remain unclear.
Clean gently, with a clear stopping point
Set up a clean, supported work surface before carrying the screen over. Keep the opening card nearby but out of the water. Inspect the frame, mesh and fasteners first; stop for torn or loose mesh, a bent frame, a loose corner or damaged fasteners. Record the issue and seek the applicable repair guidance before cleaning or reinstalling.
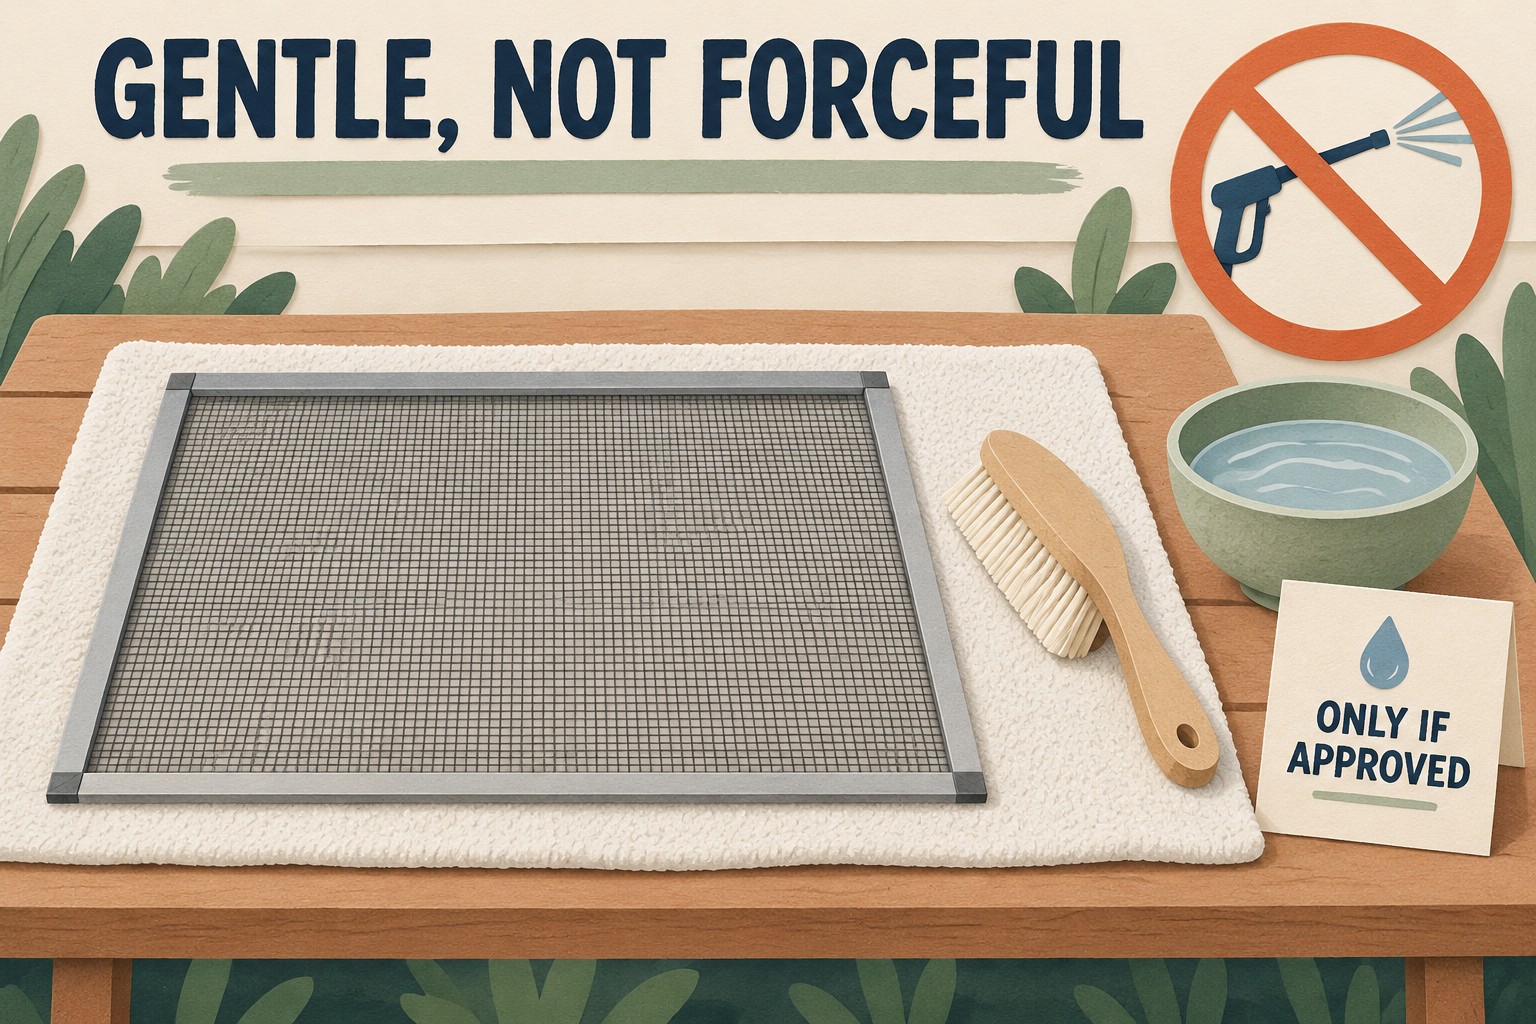
If the applicable instructions permit washing, follow their cleaner, tool and rinse directions. The Andersen method above is one example, not a prescription for unknown screens. If the instructions specify a dry method, keep the work dry. If residue remains after the permitted treatment, stop and check the product guidance instead of escalating to a stiff brush, an improvised chemical mixture or forceful scrubbing.
Leave pressure washing out of this workflow. The Pella manual prohibits power-washing screens. Do not soak an unidentified wooden surround or assume a cleaner approved for window glass is also approved for the screen.
Use this opening-to-return record
Copy the following fields into a note or onto paper. The final column is an illustrative example, not a record of a screen we cleaned. “Unknown” is useful information: it tells you which step is not ready.
| Field | Record for your screen | Illustrative entry |
|---|---|---|
| Opening ID and viewpoint | Room, number or position; viewed from where? | Kitchen 1; left when viewed from inside |
| Orientation evidence | Photo reference; top edge; room-facing side | Photo K1-before; top edge noted |
| Product and care source | Brand/model; exact guide link or page | Model not yet confirmed; washing on hold |
| Condition before cleaning | Mesh, corners and fastener observations | Dust visible; inspect corners before starting |
| Chosen method | Permitted tools, cleaner if any, rinse instruction | Pending model confirmation |
| Drying and return | Dry check; opening match; fit and fasteners | Not started; do not mark complete |
For several screens, give each one its own row set. Do not overwrite “Bedroom 2” with “Kitchen 1” because they look the same size. If a helper takes over, hand over the card and the instructions together. That small transfer is where this record earns its keep.
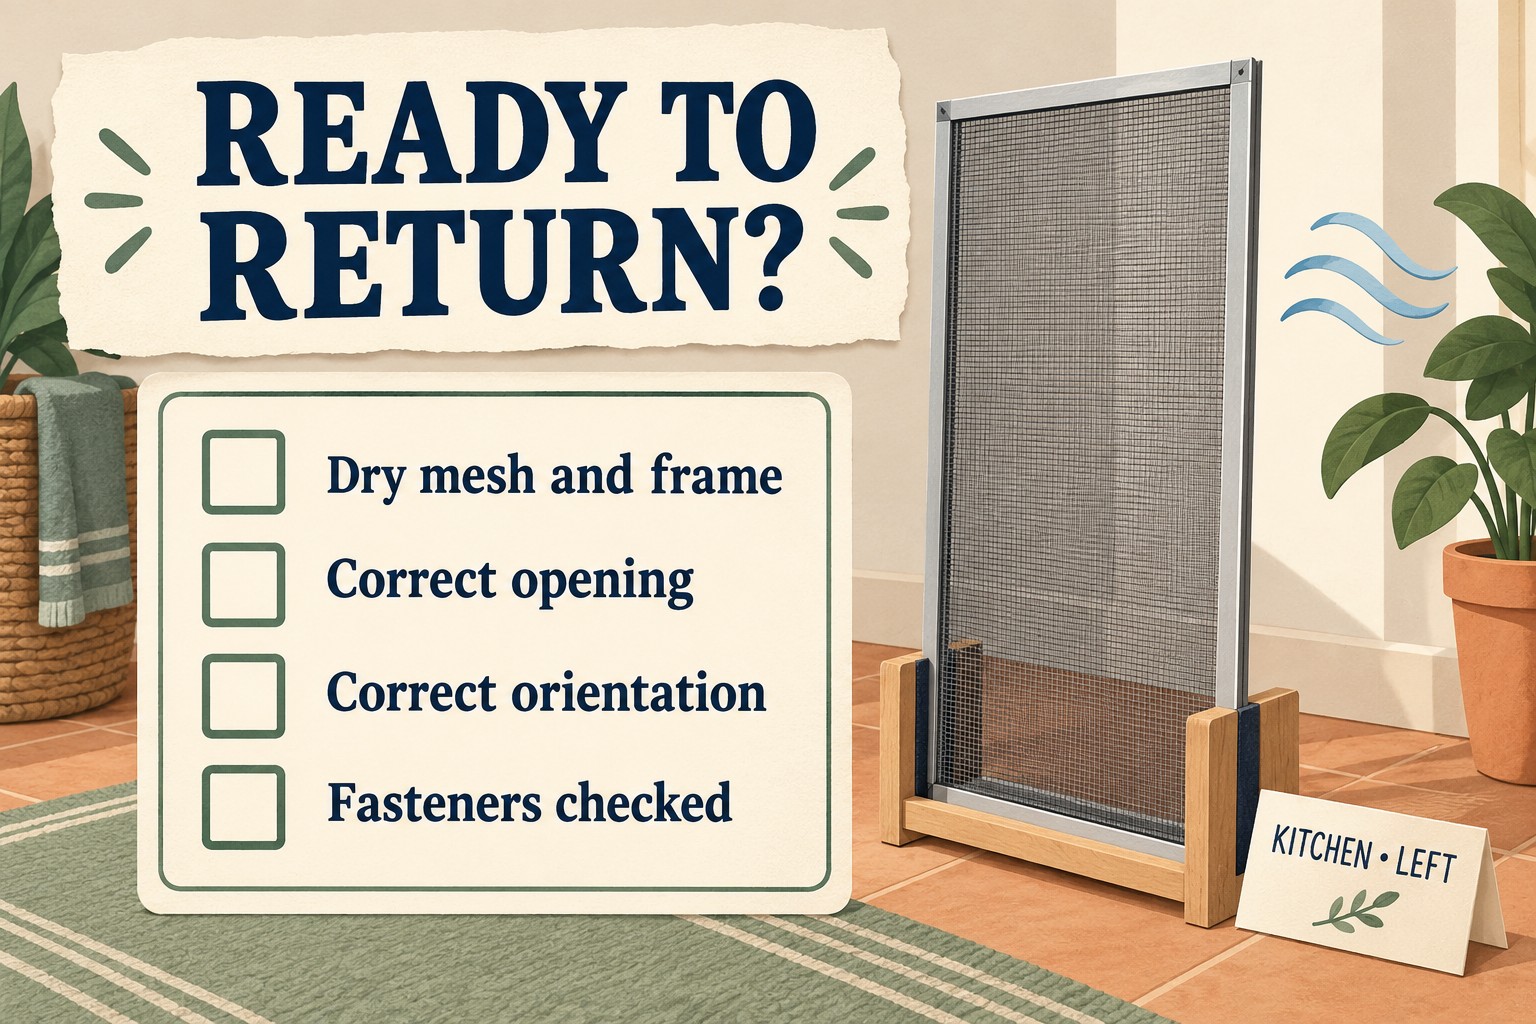
Finish with a dry, correctly matched return
Keep each screen supported without bending it and allow the drying method its guide specifies. Marvin explicitly calls for complete air-drying before reinstalling. Do not substitute a fixed timer for checking the actual screen. A frame that still carries water is not ready simply because another screen has dried.
- Match the opening ID and recorded orientation before lifting the screen into position.
- Reinstall using its own instructions. Confirm the intended frame fit and engagement of the relevant fasteners.
- If it does not sit correctly, stop. Recheck identity, orientation and hardware rather than bending it or pressing on the mesh.
- Mark the record complete only after the return check. Record any unresolved damage separately for repair advice.
If you are storing a screen instead, Andersen recommends a dry, ventilated place and support that prevents bending, bowing and pressure damage in its storage guidance. Keep the opening record with it for the next installation.
For the rest of the household routine, use our small-apartment cleaning schedule to choose a manageable task block. Screen care does not need to become an all-windows marathon. One identified, correctly returned screen is a better result than five anonymous rectangles waiting by the door.