To clean a dish drying rack, empty it, remove only the parts designed to detach, and clean the rack, its water-collection surfaces and the counter underneath using their permitted methods. Then restore the water route: a spouted rack needs an outlet over the sink, while a collecting tray needs to be emptied by hand.
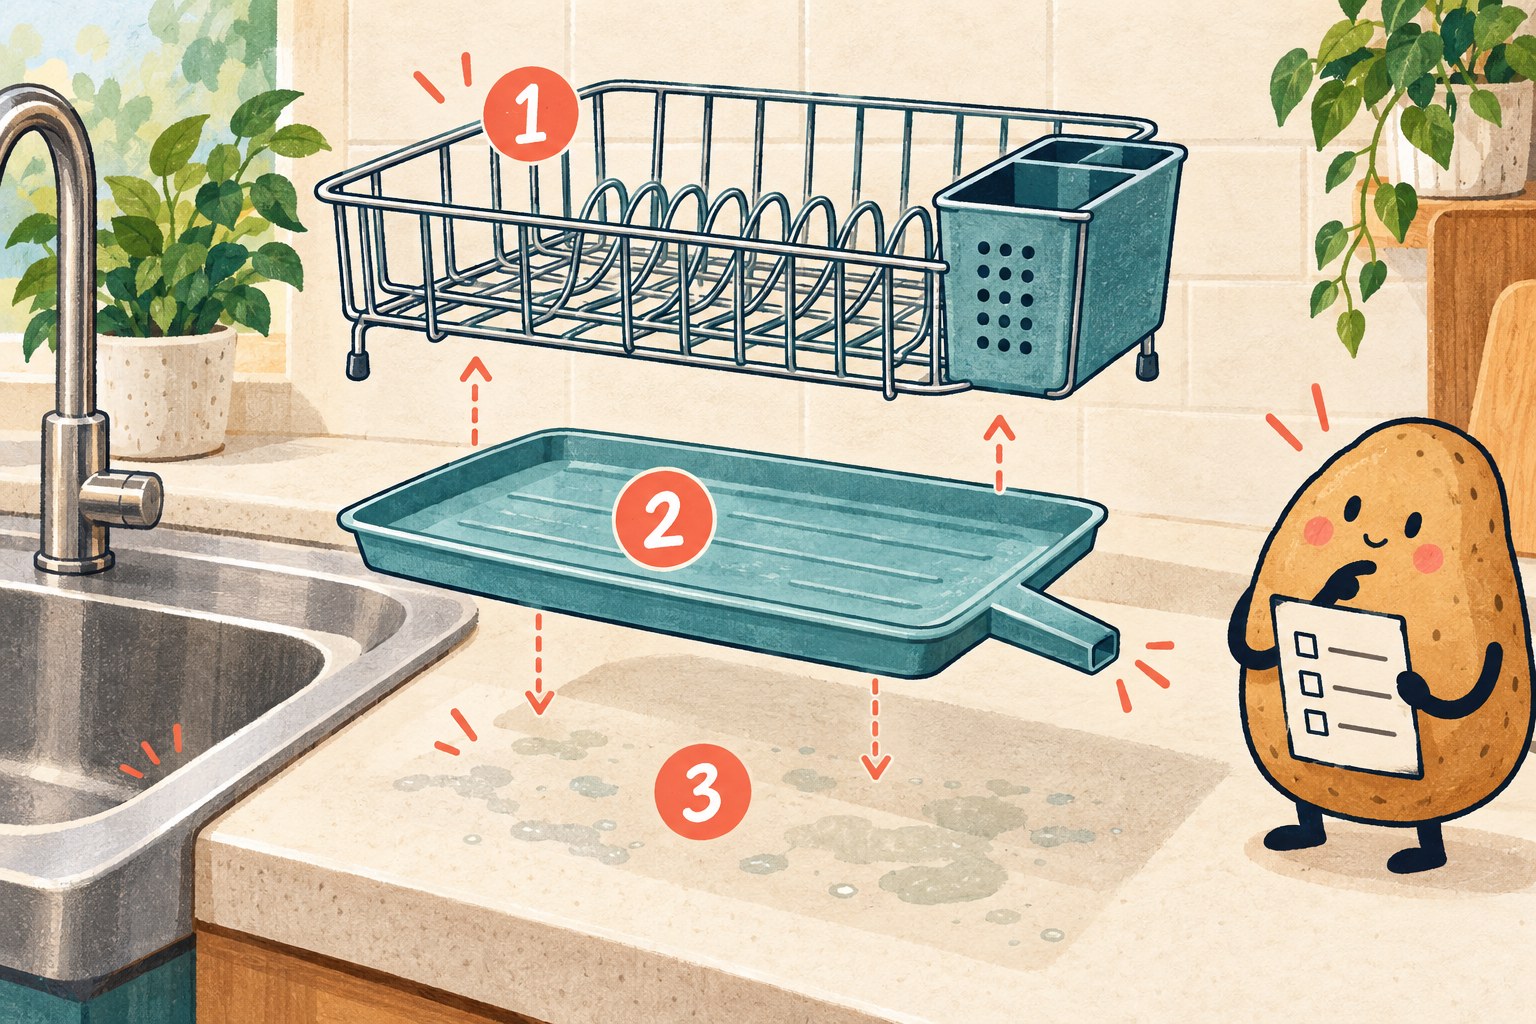
The bars get all the attention. Meanwhile, the utensil cup, tray underside and little patch of countertop are quietly running a side project. This walkthrough gives those hidden surfaces a place in the cleaning sequence, then checks that the rack is ready for the next load. It is a routine-care guide, not a product test or a sanitizing protocol.
First, identify where the water goes
Look at the empty rack before taking it apart. Does a channel lead to a spout over the basin, or does the base hold water until you pour it out? A removable tray does not, by itself, mean automatic drainage.
Two manufacturer examples show why this distinction matters. Joseph Joseph’s Extend Steel, SKU 85153, has a spout with three positions. Its care instructions specify hand washing and drying, allow dismantling for cleaning, and exclude abrasive cloths or strong chemical cleaners on the steel parts. By contrast, the OXO Dish Rack, SKU 1440480, is listed as dishwasher safe and uses corners shaped for pouring out collected water. These details were checked on October 20, 2026; they are examples, not permission for a different model or a recommendation to buy either one.
Find your rack’s own care label or matching instructions. Write down just three things: what detaches, the allowed cleaning method, and whether water drains or collects. If the dishwasher instruction is missing or refers only to certain pieces, do not extend that permission to the whole rack.
Empty the rack and expose the parts
- Put away the dry dishes. Remove knives and loose utensils before moving the rack.
- Clear a clean work surface for the detached pieces. Keep them together so a small drain insert does not disappear into the washing-up pile.
- Follow the model’s disassembly directions. A utensil holder, tray or spout may come off, but fixed feet, protective tips and glued parts are not invitations to pull harder.
- Look at the exposed counter and the tray’s underside before cleaning. This is the moment to notice the area the assembled rack hides.
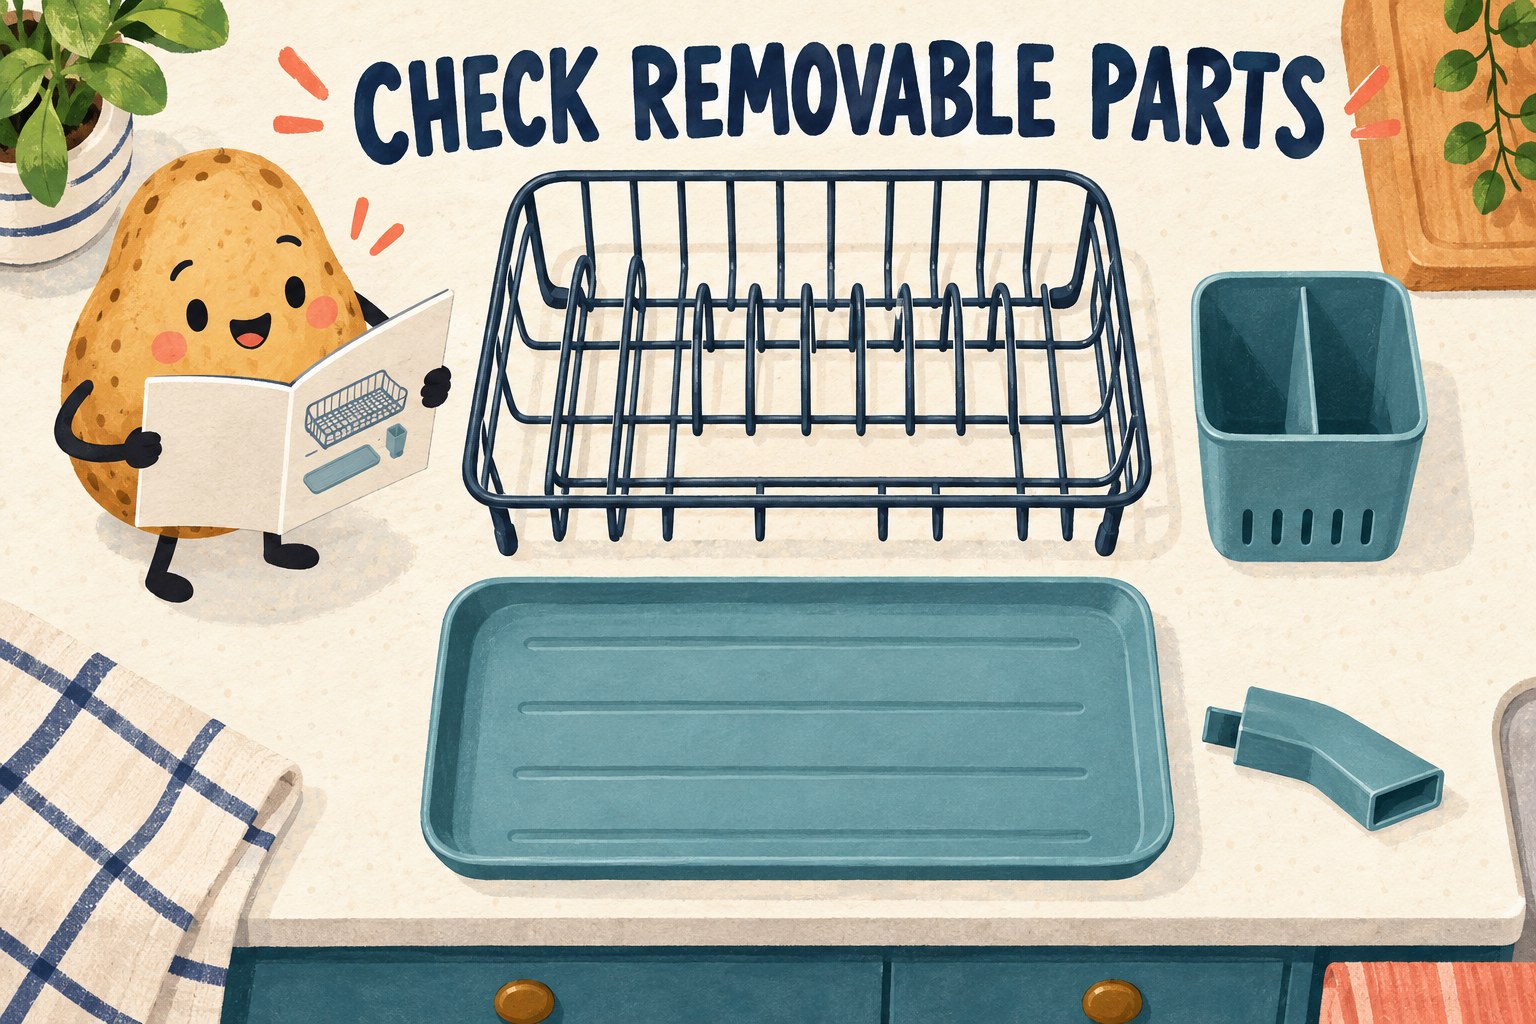
Take a quick reference photo if the placement is not obvious. The illustration is a reminder to identify removable pieces, not a universal assembly drawing. If a component resists and the instructions do not describe removing it, leave it attached and ask the maker how to reach that area.
Clean three zones, not just the visible frame
Use the cleaner and tools permitted for the exact surfaces. For a hand-washable rack, use a soft cloth or a soft brush only where its care instructions allow it. A dishwasher-safe component follows its own rack-placement and cycle guidance; another component in the same assembly may need a different method. Do not substitute a generic vinegar soak, bleach treatment or abrasive pad for missing instructions.
| Zone | Work through these surfaces | Before moving on |
|---|---|---|
| 1. Rack and supports | Bars, dish supports and accessible joints; include the underside you can safely reach. | Check for remaining visible residue rather than only inspecting the top edge. |
| 2. Water-handling parts | Utensil-holder interior, tray top and underside, plus accessible outlet or spout surfaces. | Look into corners and along the intended water route; do not force a tool through a sealed channel. |
| 3. Counter footprint | The space beneath the rack and around its feet. | Use the countertop’s own care instructions, not automatically the rack’s cleaner. |
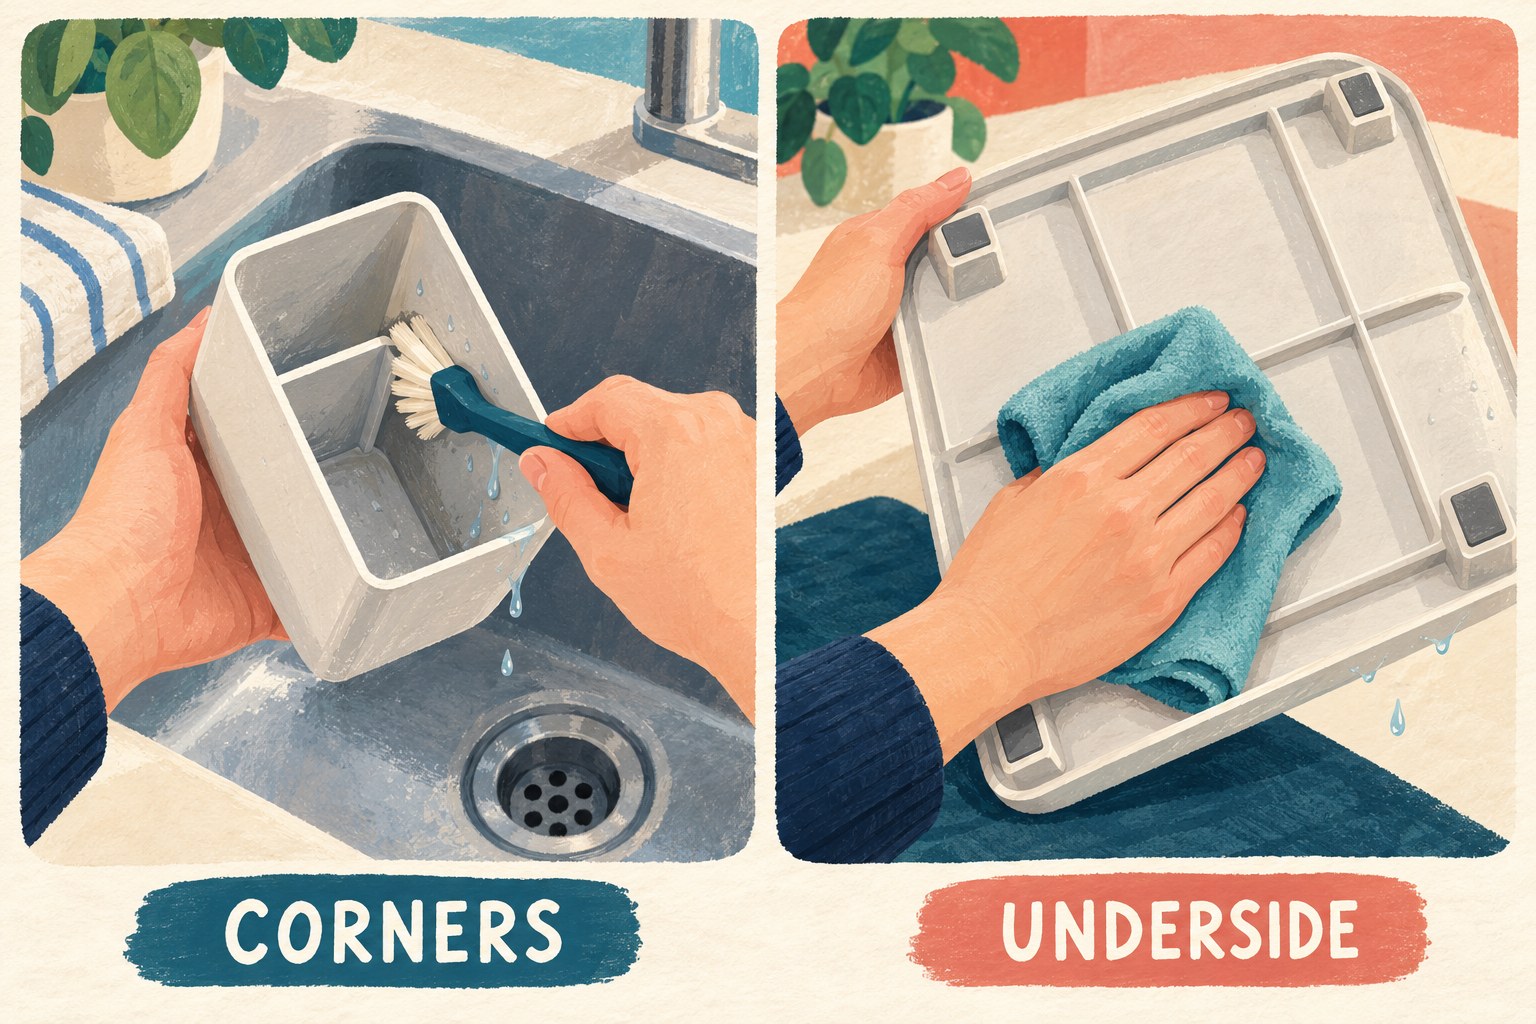
Remove cleaning residue as directed and dry the parts according to their instructions. Keep the cleaned pieces separate from those still awaiting attention. If a mark remains, pause before escalating: a stain, surface damage and removable residue are different questions, and this guide cannot identify them from color alone.
Reassemble, then check the route to the sink
Return each piece to its intended position on a stable, supported surface. Make sure a removable holder or drain insert is seated as shown in the instructions. The next check depends on the design you identified at the start.
- Spout design: follow the visible route from the tray to the outlet. Position the spout so water reaches the basin, not the sink rim or countertop. Keep the outlet unobstructed and the rack properly supported.
- Collection design: restore the tray and confirm how you will lift or empty it without balancing a load of dishes. Empty it using the product’s intended pour-out method; do not wait for a nonexistent automatic drain.
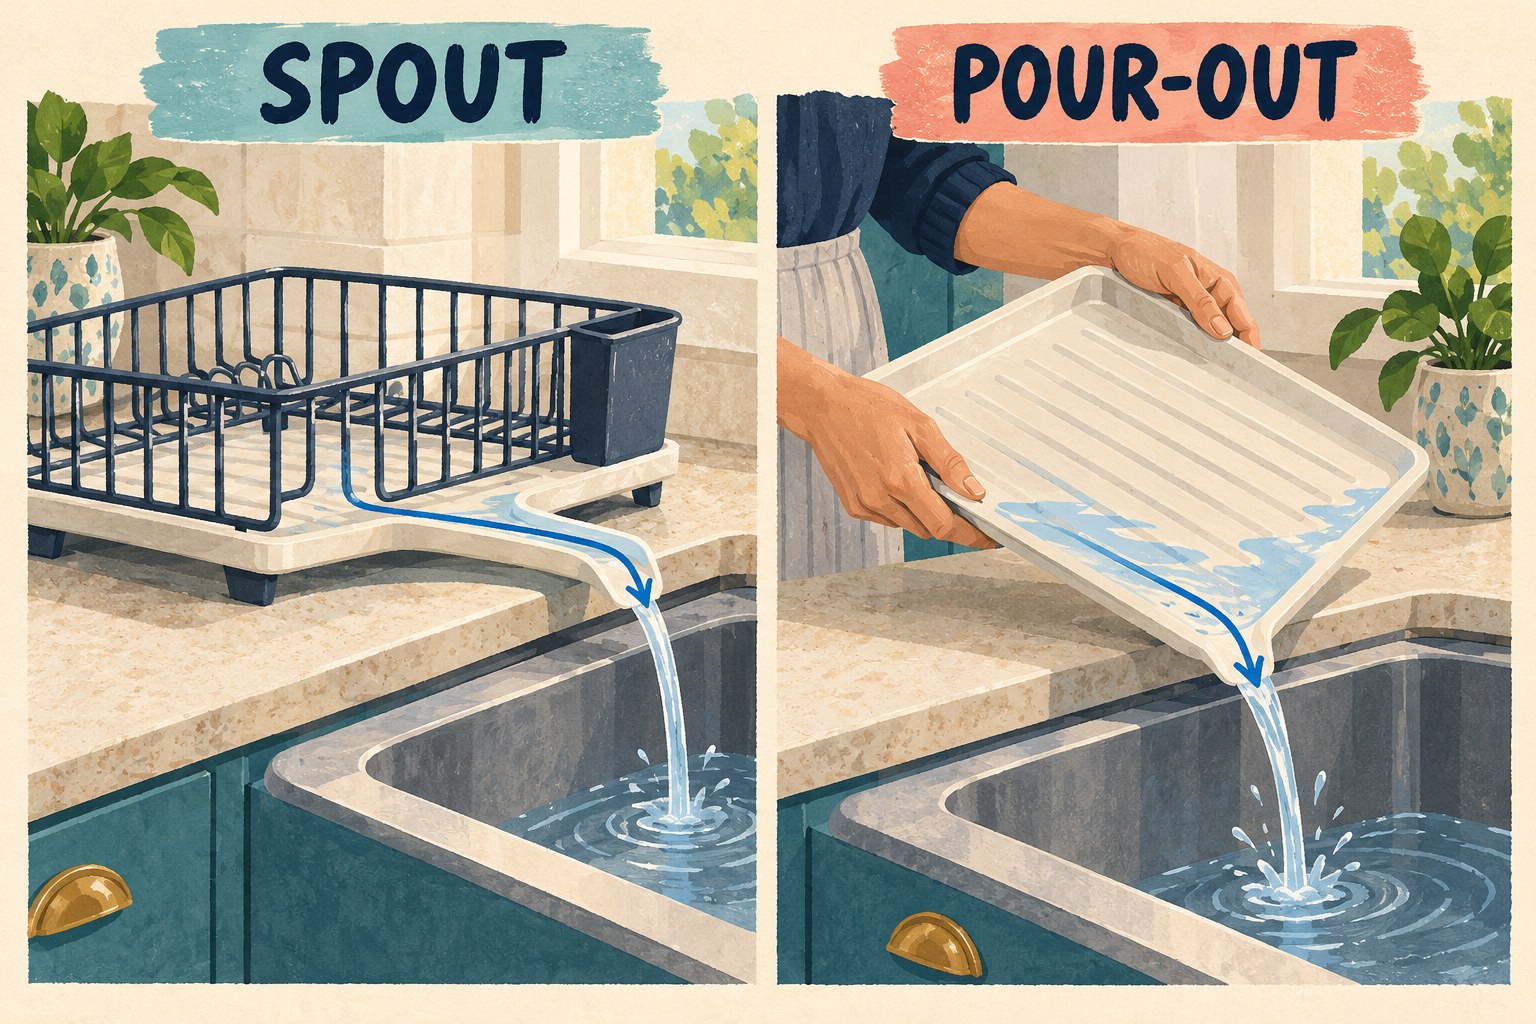
Watch the next normal use. Does water reach the expected destination? If it repeatedly appears underneath instead, empty the rack and recheck the assembly, outlet position and accessible path. Persistent unexpected pooling calls for the model’s troubleshooting guidance. Do not drill a new outlet, bend the frame or prop it up with an improvised stack to “improve” the drainage.
For example, imagine that a rack was cleaned and returned a few inches farther from the sink to make room for a soap bottle. The parts may be clean, but the spout now lands on the rim. Moving the obstruction and restoring the approved placement addresses a different problem from washing the tray again. This is a hypothetical example, not a measured product result.
The four-check finish
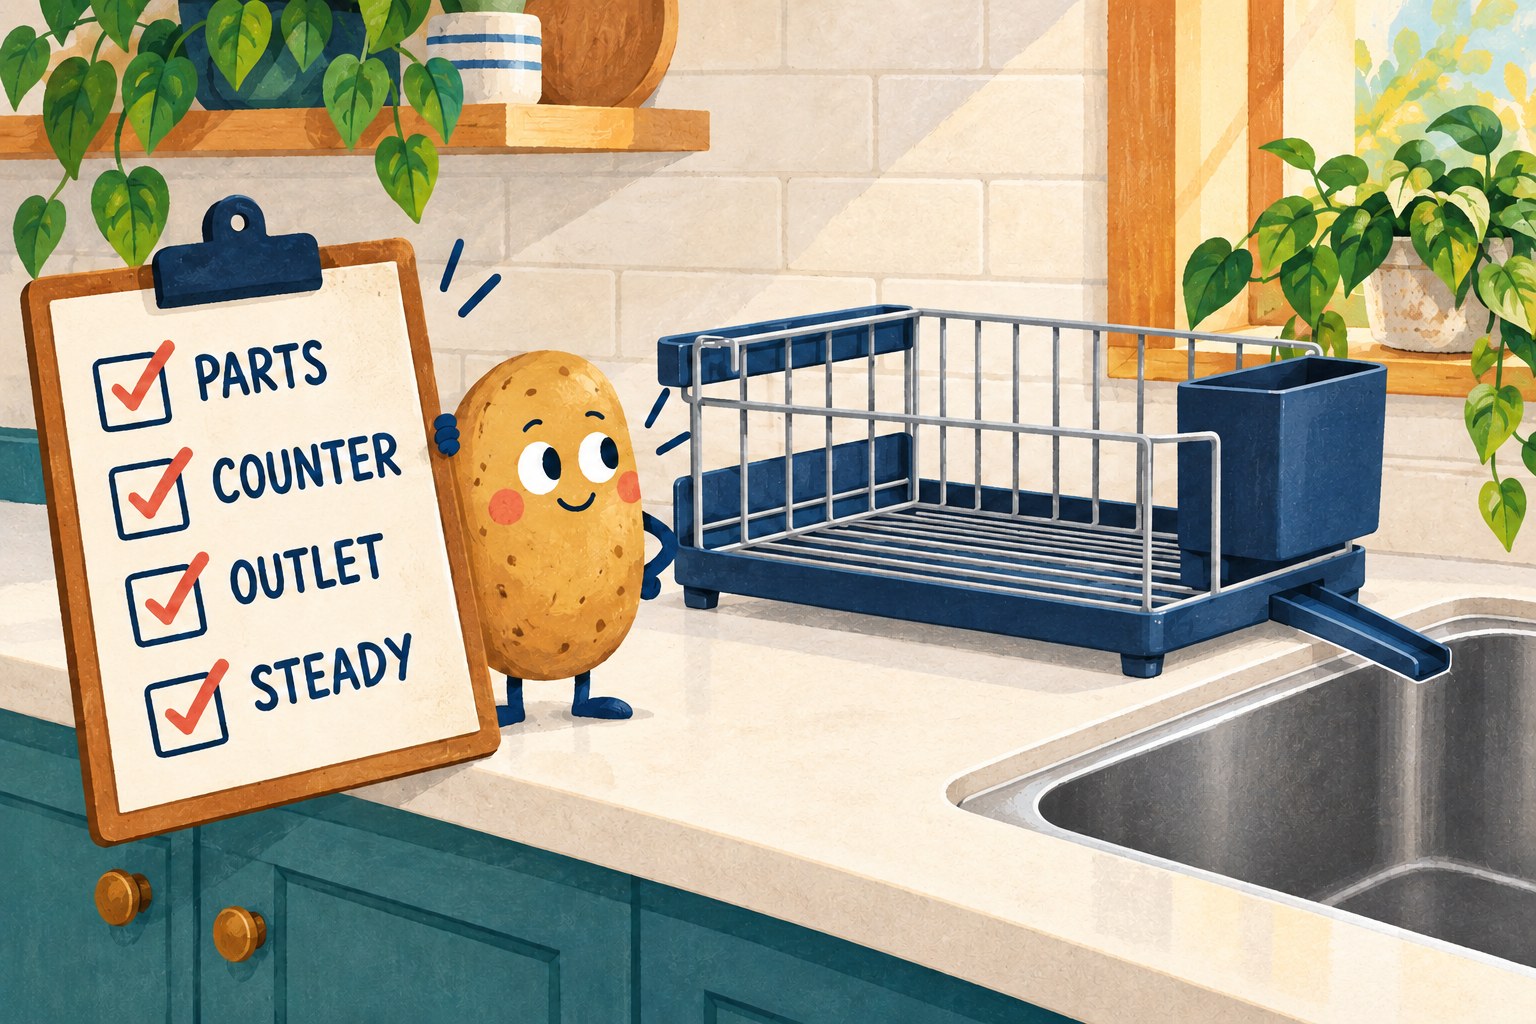
- Parts: visible supports, holder corners and tray surfaces are addressed; the permitted wash and drying steps are complete.
- Counter: the hidden footprint has been cleaned using the counter’s own method.
- Outlet: the drain path is accessible and correctly positioned, or the collecting tray has a clear empty-by-hand routine.
- Steady: the pieces are correctly seated and the rack is supported before dishes return.
Cracked pieces, peeling coatings, sharp exposed edges or unstable joints are reasons to stop and consult product-specific repair or replacement guidance, not to scrub more vigorously. A check mark here means this routine is complete; it does not certify disinfection or promise that every material will remain stain-free.
Want to include the surrounding sink while the counter is clear? Use our stainless-steel sink cleaning checklist if that is your sink material. Keep the jobs separate enough that a cleaner approved for one surface does not automatically migrate to the other.