A frame can accept your print and still hide its title, or display the image neatly and be too wide for the space. Before buying, check three separate results: the sheet fits, the important details stay visible, and the finished frame fits where you want it.
This checklist is for ordinary flat photographs and paper prints. It helps you read a listing and compare dimensions; it is not a mounting or conservation tutorial. For valuable originals, delicate materials or thick objects, ask a framer about the complete framing method before choosing components.
Start with the actual sheet and its important details
Lay the print in its intended portrait or landscape orientation. Record the full paper width from left to right and height from top to bottom, including white borders. Use one unit throughout. A name such as “8 × 10” is a useful starting point, but measure the sheet you actually have rather than assuming an advertised print size describes every edge.
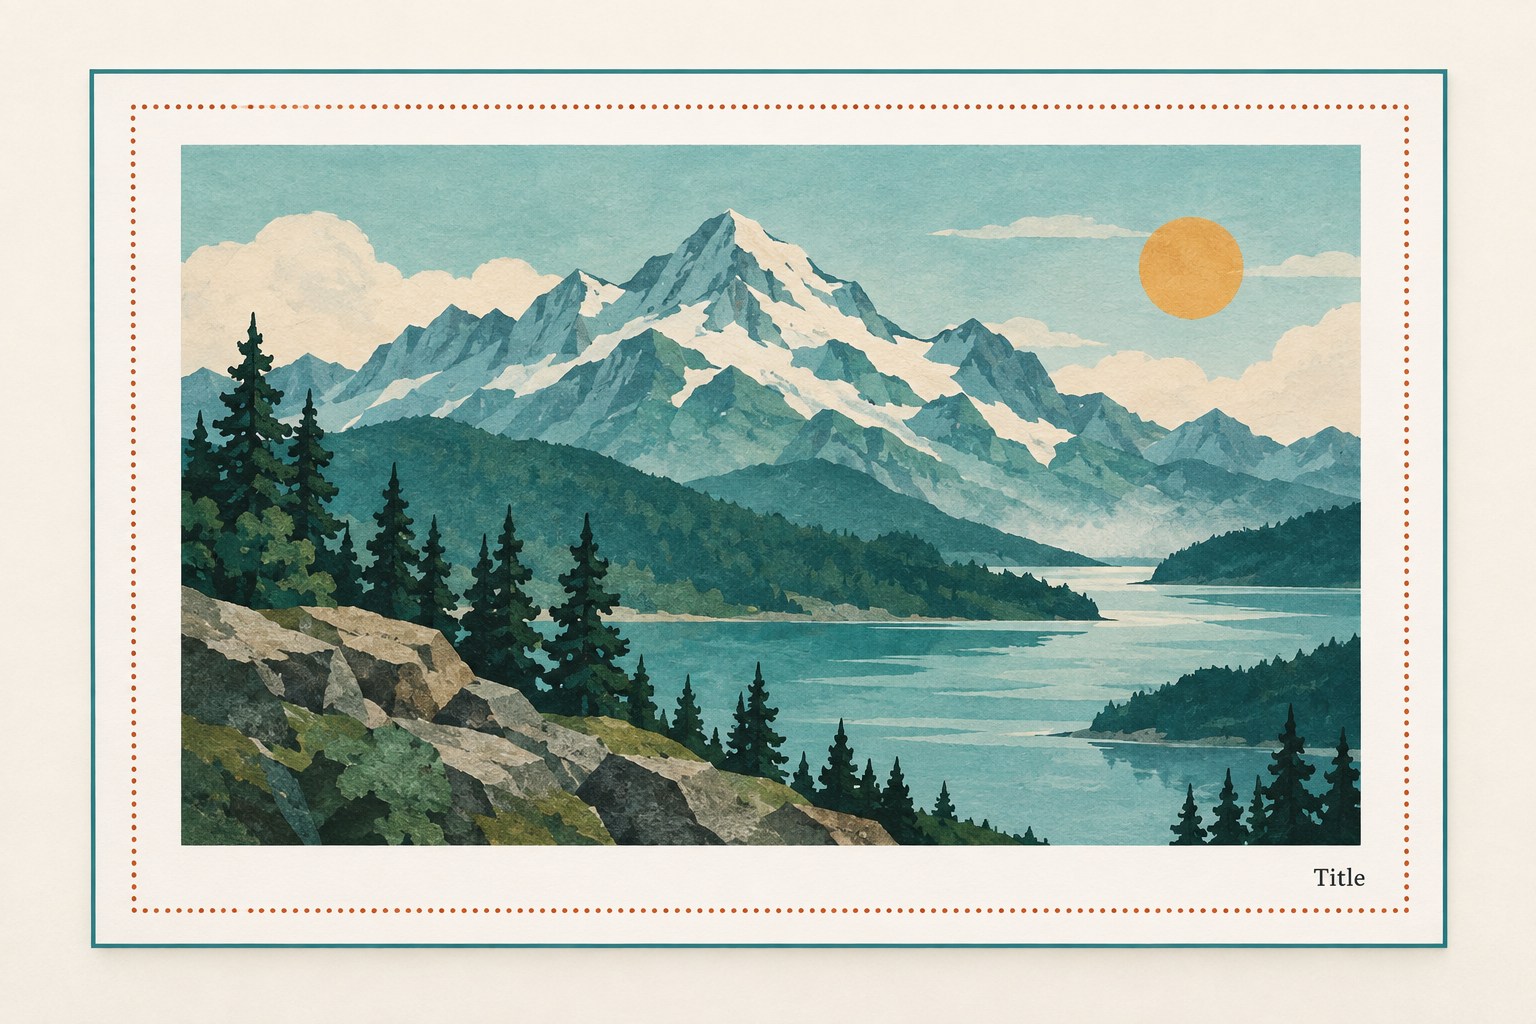
On a separate sketch, mark the details that must remain visible: faces, the full image if cropping is unacceptable, a title, a date or a signature. Note how close each important detail comes to the four paper edges. Do not draw or stick a measuring outline on the original.
A required-visible rectangle needs a position as well as a width and height. A small signature near the bottom edge can disappear even when most of the image has plenty of room. Keep this sketch with the measurements; a single “image size” number will not capture that problem.
Separate the print size, the window and the frame fit
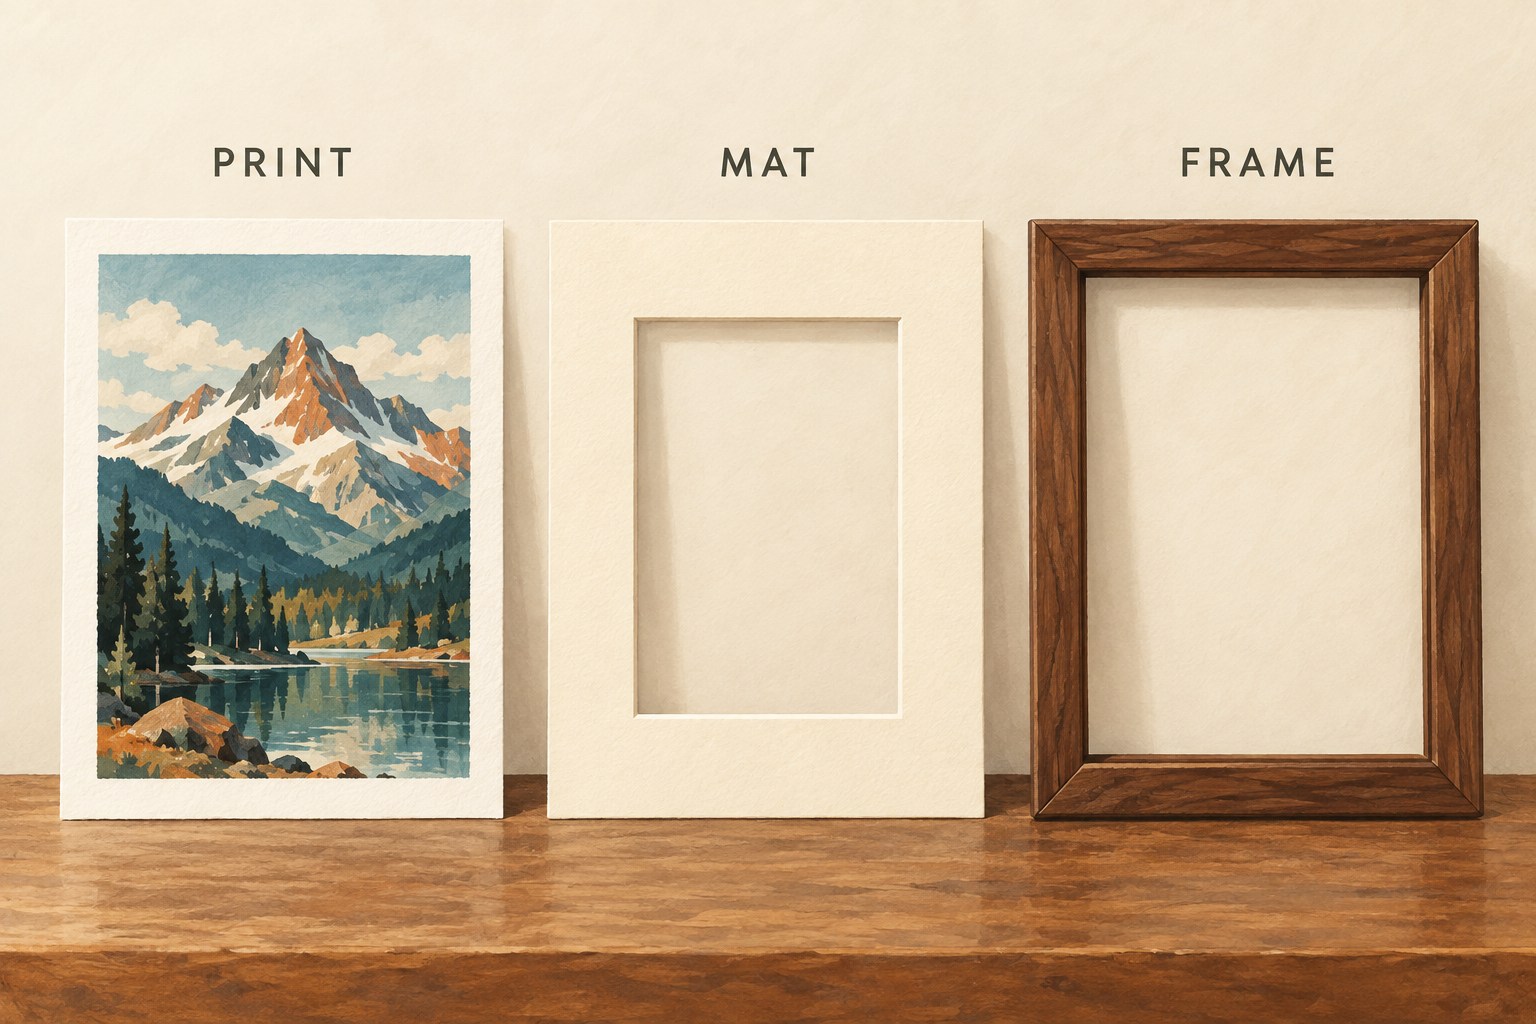
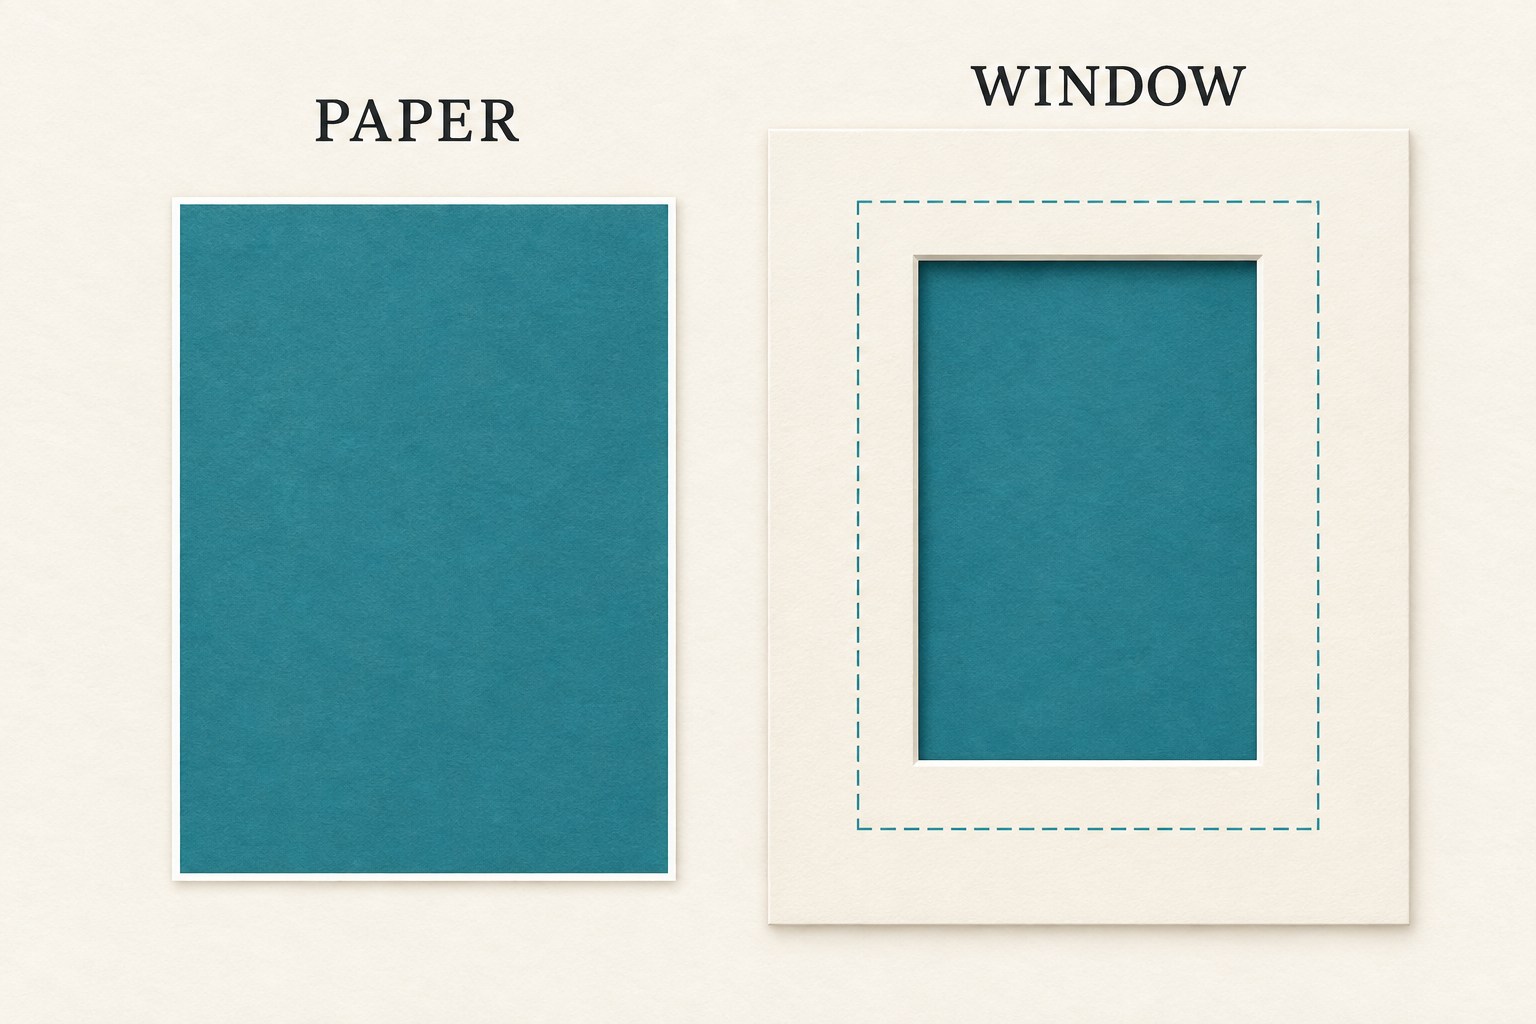
A mat is the board around the picture; its window is the hole through which you see the artwork. Its outside dimensions are another measurement. For a frame you already own, compare the full mat or backing dimensions with the accepted insert size, rather than trying to match the front viewing opening. Frame It Easy’s inside-and-outside measuring guide explains these separate boundaries and why internal depth also matters for a thicker stack.
Ask what each product field means. Does “matted to 8 × 10” mean the print it accepts, or an opening physically measuring 8 × 10? Does a custom-order field expect the artwork size, or the finished window size? Keep the seller’s answer alongside the number.
There is no universal overlap to subtract. American Frame’s measuring guide describes its usual mat overlap as 1/8 inch on each edge and says its designer applies the allowance automatically. Frame It Easy’s help center describes a standard 1/4 inch per edge. Those are different systems. Entering a reduced size into a field that already applies overlap can reduce the visible area twice.
Without a mat, check the visible opening too. American Frame notes that the frame’s front lip overlaps the artwork. Removing a mat does not guarantee that every paper edge or caption will show.
A real listing shows why the numbers differ
On October 7, 2026, the Americanflat Signature white 11 × 14 variant listed the following dimensions. This is a documentation example, not a tested fit or a product recommendation; recheck the selected variant when ordering.
| Listing field | Listed dimensions | Question it answers |
|---|---|---|
| Print with mat | 8 × 10 inches | Which sheet size is this mat intended to accept? |
| Actual mat window | 7.5 × 9.5 inches | How much of that sheet can be seen through the opening? |
| Print without mat | 11 × 14 inches | Which print size does the frame accept with the mat removed? |
| Outside frame | 12.36 × 15.39 inches | How much width and height does the assembled frame occupy? |
The 8 × 10 sheet and 7.5 × 9.5 window are compatible labels, not contradictory ones. But an edge detail on that sheet still needs its own visibility check. The product name alone answers neither the cropping question nor the outside-space question.
Check the intended display position separately
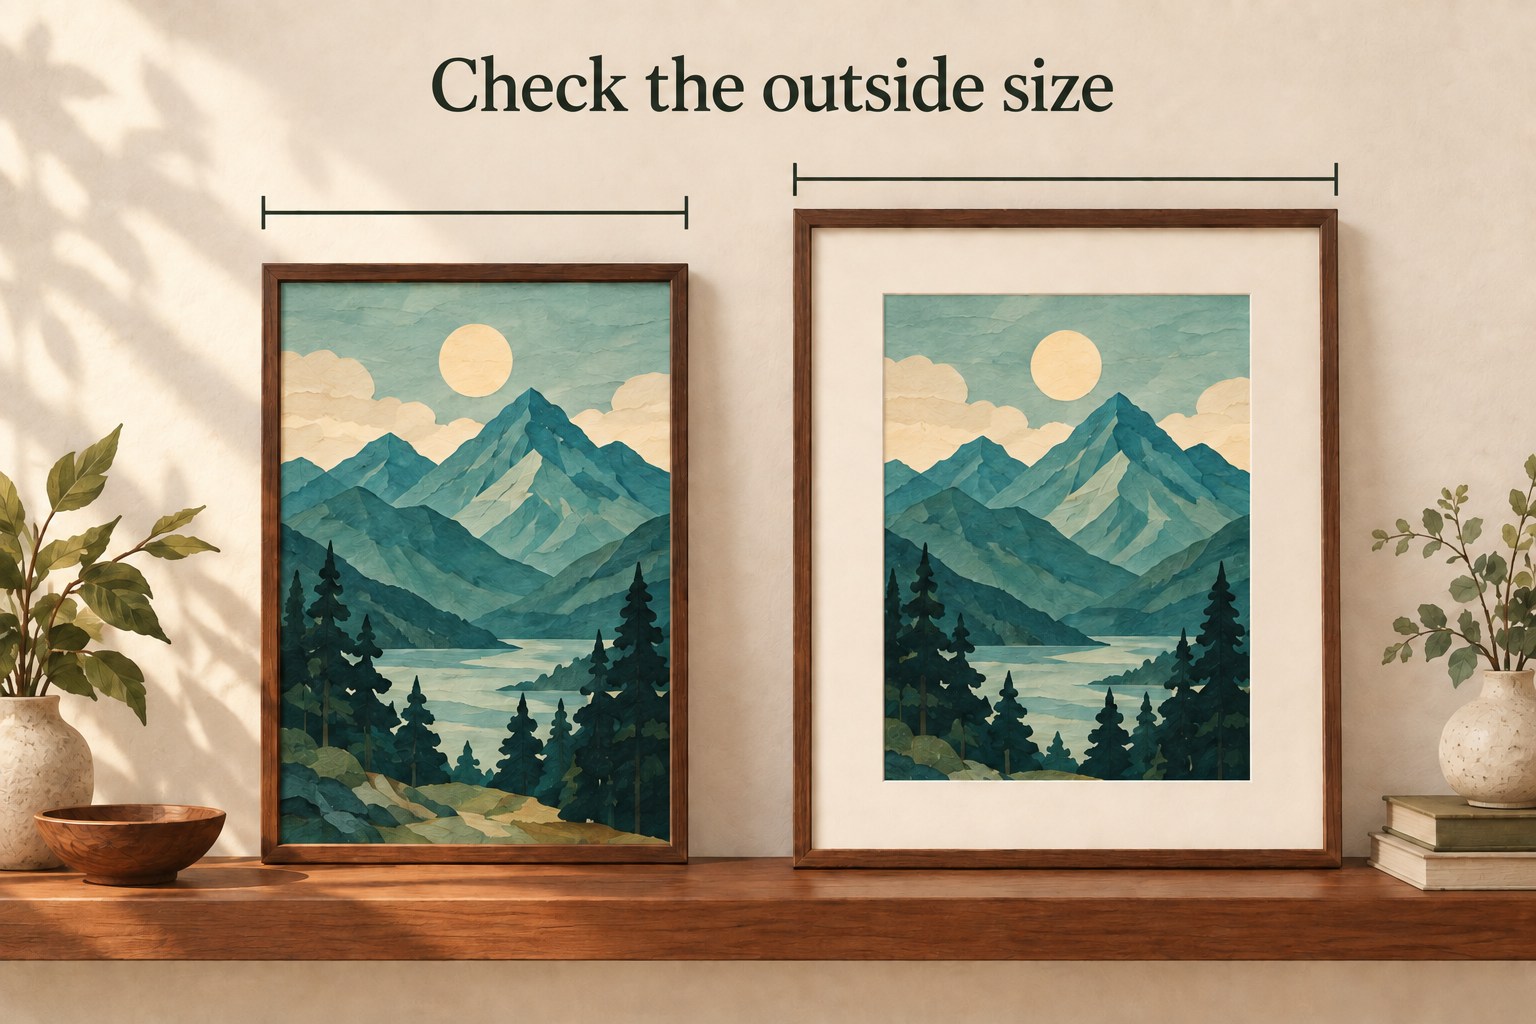
Compare the assembled outer width and height with the space you have chosen. A sketch or paper outline of that outside rectangle can help you see its relationship to nearby objects. Use the published outside dimensions, not the print size and not the shipping-box measurements.
Then confirm the display method in the exact variant’s specifications. For example, Craig Frames’ Victoria matted frame is described as wall-hanging only. A frame shown near a shelf in a styled photograph does not establish that it includes a stand.
If you need tabletop display, record the supported orientation and the depth occupied with its stand open. The frame’s own thickness is not that measurement. Missing stand information is a question for the seller, not a reason to assume the frame will balance. For wall display, follow the frame and fixing manufacturers’ instructions for the wall and weight; this size check does not establish safe installation.
Worked example: a fit can fail in two different places
The following numbers are fictional and deliberately simple. A portrait print measures 8 × 10 inches. Everything you want visible lies inside a centered 7 × 9-inch rectangle, leaving half an inch between that rectangle and every paper edge.
A candidate accepts that sheet behind a centered 7.5 × 9.5-inch window. Its outer mat measures 11 × 14 inches, and its finished frame measures 12 × 15 inches. Your available wall area measures 11.75 × 15.5 inches.
- Visible-area check: (8 − 7.5) ÷ 2 = 0.25 inch covered at each side. The top and bottom calculation gives the same result. The centered required content stays 0.25 inch inside the window on all four sides.
- Outside-space check: the frame is 12 − 11.75 = 0.25 inch too wide. Its height fits, but this candidate still fails for the chosen position.
- A separate edge-detail failure: if a must-show mark were only 0.1 inch above the paper’s bottom edge, the centered window would hide it. That would remain a problem even in a wider display space.
These calculations assume centered rectangular boundaries. They do not prove physical assembly. Shifting the print, removing the mat or trimming the paper changes the problem; none is an automatic repair. Look for another configuration or ask the framer to confirm a solution that preserves the details.
Copy this purchase card for each candidate
Keep the print information fixed and make a separate candidate section for every frame. That makes it harder to accidentally combine one variant’s window with another variant’s outside size.
| Record | Fill in before deciding |
|---|---|
| Your print | Units; orientation; full sheet width × height; sketch of required-visible details and their distances from the paper edges. |
| Exact candidate | Product link or model; size/color variant; date checked; with or without mat. |
| With a mat | Accepted print size; actual window width × height; outer mat dimensions if choosing components separately. |
| Frame fit | Accepted insert size; seller’s ordering convention; whether overlap is automatic; visible opening if edge details matter; depth suitability if adding layers. |
| Display fit | Assembled outer width × height; available space; supported orientation and hanging/standing method; open-stand depth if needed. |
| Decision | Reject and why; ask seller and what is missing; or dimensions work, physical check still pending. |
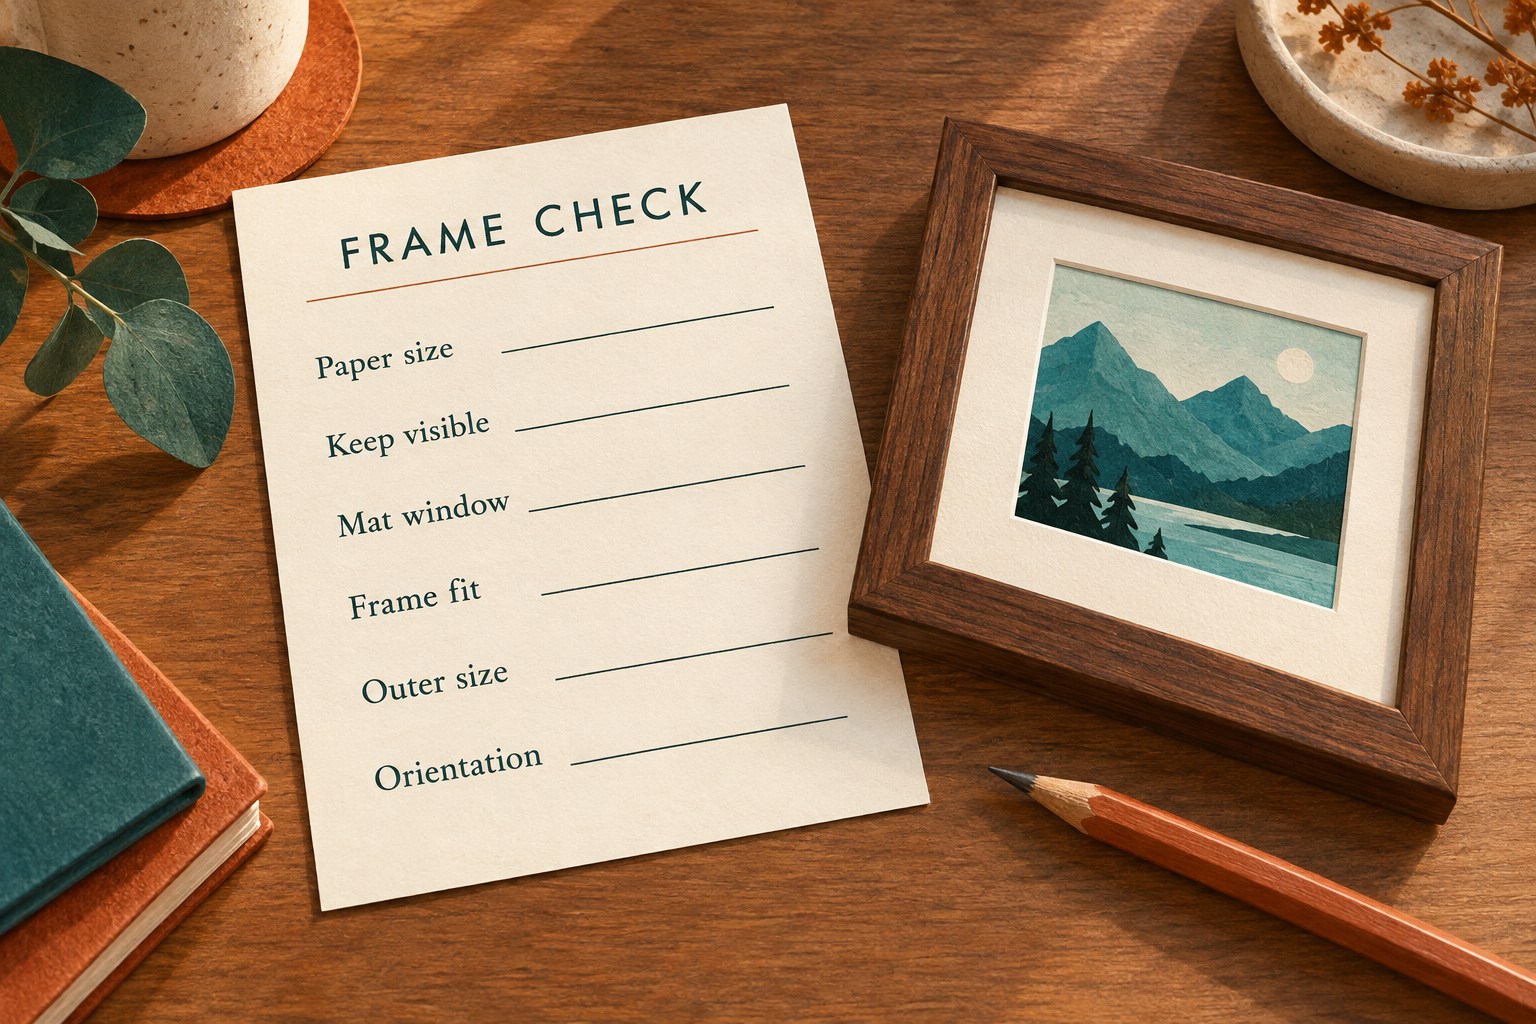
If the listing disagrees with itself, save both descriptions and ask about the exact variant. Do not choose whichever number makes the purchase look possible. A useful question is: “My sheet measures ___, and this detail is ___ from the bottom edge. What is the actual visible opening, and what measurement should I enter?”
Once the frame arrives, compare it with your card and follow its assembly instructions before treating the fit as confirmed. The useful result is a frame that accepts this particular print, preserves the details you chose and works in its intended location.