Shoes can make a carefully packed bag feel unfinished. One pair fits beside your clothes, another seems necessary for dinner, and a third appears just before you close the zip.
Give each pair a specific job, a place during the journey, and a way to keep its soles away from clothing. Then check the return journey too. The shoes you wear home may be different from the ones you wear when you leave.
1. Match shoes to actual plans
Write down the activities already in your itinerary: travel days, sightseeing, a work meeting, a formal event, a pool visit, or a planned outdoor activity. Assign shoes you already own to those activities. One pair may cover several rows.
REI recommends considering multipurpose footwear and wearing the heaviest pair on travel days. That can be a useful packing choice when the pair also suits your journey.
For each extra pair, finish this sentence: “I need these for ______, because the pair already coming cannot ______.”
A wedding dress code can produce a clear answer. “I might want another color” is a preference you can weigh against the space it takes. Keep footwear required for a specific activity or your individual needs, then review pairs whose jobs overlap.
2. Fill in the pair-use worksheet
Copy these fields into a note and fill them in once for each candidate pair:
- Pair: ______
- Planned activities: ______
- Outfits it needs to work with: ______
- What another pair cannot cover: ______
- Outbound journey: wear / pack
- Return journey: wear / pack
- Cover or container: ______
- Position inside the bag: ______
- Decision: bring / leave
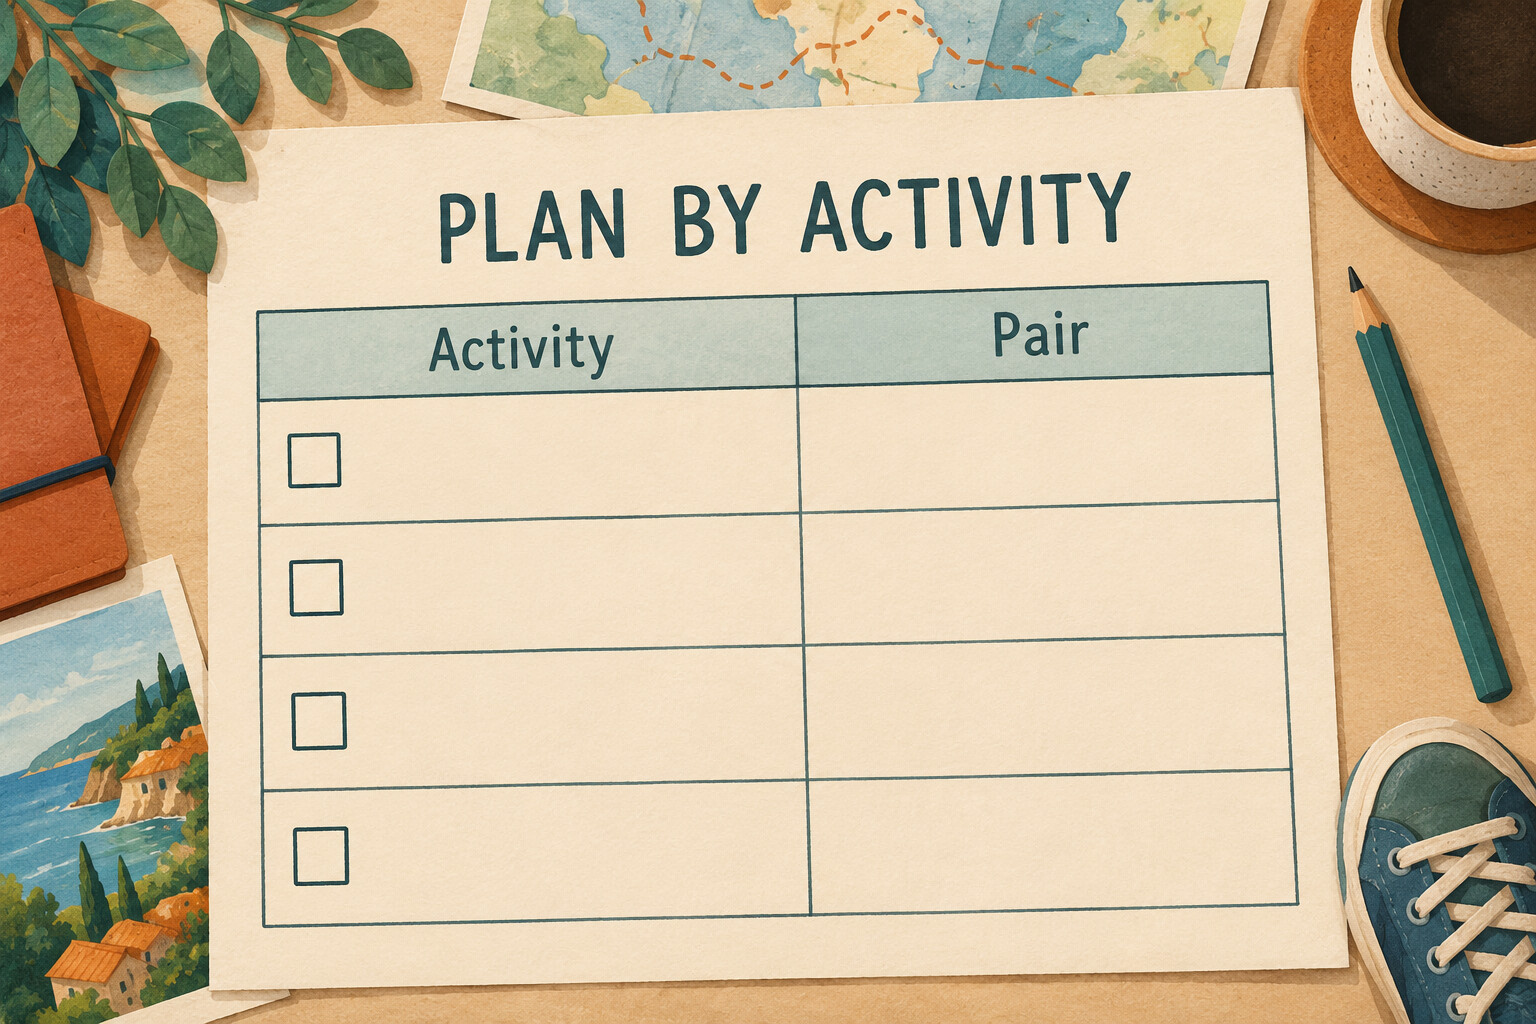
Complete the activity and outfit lines together. This catches shoes that suit an event but do not work with the clothing you are actually taking. If two pairs have nearly identical answers, choose the one you would realistically reach for.
A single-use pair may still deserve its space. Record that use clearly and pack around it rather than repeatedly trying to remove something the trip genuinely requires.
3. Give every packed sole a barrier
Choose the covering before the final arrangement. A shoe sack keeps the pair together; individual covers let you separate the shoes into different spaces. Eagle Creek recommends a shoe sack to keep dirty footwear away from clean clothes.
You can also use a suitable cover you already own. Fortress includes shoe bags and shower caps over soles among its packing suggestions. Check that an improvised covering stays in place around your particular shoes.
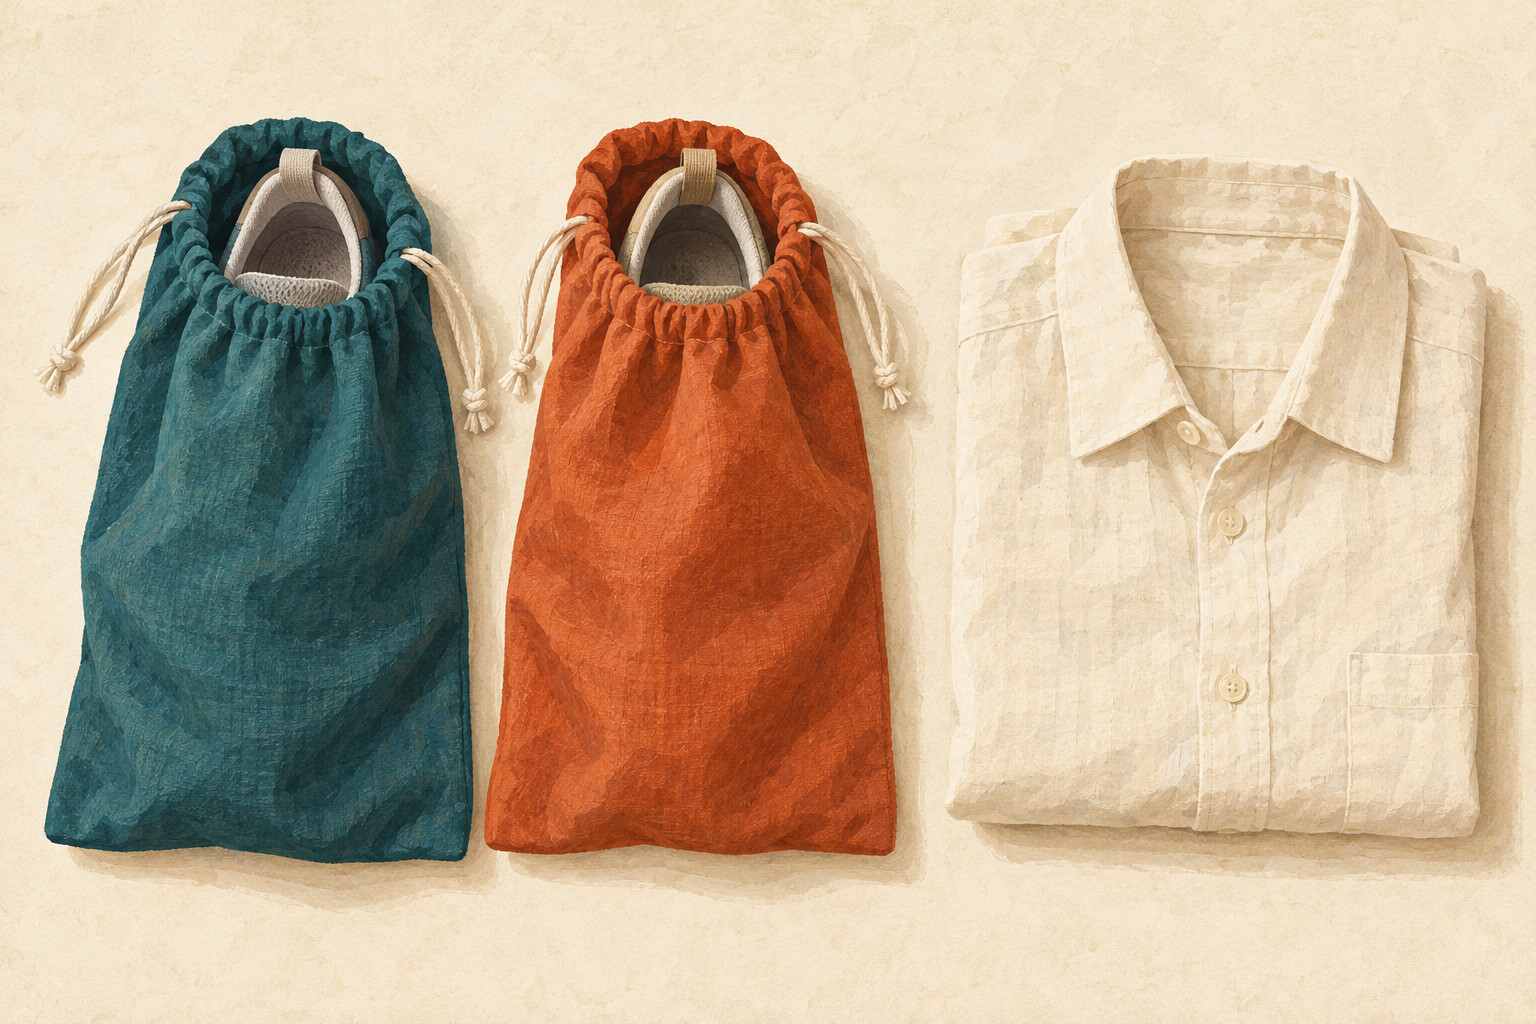
Turn the covered shoe over and look for exposed dirty edges. Adjust the cover or choose a fuller enclosure if needed. Keep track of which surface has touched the shoe so you can avoid turning that surface outward against your clothes during repacking.
4. Test the layout and protect the shape
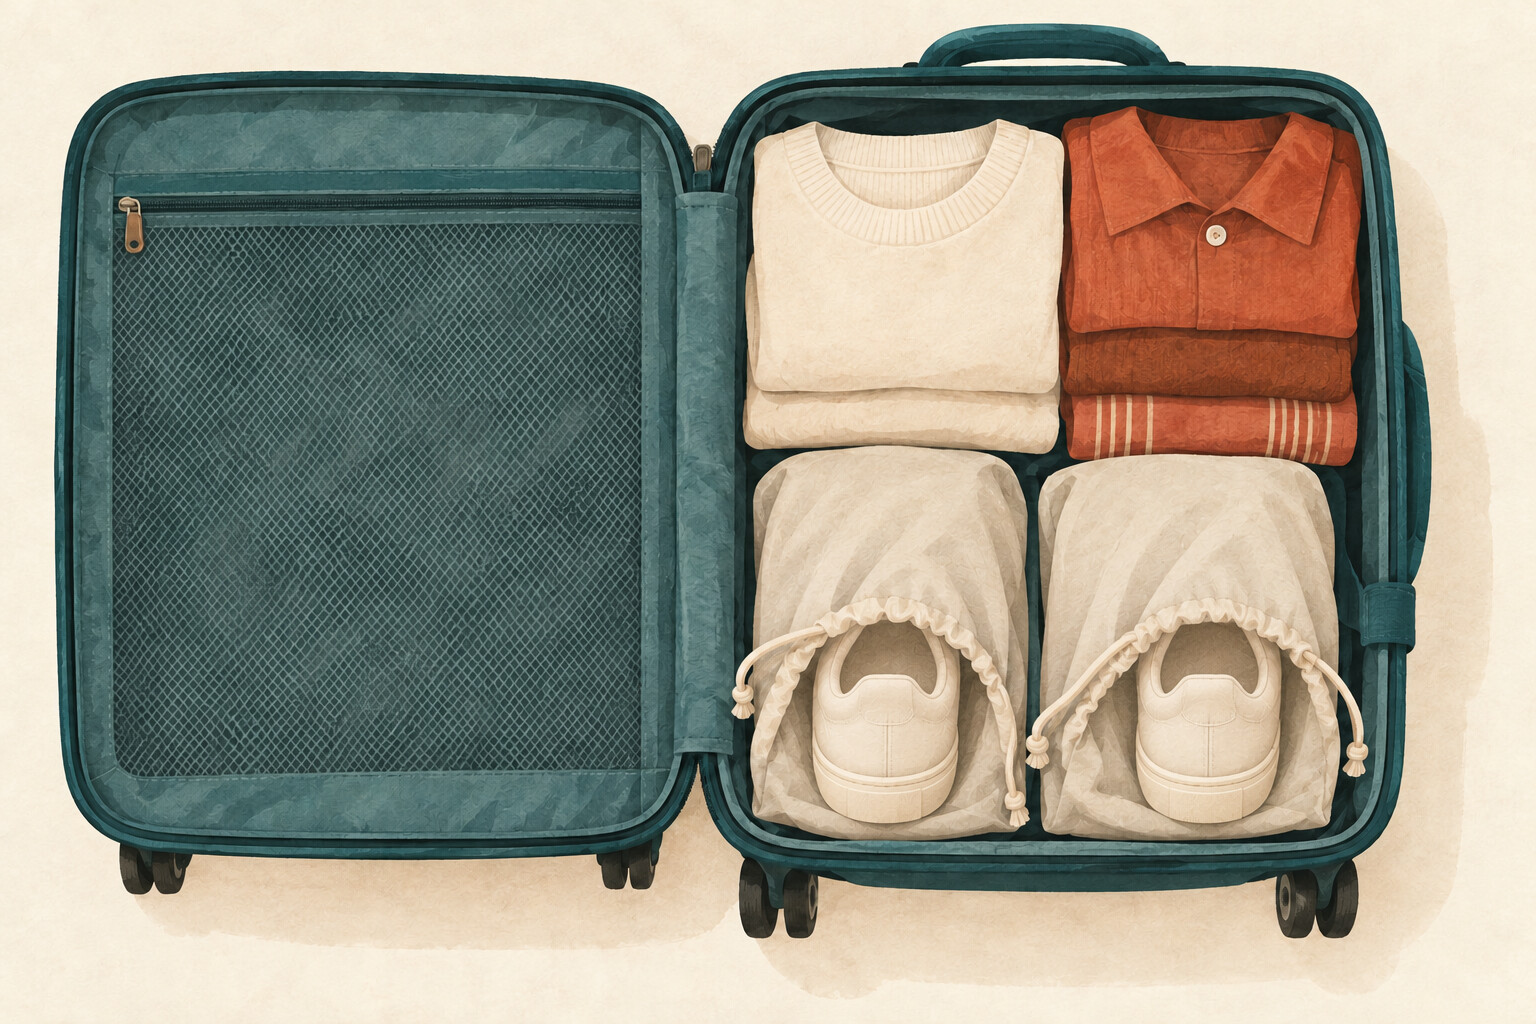
Try the shoes in the bag while the clothing is still outside. For a suitcase, compare two arrangements:
- Separate sides: individually covered shoes along the edges, with soles facing the suitcase walls.
- Paired at the base: covered shoes arranged heel-to-toe near the wheel end.
Travelpro describes both methods. Add the same clothing to each layout and compare how the case closes. For a backpack or duffel, trial-fit the covered shoes in its actual compartments instead of assuming a suitcase arrangement will transfer unchanged.
Small soft items can occupy the inside of suitable shoes. Keep this optional and avoid forcing in a bundle that changes the shoe’s shape. Give structured or delicate uppers room, and keep hard heels or buckles from pressing directly against neighboring shoes.
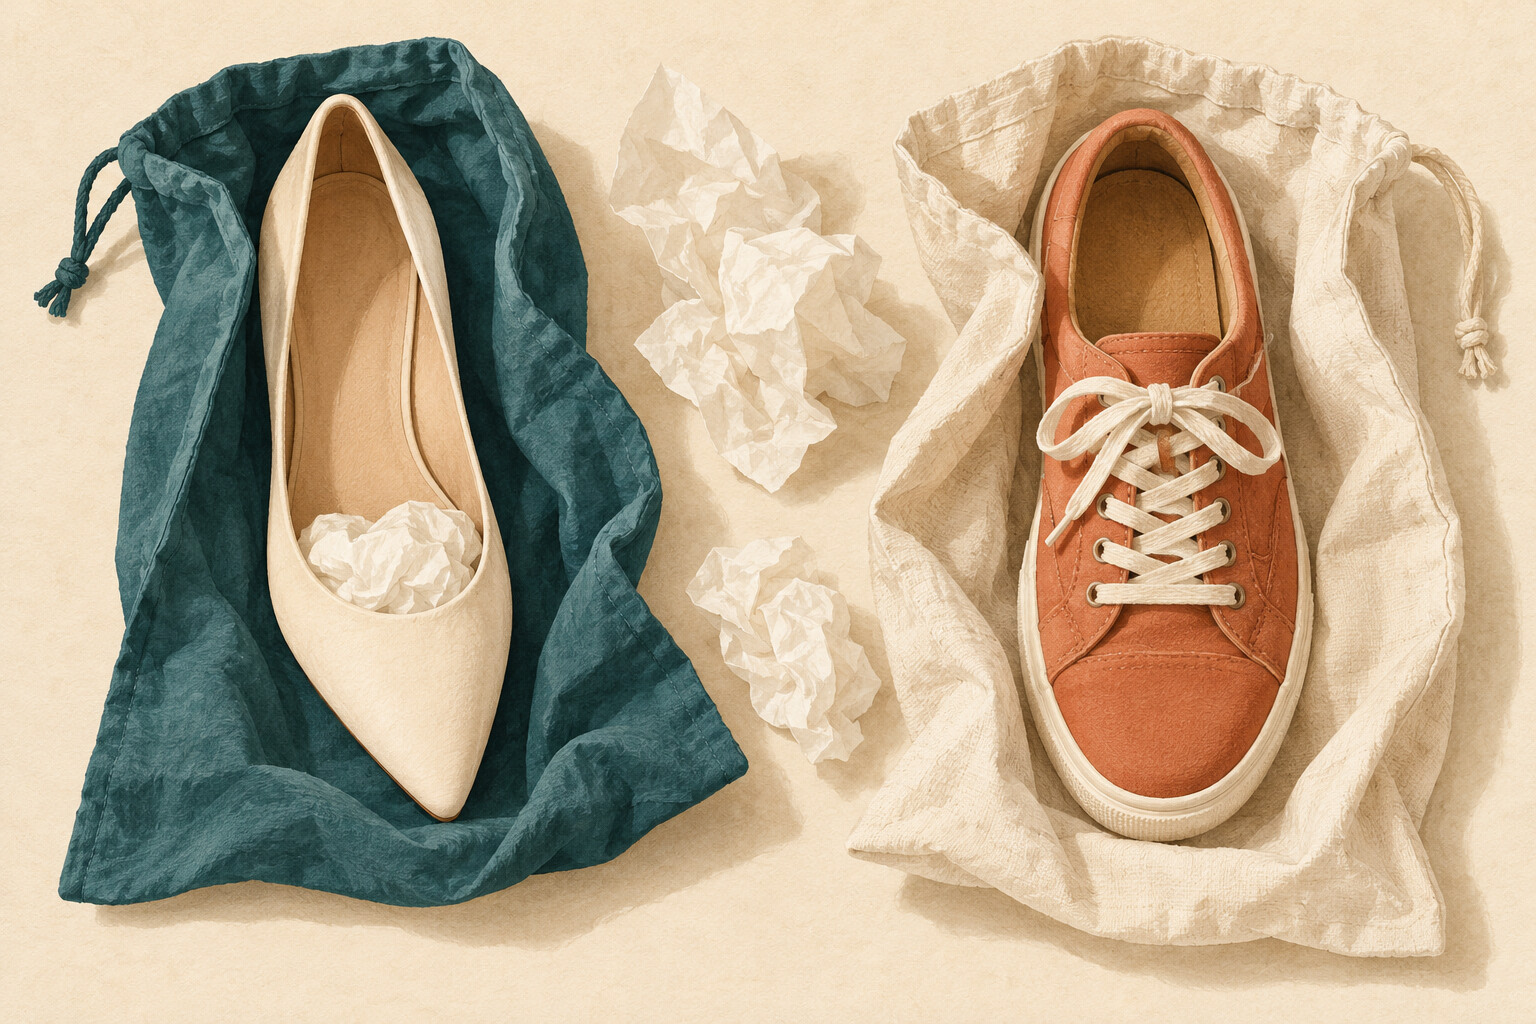
Check the area above each shoe before closing the bag. If a packed item bears down on the toe or catches an embellishment, move it and try again. Follow the maker’s care instructions for any special storage requirements.
5. Work through the return-day swap
Here is a fictional planning example, rather than a hands-on packing test: a city trip with sightseeing, casual dinners, and one formal wedding.
The first list contains sneakers, a second casual pair, and dress shoes. The completed worksheet could read:
- Sneakers: travel days, sightseeing, and casual dinners; worn outbound and home.
- Dress shoes: wedding; packed in covers in a tested position.
- Second casual pair: duplicates the sightseeing and dinner jobs; left home.
Now change one detail: the traveler wears the dress shoes home after a morning event. The sneakers must fit inside the bag on the return trip. Test that arrangement before departure. Counting only what is packed on day one would miss the change.
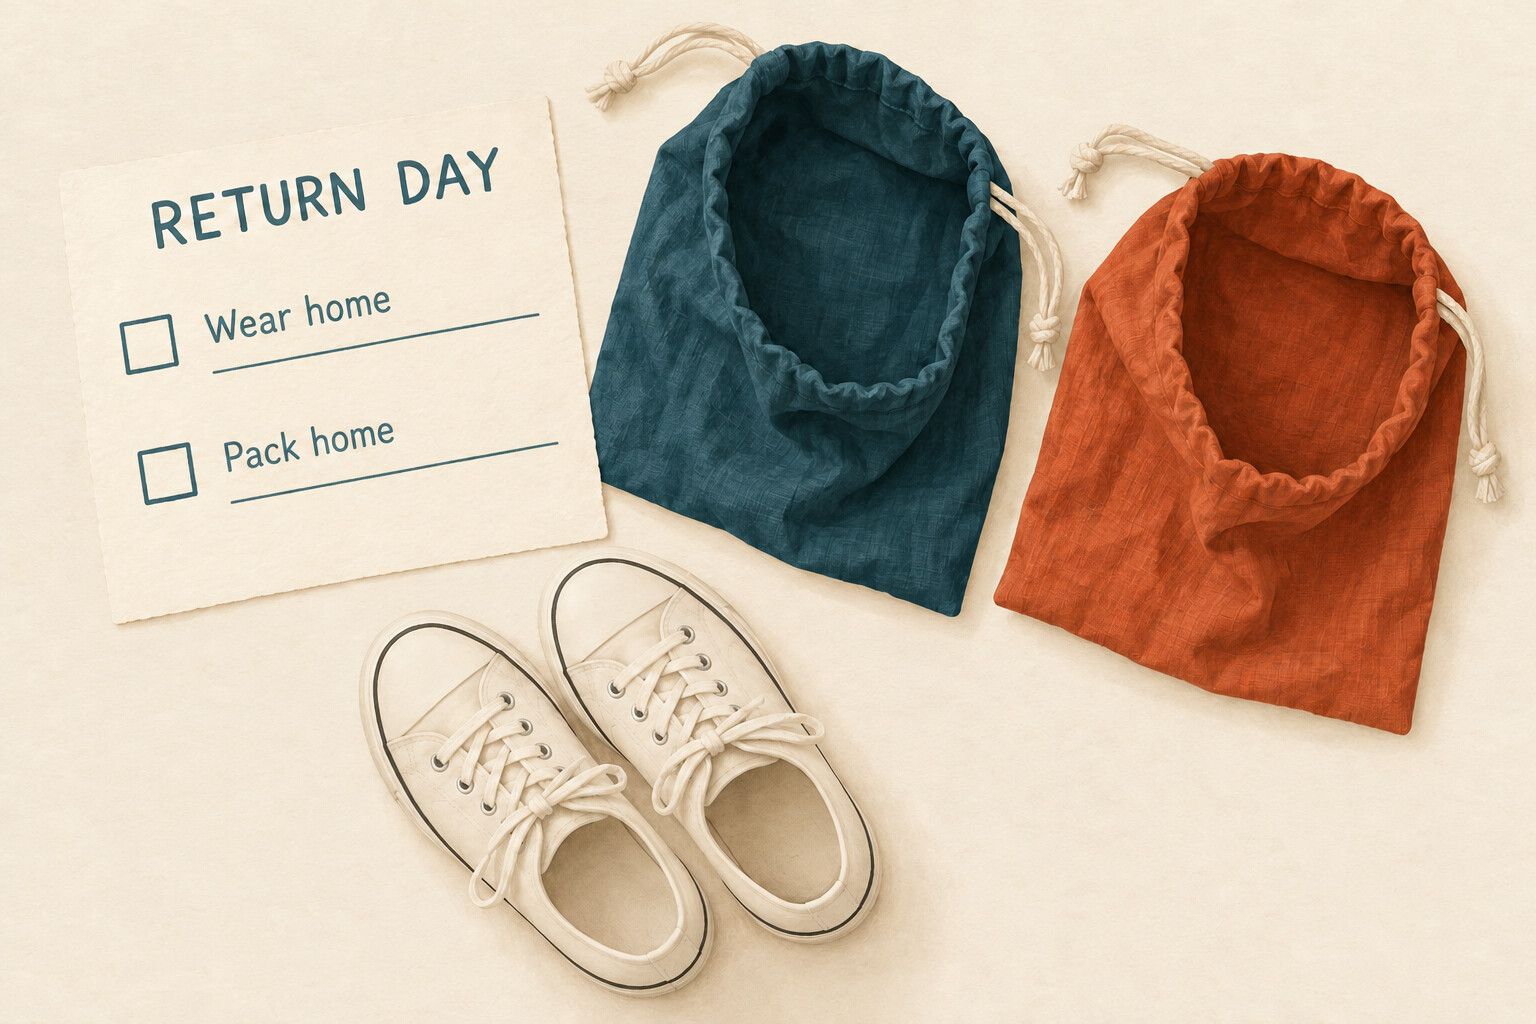
Leave the covers somewhere easy to find throughout the trip. If shoes return wet or muddy, reassess their container before placing them beside dry clothing. A fabric pouch or sole cover does not establish a waterproof barrier. Check the container’s stated purpose and follow the shoe manufacturer’s care instructions at the next suitable opportunity.
Before you close the bag
- Every pair has a named use.
- Every packed sole has a suitable barrier.
- Shoes fit without forcing the bag closed.
- The pair needed first is reasonably accessible.
- The return-trip arrangement has also been tested.
Keep the completed worksheet with your packing list. Next time, the most useful edit is simple: note which pair you used, which stayed in the bag, and what you would change for a similar trip.