Before cutting wrapping paper, check two different fits: enough paper to go around the box, and enough beyond each end to close it. A generous-looking sheet can still fail one of those checks.
This worksheet is for a rigid rectangular gift box and an ordinary straight wrap. It is a planning aid, not a minimum-paper calculator. Round packages, soft bundles and diagonal wrapping use different geometry. Keep the gift in an orientation its contents can tolerate.
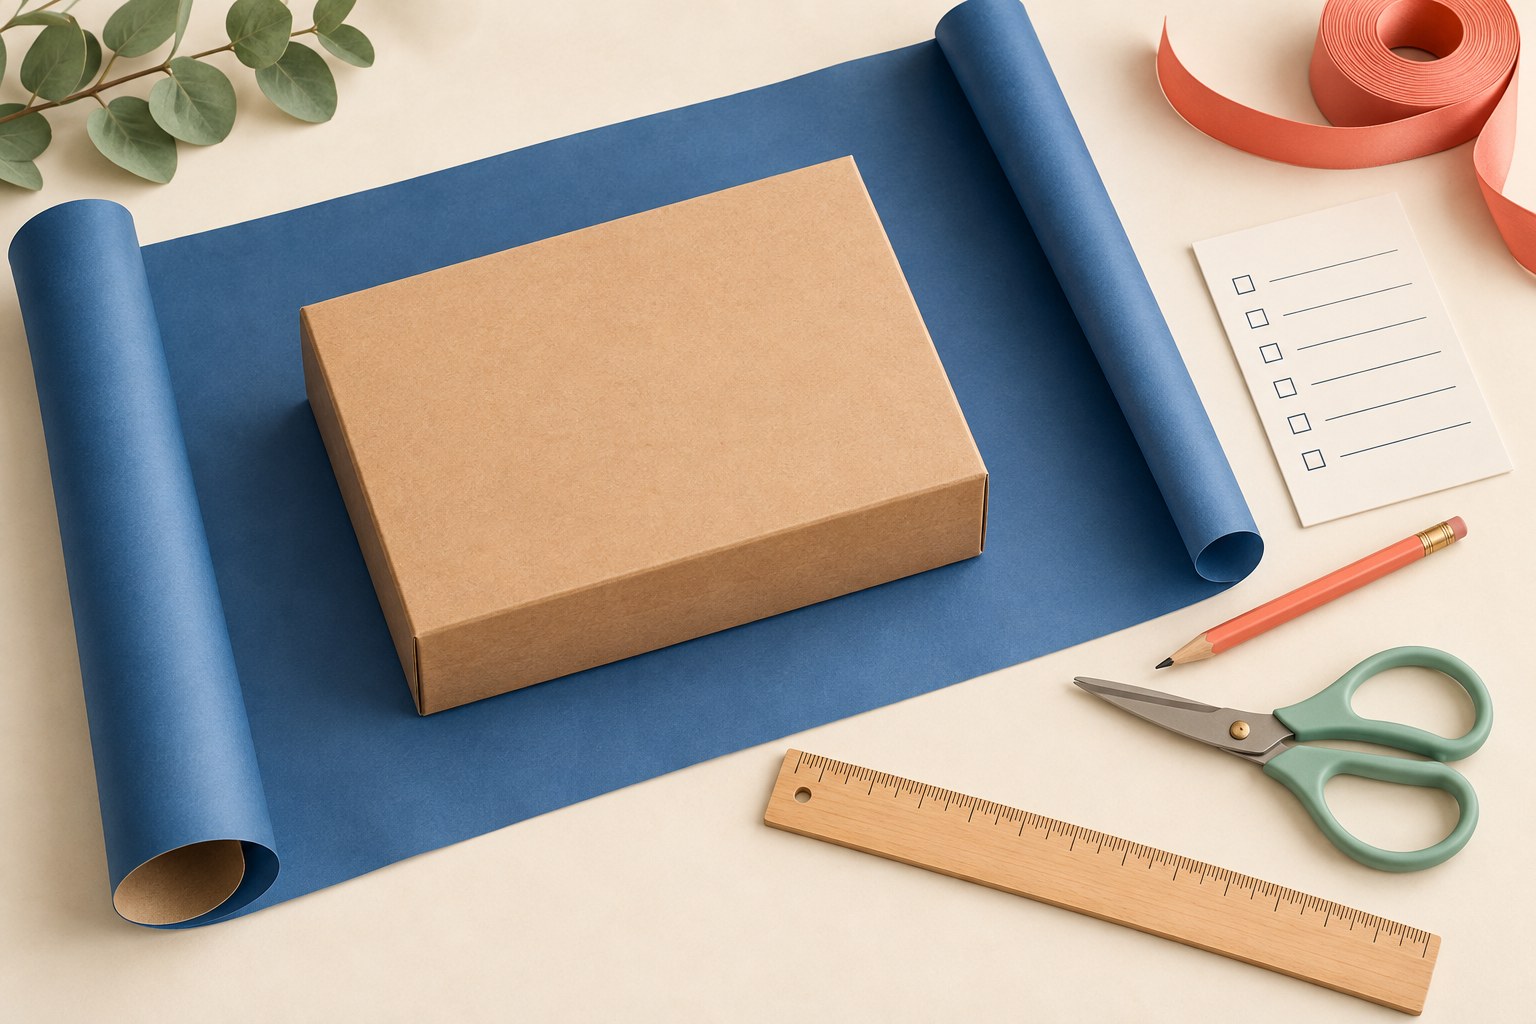
Choose the wrapping direction first
Close the box, including its lid, and measure its outside dimensions. Use inches throughout or centimeters throughout. If the lid projects beyond the base, include that projection rather than measuring only the smaller base.
Choose which two opposite ends you intend to fold shut. Call the distance between those ends L. Call the other horizontal dimension W, and the upright height H. These letters describe your chosen wrapping direction; L does not have to be the box's longest edge.
- Around-box direction: paper travels across the width, down one height, across the width again and up the other height.
- End-to-end direction: paper spans L and extends beyond each of the two ends.
Write down the roll's width too. Unrolling more paper increases only one dimension. It cannot make a narrow roll wider.
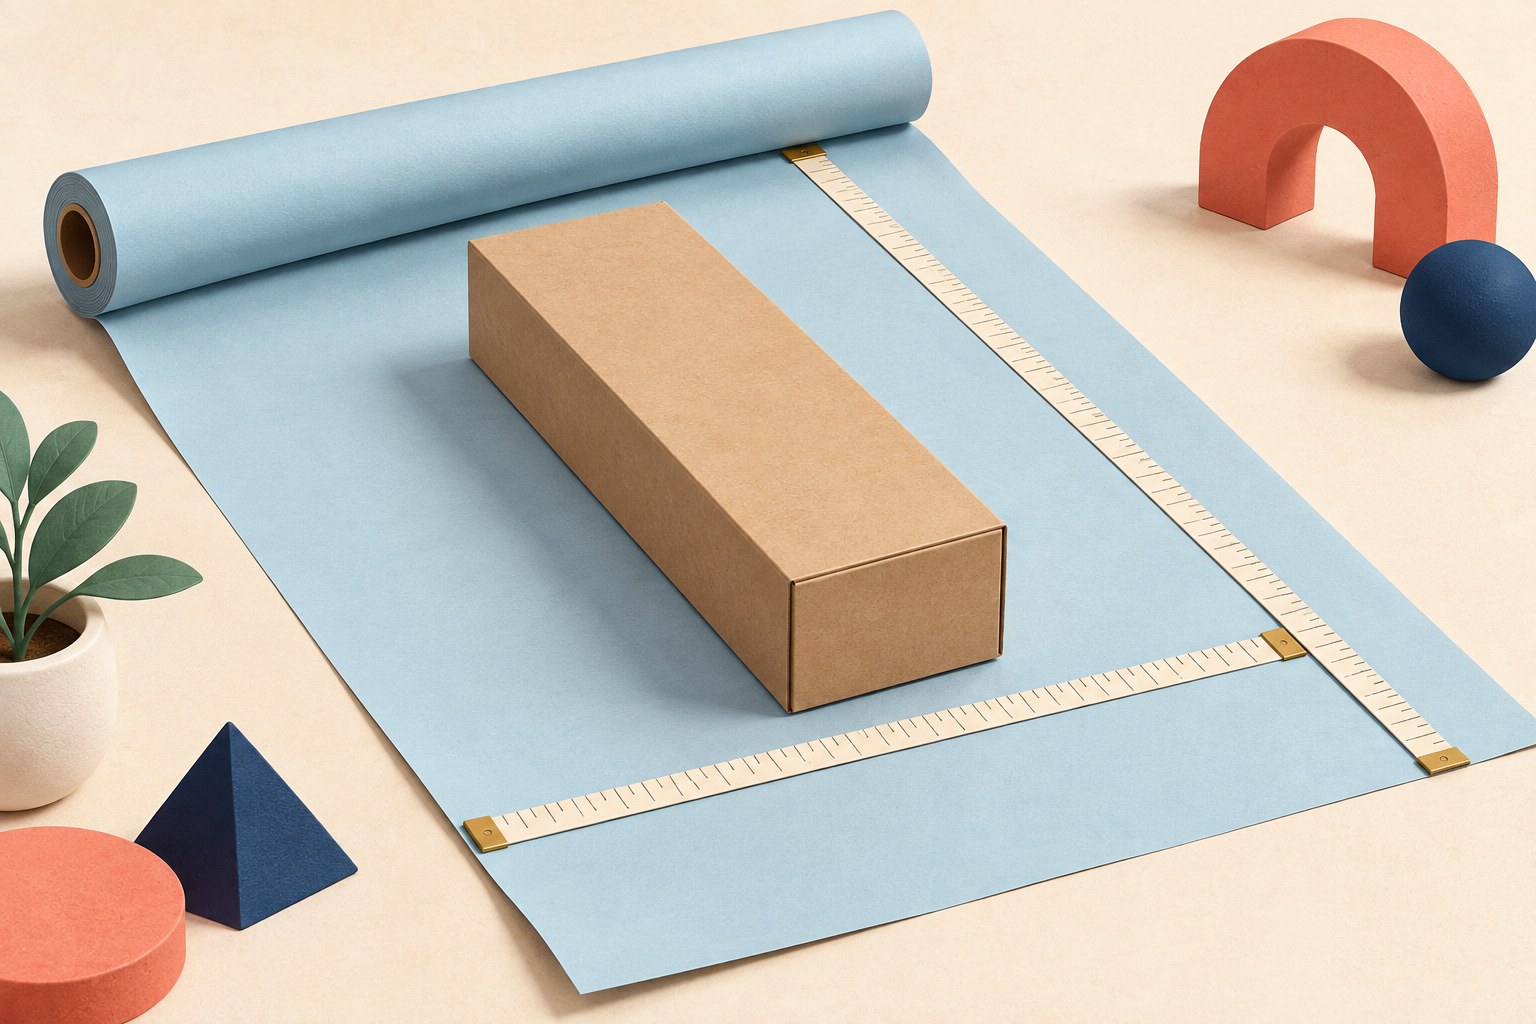
Make a candidate rectangle, then test it
For this orientation, the following arithmetic gives a starting rectangle. S is the total seam allowance, and E is the allowance beyond each end.
| Sheet direction | Planning calculation | What to confirm physically |
|---|---|---|
| Around the box | 2 × W + 2 × H + S | The edges overlap after any finishing fold. |
| Between the ends | L + 2 × E | Both ends can close without a gap or a bulky wad. |
The Container Store's wrapping guide suggests measuring the box's girth with a ribbon or tape measure and adding two inches. Treat that as a starting seam allowance, not a promise that every paper or finishing style will fit.
On the uncut roll, loosely bring the paper around the box and mark a candidate cut line on the reverse. If you intend to turn the raw edge under, rehearse that fold now. Its depth uses some of your allowance. Keep the box still while checking whether the remaining edges overlap; do not pull thin paper tight enough to distort or tear it.
Check each end before trimming
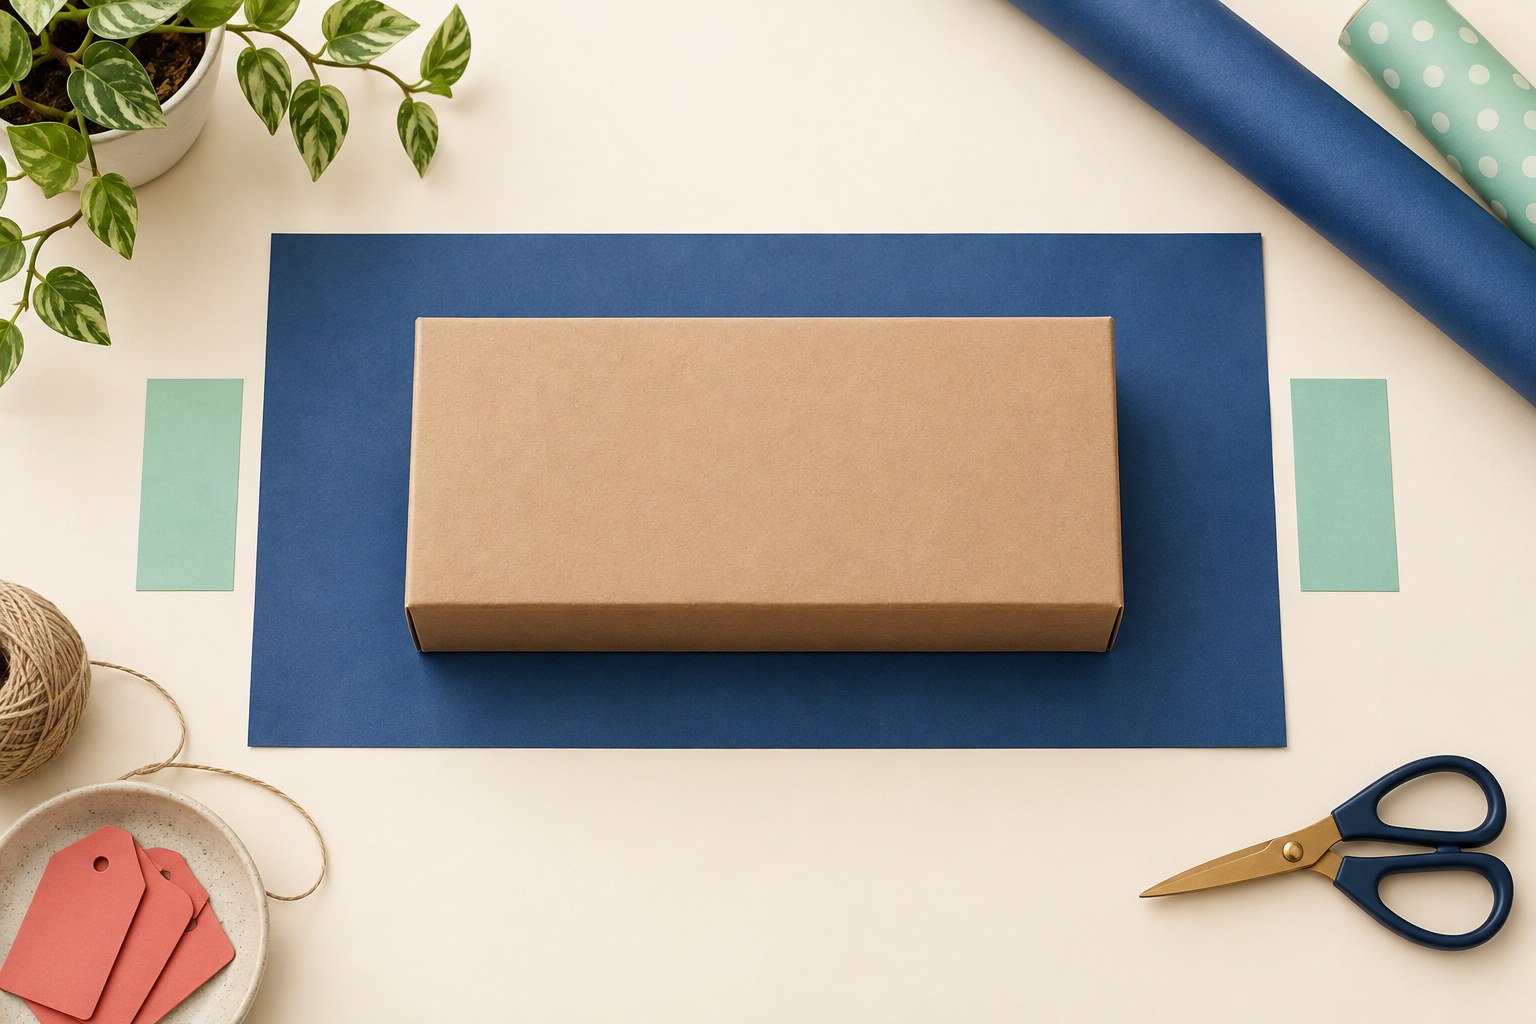
Hallmark's step-by-step guide suggests an overhang of about two-thirds of the box's height at each end. It also recommends equal overhangs and a test fold before creasing or taping, noting that surplus paper makes the end folds harder to manage.
Use that overhang as a starting point, then check your actual box and paper. Center the box between the sheet's end edges. Rehearse closing one end, release it, and check the other. A protruding lid, stiff paper or a different fold can change what works. The physical closure takes precedence over the estimate.
If one end is short and the other is long, try recentering before cutting anything. If both are short, moving the box will only move the shortage. Increase the end-to-end dimension or reconsider the wrapping direction. Trim an overlong end gradually only after confirming what the fold needs.
Worked example: a narrow roll changes the route
Here is a hypothetical box measuring 12 × 8 × 3 inches, resting on its 12-by-8-inch face. Choose a two-inch seam allowance and two inches of end overhang on each side. Those allowances are planning choices for this example, not tested instructions for a particular product.
| Choice | Around-box calculation | End-to-end calculation | Candidate sheet |
|---|---|---|---|
| Fold shut the two ends that are 12 inches apart | 2 × 8 + 2 × 3 + 2 = 24 inches | 12 + 2 × 2 = 16 inches | 24 × 16 inches |
| Turn the wrapping route 90 degrees on the same broad face | 2 × 12 + 2 × 3 + 2 = 32 inches | 8 + 2 × 2 = 12 inches | 32 × 12 inches |
A 15-inch-wide roll cannot supply the first rectangle in either straight orientation: both 24 and 16 exceed 15. The second candidate can fit with its 12-inch dimension across the roll and its 32-inch dimension along the roll, provided enough usable length remains.
Both candidates happen to have the same area, 384 square inches. Yet only one fits this roll width. Area alone is therefore an incomplete shopping or cutting check. Before choosing the alternative, check whether a directional print would face the way you want, then repeat the seam and end tests.
Use the failed check to choose the fix
| What fails | Try next | Stop condition |
|---|---|---|
| Edges cannot meet around the box | Allow more wrap-around length, or recalculate another route. | Do not trim the ends as a fix for a seam gap. |
| Only one end will close | Recenter the box and test both ends again. | Do not tape the good end first and lock in a bad position. |
| Both ends fall short | Increase the end-to-end dimension or change the route. | Do not assume pulling harder will create coverage. |
| End folds become thick and awkward | Reopen, check centering and reduce excess in small stages. | Keep enough paper for the closure; a number alone is not permission to cut. |
| An already-cut sheet is unsuitable | Use it for a smaller box, add an intentional contrasting paper panel, or choose a suitably sized gift bag. | Any added panel must actually cover the gap with overlap; a narrow ribbon cannot replace missing paper. |
Copy the paper-fit card
Fill this in before the final cut. The successful cut size belongs to this box, orientation, paper and finishing fold.
- Box and contents orientation: __________
- Units: __________; L: __________; W: __________; H: __________
- Available roll width and remaining length, or sheet dimensions: __________
- Starting allowances: seam S: __________; each end E: __________
- Candidate rectangle: around-box __________ × end-to-end __________
- Which dimension goes across the roll? __________
- Pattern direction acceptable? __________
- Seam overlaps after finishing fold? __________
- First end closes? __________; second end closes? __________
- Final cut dimensions after the dry fit: __________
For several identical boxes, finish checking one before cutting a batch. Compare the next box's outside dimensions and orientation rather than assuming matching labels mean matching sizes. Keep useful offcuts together for smaller gifts or contrasting bands.
Decorative wrapping is presentation, not shipping protection. If the gift will travel by parcel service, use the separate gift-shipping packing checklist for the outer package.