Before folding a whole batch of paper decorations for gifts, make one practice piece and leave yourself a usable restart note. A finished model tells you what worked once. A short record of the paper, tutorial and troublesome step helps you repeat it without solving the same puzzle again.
This origami-for-beginners worksheet is for following a model's own instructions. It offers a way to prepare, compare and restart; it does not teach a particular model or promise that every fold can be repaired.
Choose one model and keep its instructions together
Start with a project whose first steps you can understand. Canson's introductory guidance recommends beginning simply and studying the diagrams before folding. The OrigamiUSA diagram collection is one place to look for a model, with creator credits and usage conditions attached to the instructions.
Keep the exact page, video or book reference beside your workspace. Two tutorials with the same finished-model name may use different sequences. Switching halfway through makes it harder to tell whether your current piece matches either one.
- Model and creator: copy the names from the instructions.
- Instruction source: save the link or book title and page.
- Starting sheet: record the required shape, dimensions and number of sheets.
- Starting face: note which side faces up.
- Unfamiliar moves: mark the first instruction you need to understand before continuing.
For a gift project, decide whether you need one decoration or several. Keep the batch idea provisional until you have completed a practice piece. If you intend to distribute instructions or sell the results, check the creator's stated terms separately; this worksheet does not grant permission to reuse a design.
Make the paper choice observable
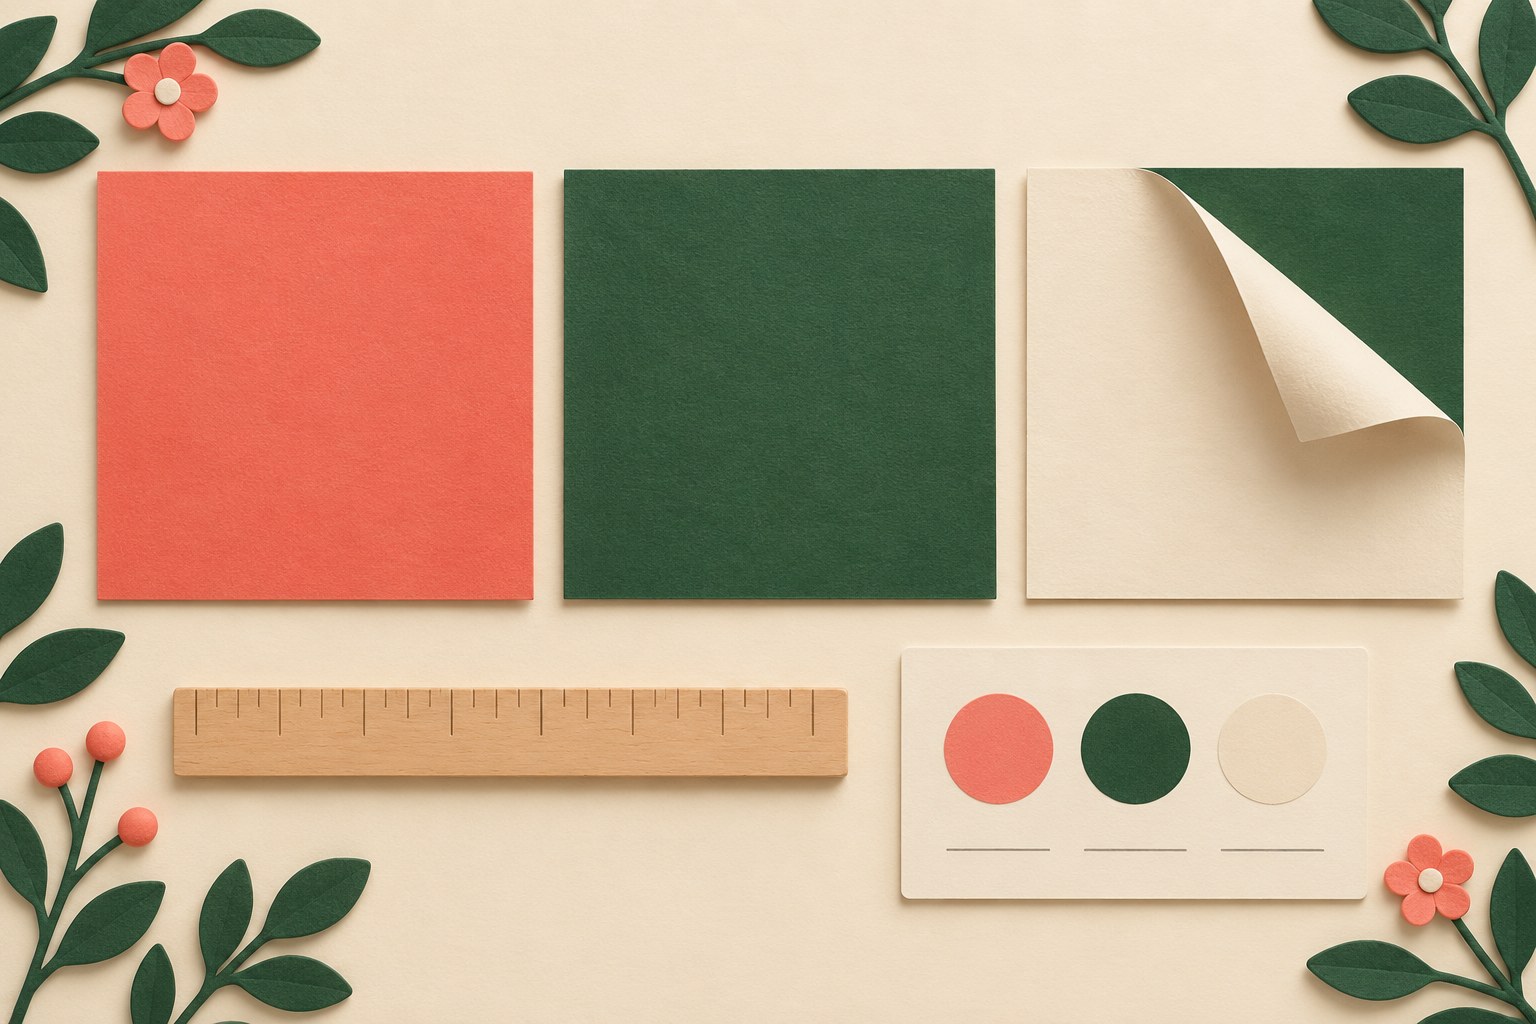
Follow the model's paper requirements first. Canson's materials guide describes 15- or 20-centimeter squares as common starting sizes and explains that weight and flexibility affect folding. That is general guidance, not a guarantee that either size suits your chosen model.
For the first attempt, use a clean sheet whose edges, front and back are easy to distinguish. Set aside another matching sheet if you have one. Record the size you actually use, rather than only the size printed on a tutorial. If you substitute paper, write that down so you can interpret the result later.
A spare sheet makes a useful place to try an unfamiliar basic movement. Keep it separate from the piece you want to finish: exploratory creases otherwise become part of that piece's history. There is no need to buy a specialist tool set just to fill in this record.
At each pause, compare three things
Before making the next crease, identify the sheet's orientation, the layer being moved and the place that layer should reach. These are three separate questions. Matching the outside silhouette alone can miss an extra flap or a different face showing.
| Check | What to compare with the tutorial | Useful note if uncertain |
|---|---|---|
| Orientation | Which face is showing, where the pointed or open end sits, and whether the previous instruction turned the paper over | “My open edge is on the opposite side.” |
| Moving layer | The particular flap, edge or group of layers named or shown | “I moved two layers; I cannot tell how many the instruction moves.” |
| Destination | The corner, edge or existing crease used as the landing point | “The point reaches the outer edge, but the diagram indicates the center crease.” |
Those notes are examples of observations, not a diagnosis. An unexpected edge can have several causes. Revisit the relevant instruction before choosing a correction. Read that tutorial's symbol key when a line or arrow is unclear, and pause a video at the start and end of the movement.
Once you understand the intended alignment, make the fold carefully. Canson advises using the end of a finger to crease and warns that a fingernail may tear the paper. Do not press harder to compensate for an uncertain destination.
Write down the first mismatch
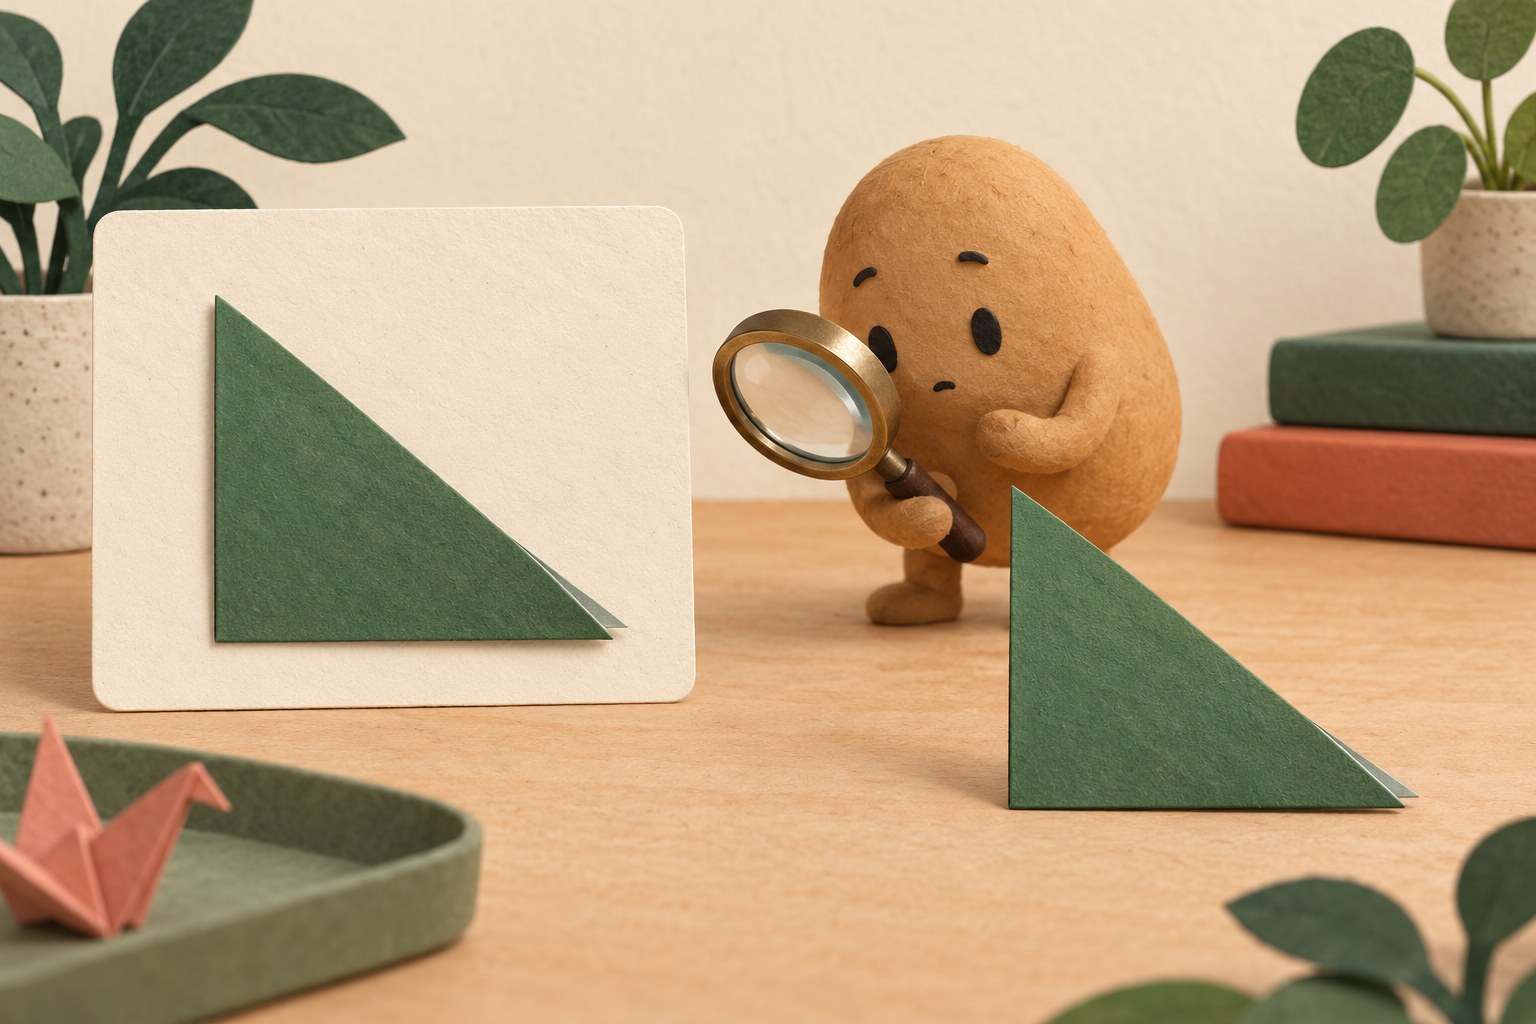
When the model stops matching the instructions, leave the next fold undone. Record the last step you could compare confidently and the first step that differs. This gives a later attempt a specific checkpoint.
Use a short sentence describing what you can see: “After step 4, the cream side is visible on my right flap; the tutorial shows coral.” Avoid turning it into an unsupported explanation such as “The paper is too thick” unless you have evidence for that conclusion.
- If the movement is unclear: replay or reread that step and any referenced basic fold.
- If you identify a wrong orientation or layer: follow the tutorial back only as far as you can do so gently and understand the result.
- If the sheet is torn, badly distorted or too confusing to follow: keep it as a marked practice sample and begin again with a fresh sheet.
- If the same point remains unclear: choose a simpler model or another complete tutorial for a new attempt.
Do not mix sequences mid-model merely because the final pictures resemble each other. If you change the tutorial, record a new attempt from its starting sheet.
Change one thing before the next attempt
Suppose a fictional practice record says: “Square paper, 15 cm; first mismatch at step 4; forgot to turn the model over after step 3.” The next attempt can use the same paper and source, with a pause after step 3 to check the visible face. If it progresses further, record that observation. It does not prove the paper was ideal or that every later step is correct.
A different record might say: “The instructions request a larger sheet than I used.” In that case, follow the requested size on the next attempt and note the change. Avoid simultaneously switching paper, size, tutorial and model; you will have less information about what helped.
Once you complete a piece, make another using the same recorded setup before committing the rest of your gift supplies. Count the usable results separately from practice pieces. If you are planning an occasion, use your own observed folding time and available time, leaving room for interruptions rather than assuming a tutorial's running time equals your making time.
Copy this practice and restart card
- Purpose and number wanted: __________
- Model / creator / exact instruction source: __________
- Required starting sheet(s): __________
- Actual paper, size, front and back: __________
- Attempt number: __________
- Last confidently matched step number or video timestamp: __________
- First visible mismatch or unclear movement, with step or timestamp: __________
- Evidence checked before changing anything: __________
- One change for the next attempt: __________
- Result and remaining uncertainty: __________
- Usable finished pieces / practice pieces: __________
Keep this card with the instruction link and a note on where you stored the matching paper. Leave the next session a clear starting point rather than a mysterious folded object.
If the decoration is part of a mailed gift, check the separate gift-shipping box checklist before choosing its packaging.